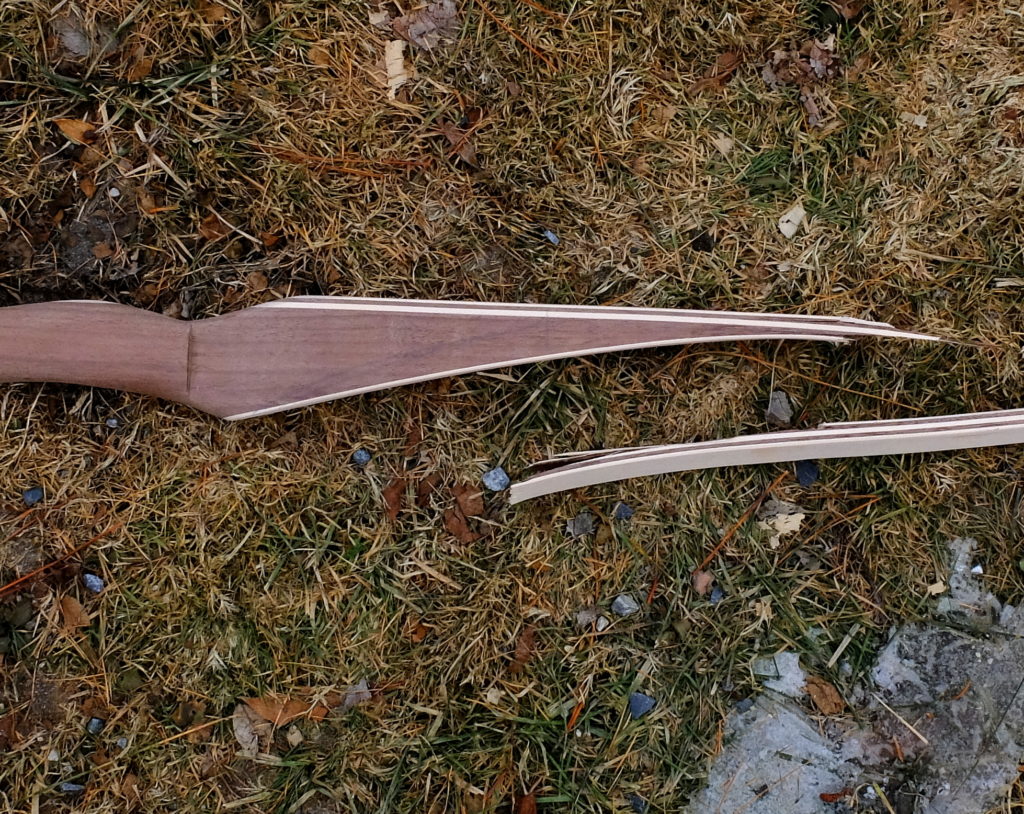
I decided to try to build a couple bows. The first one worked out, but only pulled 25 pounds, which is nice and easy for target practice but I wanted a heavier bow. The first, and numbers 2-4, were made without fiberglass outer (back and belly) laminations, and would not hold together when I tried for a heavier draw – 2, 3 and 4 broke when drawn.
Per usual for me, I switched to standard methods and had success. I added fiberglass belly and back laminations. That step made the core woods secondary as strength members. I used directions from a YouTube by Dave Watson, who also published a plan for the bow he describes in the video.
I made several modifications to his design. First, I built mine as ‘reverse handle’ by inverting the form, or, rather, making the ‘female’ component of what could be called the ‘male’ version of the form he shows. I used C-clamps instead of his rope-and-wedge system, and I used System 3 Silvertip epoxy instead of the Smooth-on. I was able to omit the hot box because the Silvertip sets up fine, albeit slowly, without extra heat. I followed the lamination schedule in his plans using black cherry for the core woods. The Bow-Tuff that I got from my local boyer, Jim Duclos, was nominal 0.050″ thick instead of the 0.030″ that Dave specifies. This made a huge difference in the finished draw weight. Using his specified taper of 1 1/2″ at the fades to 5/8″ at the nocks, I could not draw it to get a string on it – it probably was pulling around 70 pounds, whereas his design with the 0.030″ Bo-Tuff drew 38 pounds. I was able to get the bow down to 35 pounds by reducing the width at the fades to 1 1/16″, going to 9/16″ at the nocks.
This is the bow in my form being glued up. It is winter time here now, and on a warm day I can get the shop up to 60 degrees, but it still drops to freezing overnight. I moved the form inside after the epoxy was set up enough to stop off-gassing, and left the clamps on for a total of 48 hours.
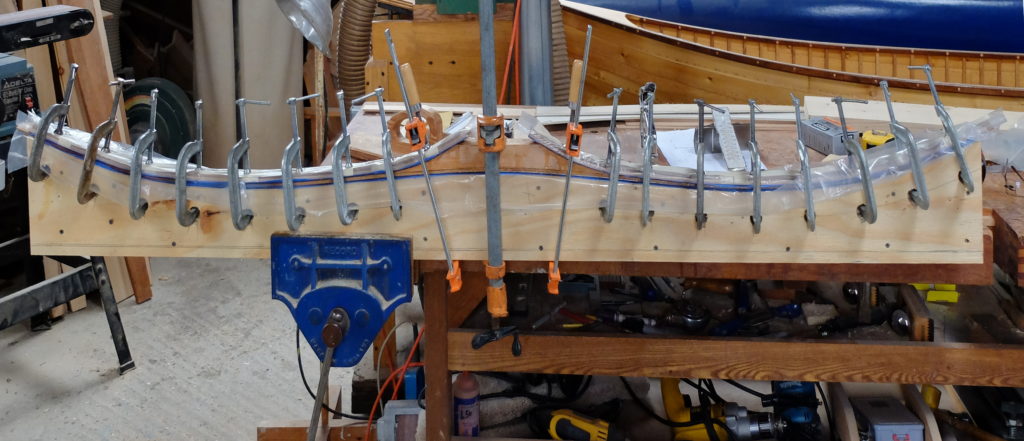
There are recesses cut in the form for the heads of the clamps. A double layer of 1/8″ hardwood, wrapped in poly, is used to spread out the clamp pressure. There was no discernible variation in limb thickness between clamps compared to directly under the clamps. The point where the back laminations meet the fades for the handle takes special care to prevent voids.
I used a bandsaw with a wood-cutting blade to cut the limb tapers. That destroyed the blade. On my second go at tapering the limbs (trimming down the original 1 1/2″ width) I used an oscillating spindle sander to approximate the line and then cleaned it up on a stationary belt sander. This saved me the cost of another blade. I’ve ordered a bi-metal 10/14 wavy tooth metal cutting blade for my next try. A big advantage of using a bandsaw to cut the fiberglass is the ability to control the dust.
There are differing opinions on how to adjust draw weight. Two experienced boyers advised that Bo-Tuff could be sanded to reduce weight – 0.001″ of thickness corresponding roughly to 1 pound reduction. Jim Duclos advised using 120 grit and a hand sanding block and watching carefully as the weight will come off quicker than expected.
Getting a string was an unexpected problem. My bow, which measured 68″ nock-to-nock needed a 66″ string, actual length.
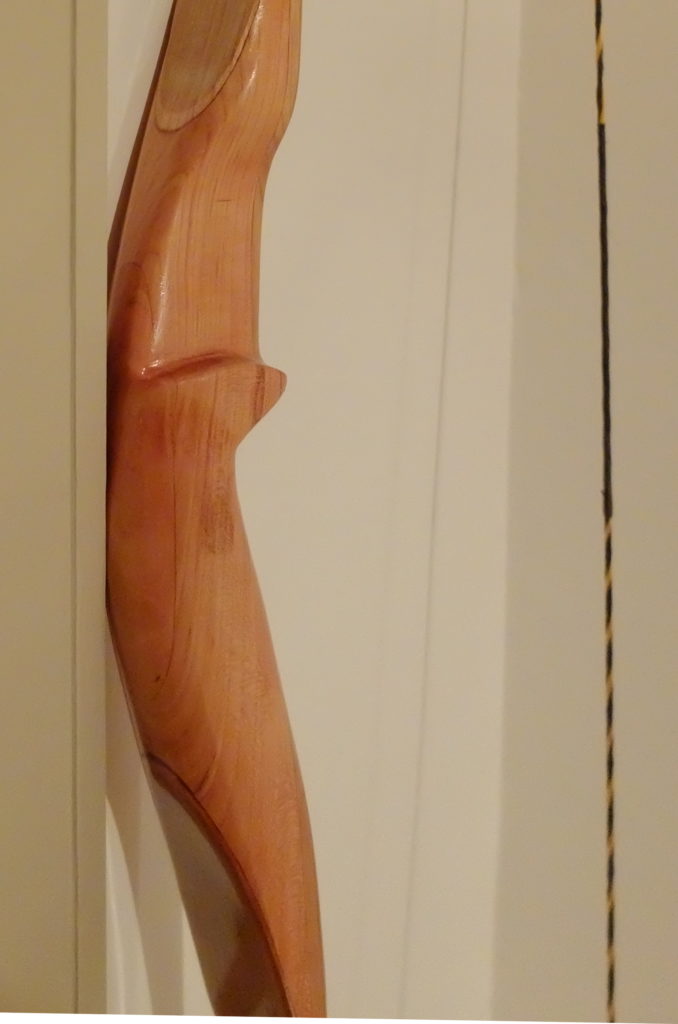
Bo-Tuff is not uniformly thicknessed, hence my ‘nominal’ 0.050″ mentioned above. The next bow I make will use Bo-Tuff from OMC Boyer Supply which they regrind to actual thickness, and I will use 0.030″ and see if I can hit the 38 pound bow Dave Watson designed. Below is the handle of the bow I built.