A client brought me a Stella Harmony to convert to a rubber bridge, and it needed a neck reset. I will cover the rubber bridge conversion in another post, but wanted to show the neck reset itself. These are incredibly cheaply made instruments with plywood top and back, braces just short of 2×4 framing, liberal use of adhesive like hot-melt glue, paint-on binding – which is why they are the favored base instruments for the rubber bridge conversion. The rubber bridge intentionally avoids resonance and overtones; the deader the better. The fact that the Stellas are common and inexpensive helps. This particular instrument cost $225 with case and shipping. Paying luthier wages to reset a neck doesn’t make a lot of sense – in this case, a DIY project makes it doable.
This is a normal neck reset. Unglue the fingerboard tongue, steam the dovetail, pop out the neck, refit and reassemble.
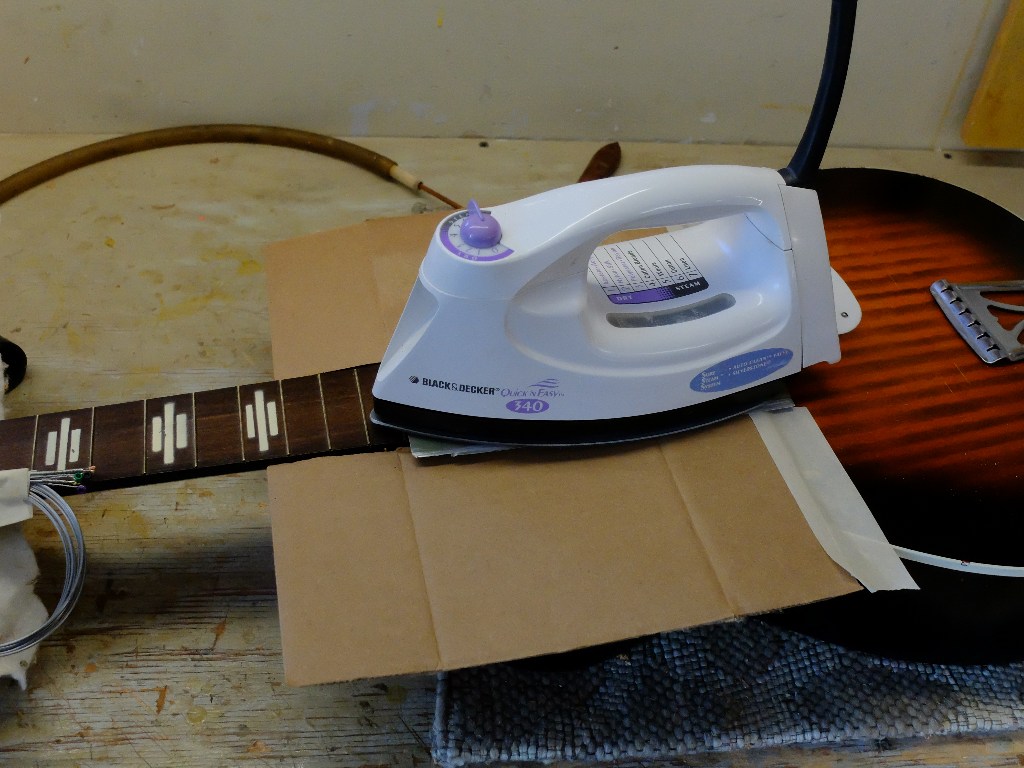
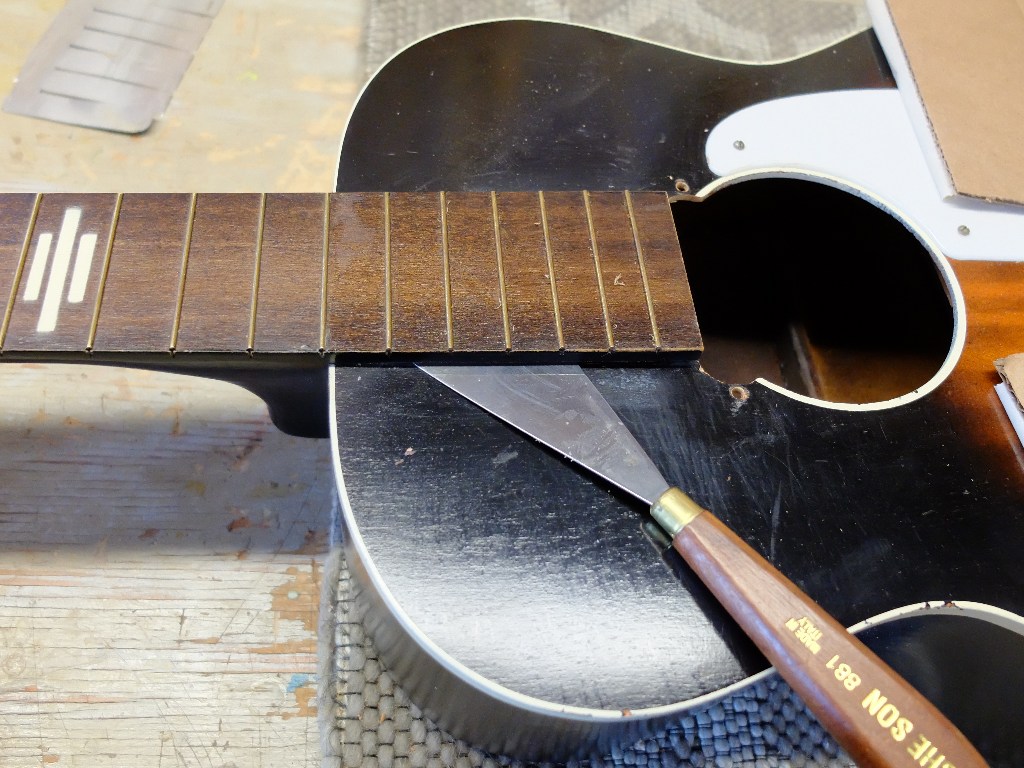
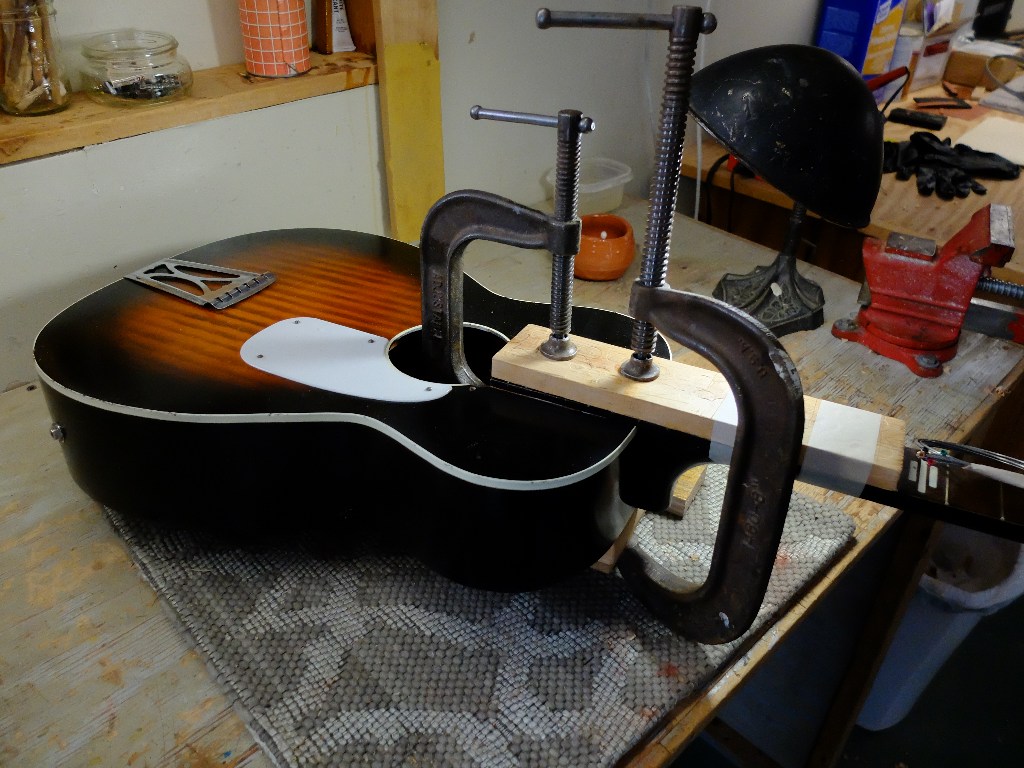
I use a clothes iron to heat the fingerboard tongue with some cardboard to protect the top finish, and then work a seam separation knife under the tongue.
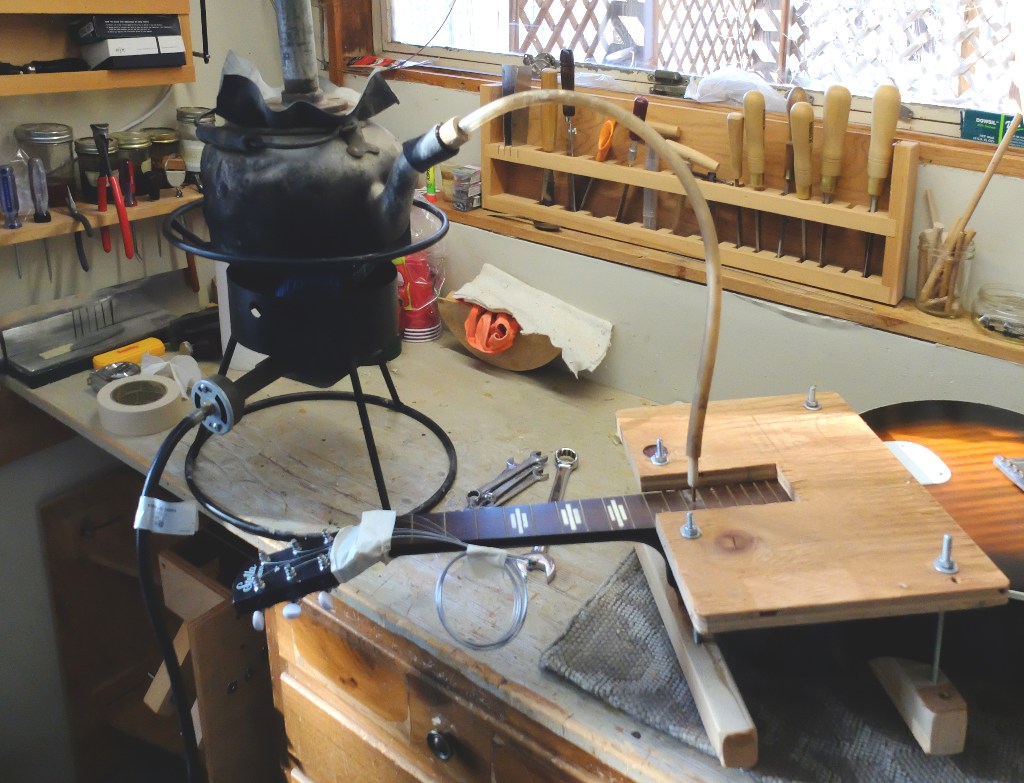
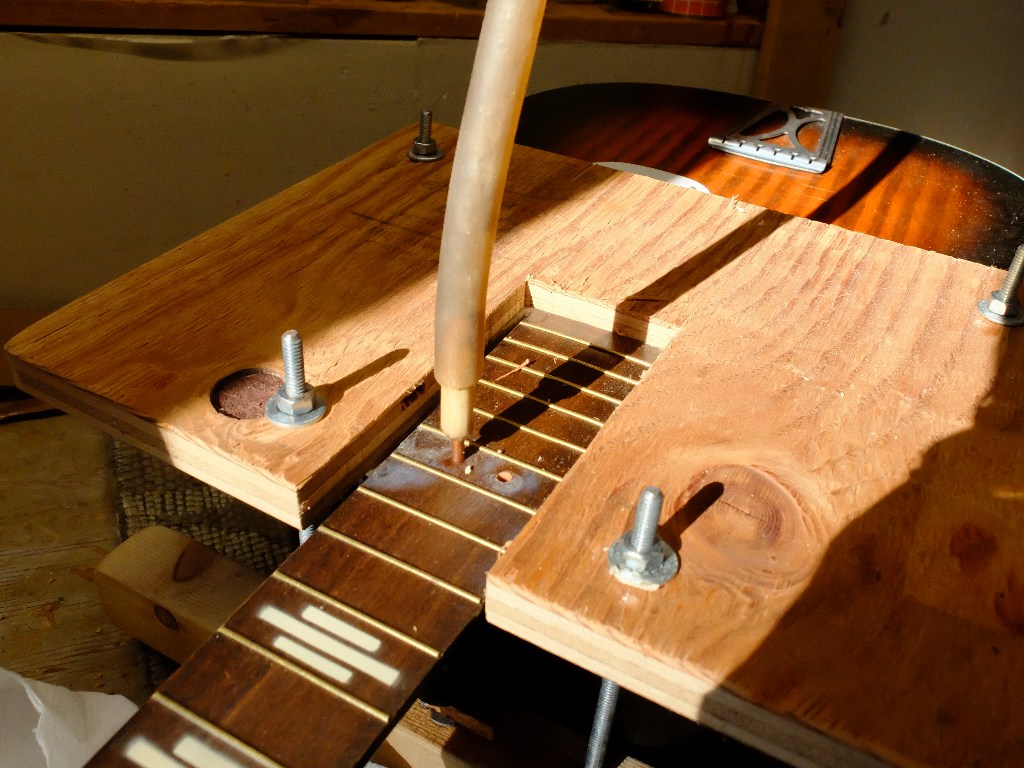
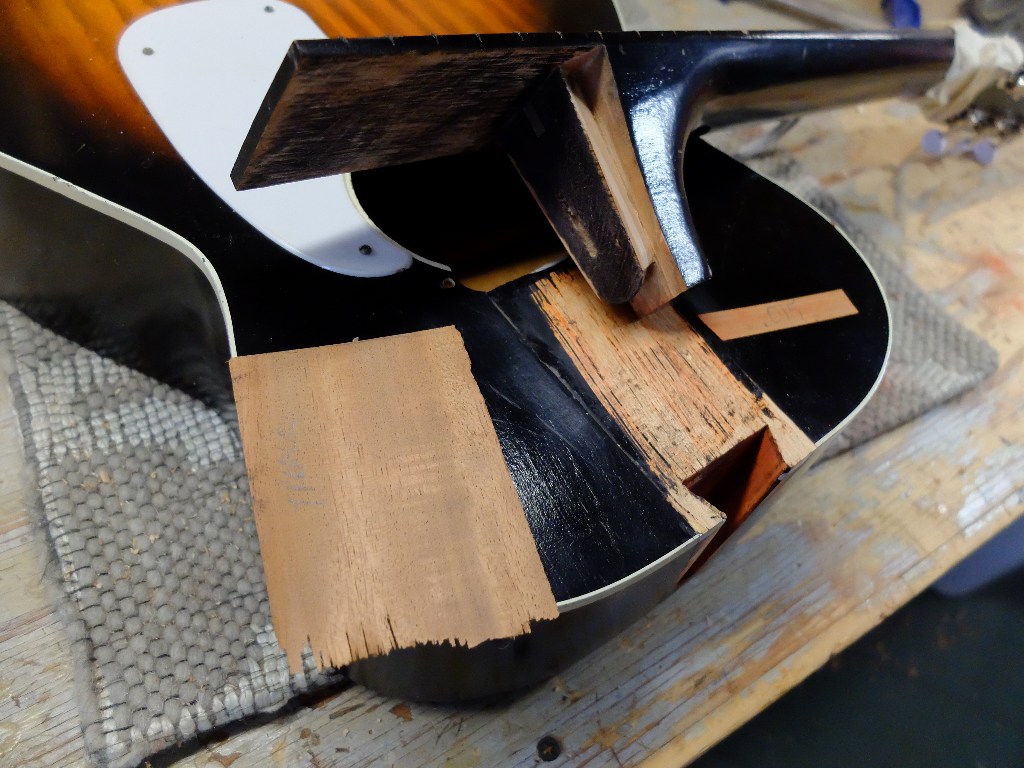
Knowing the size of the dovetail helps with where to drill the steamer access holes – this dovetail is 1/2″ deep, so holes drilled about 9/16″ in from the body joint hit the space between neck and body pocket. I was not concerned about hiding the steamer needle access holes, just plugged them when finished. In keeping with the basic aesthetic of the whole instrument.
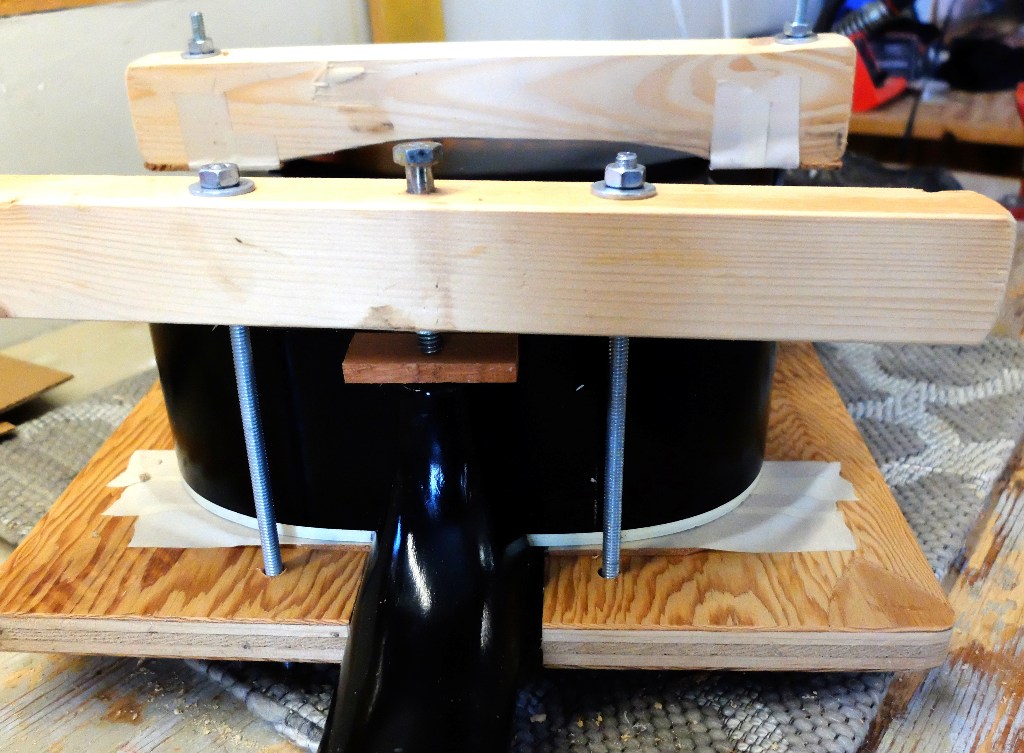
I made my own neck disassembly press out of plywood, padded at top and bottom contact points with cork, and held together with redi-rod, with a press bolt for the heel of the neck. Applying increasing pressure on the bolt pops the neck out as the glue softens.
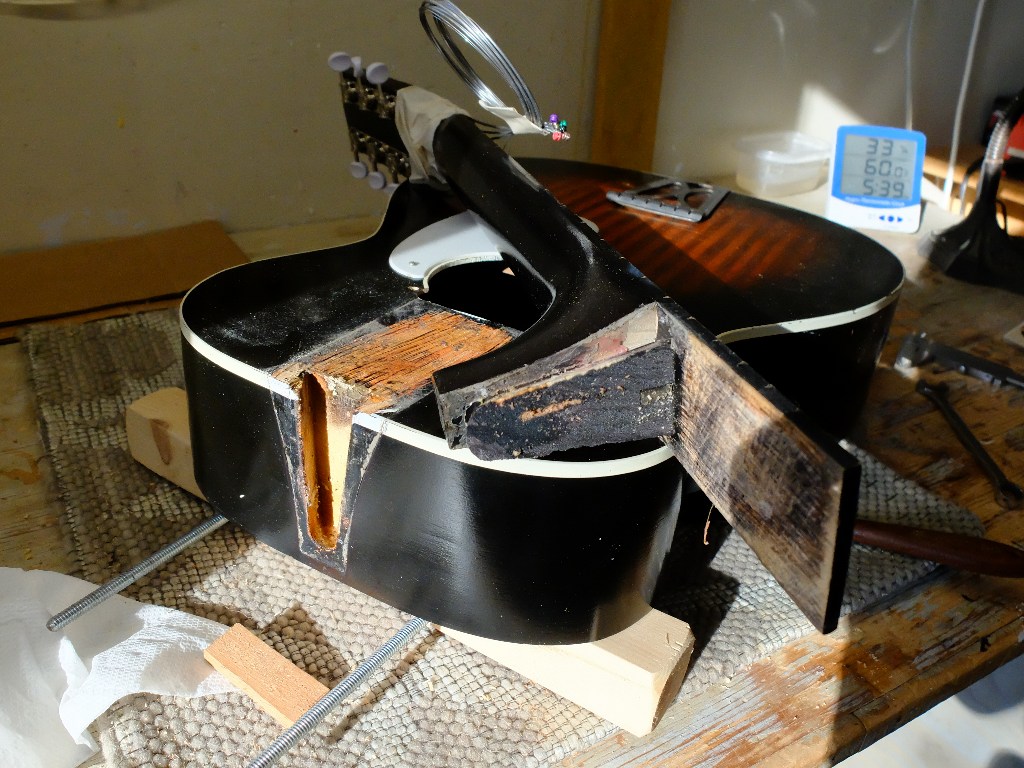
I needed to add material to both sides of the neck dovetail to get a good fit, and a rather hefty shim under the tongue to get gluing contact with the top. These tapered shims that go to nothing are made on my thickness sander using a tapered backup block. I always use shims for the dovetail fitting, and colored chalk to see the contact points, starting with a shim that allows a snug hand-press fit that completely seats, and then making a shim .005″ thicker for the final glue up.
Once back together, the frets needed dressing. There is no adjustable truss rod, so whatever bow the neck had remains. Working on one of these is like an old house – you have to decide when to stop tearing things down and live with what you’ve got.