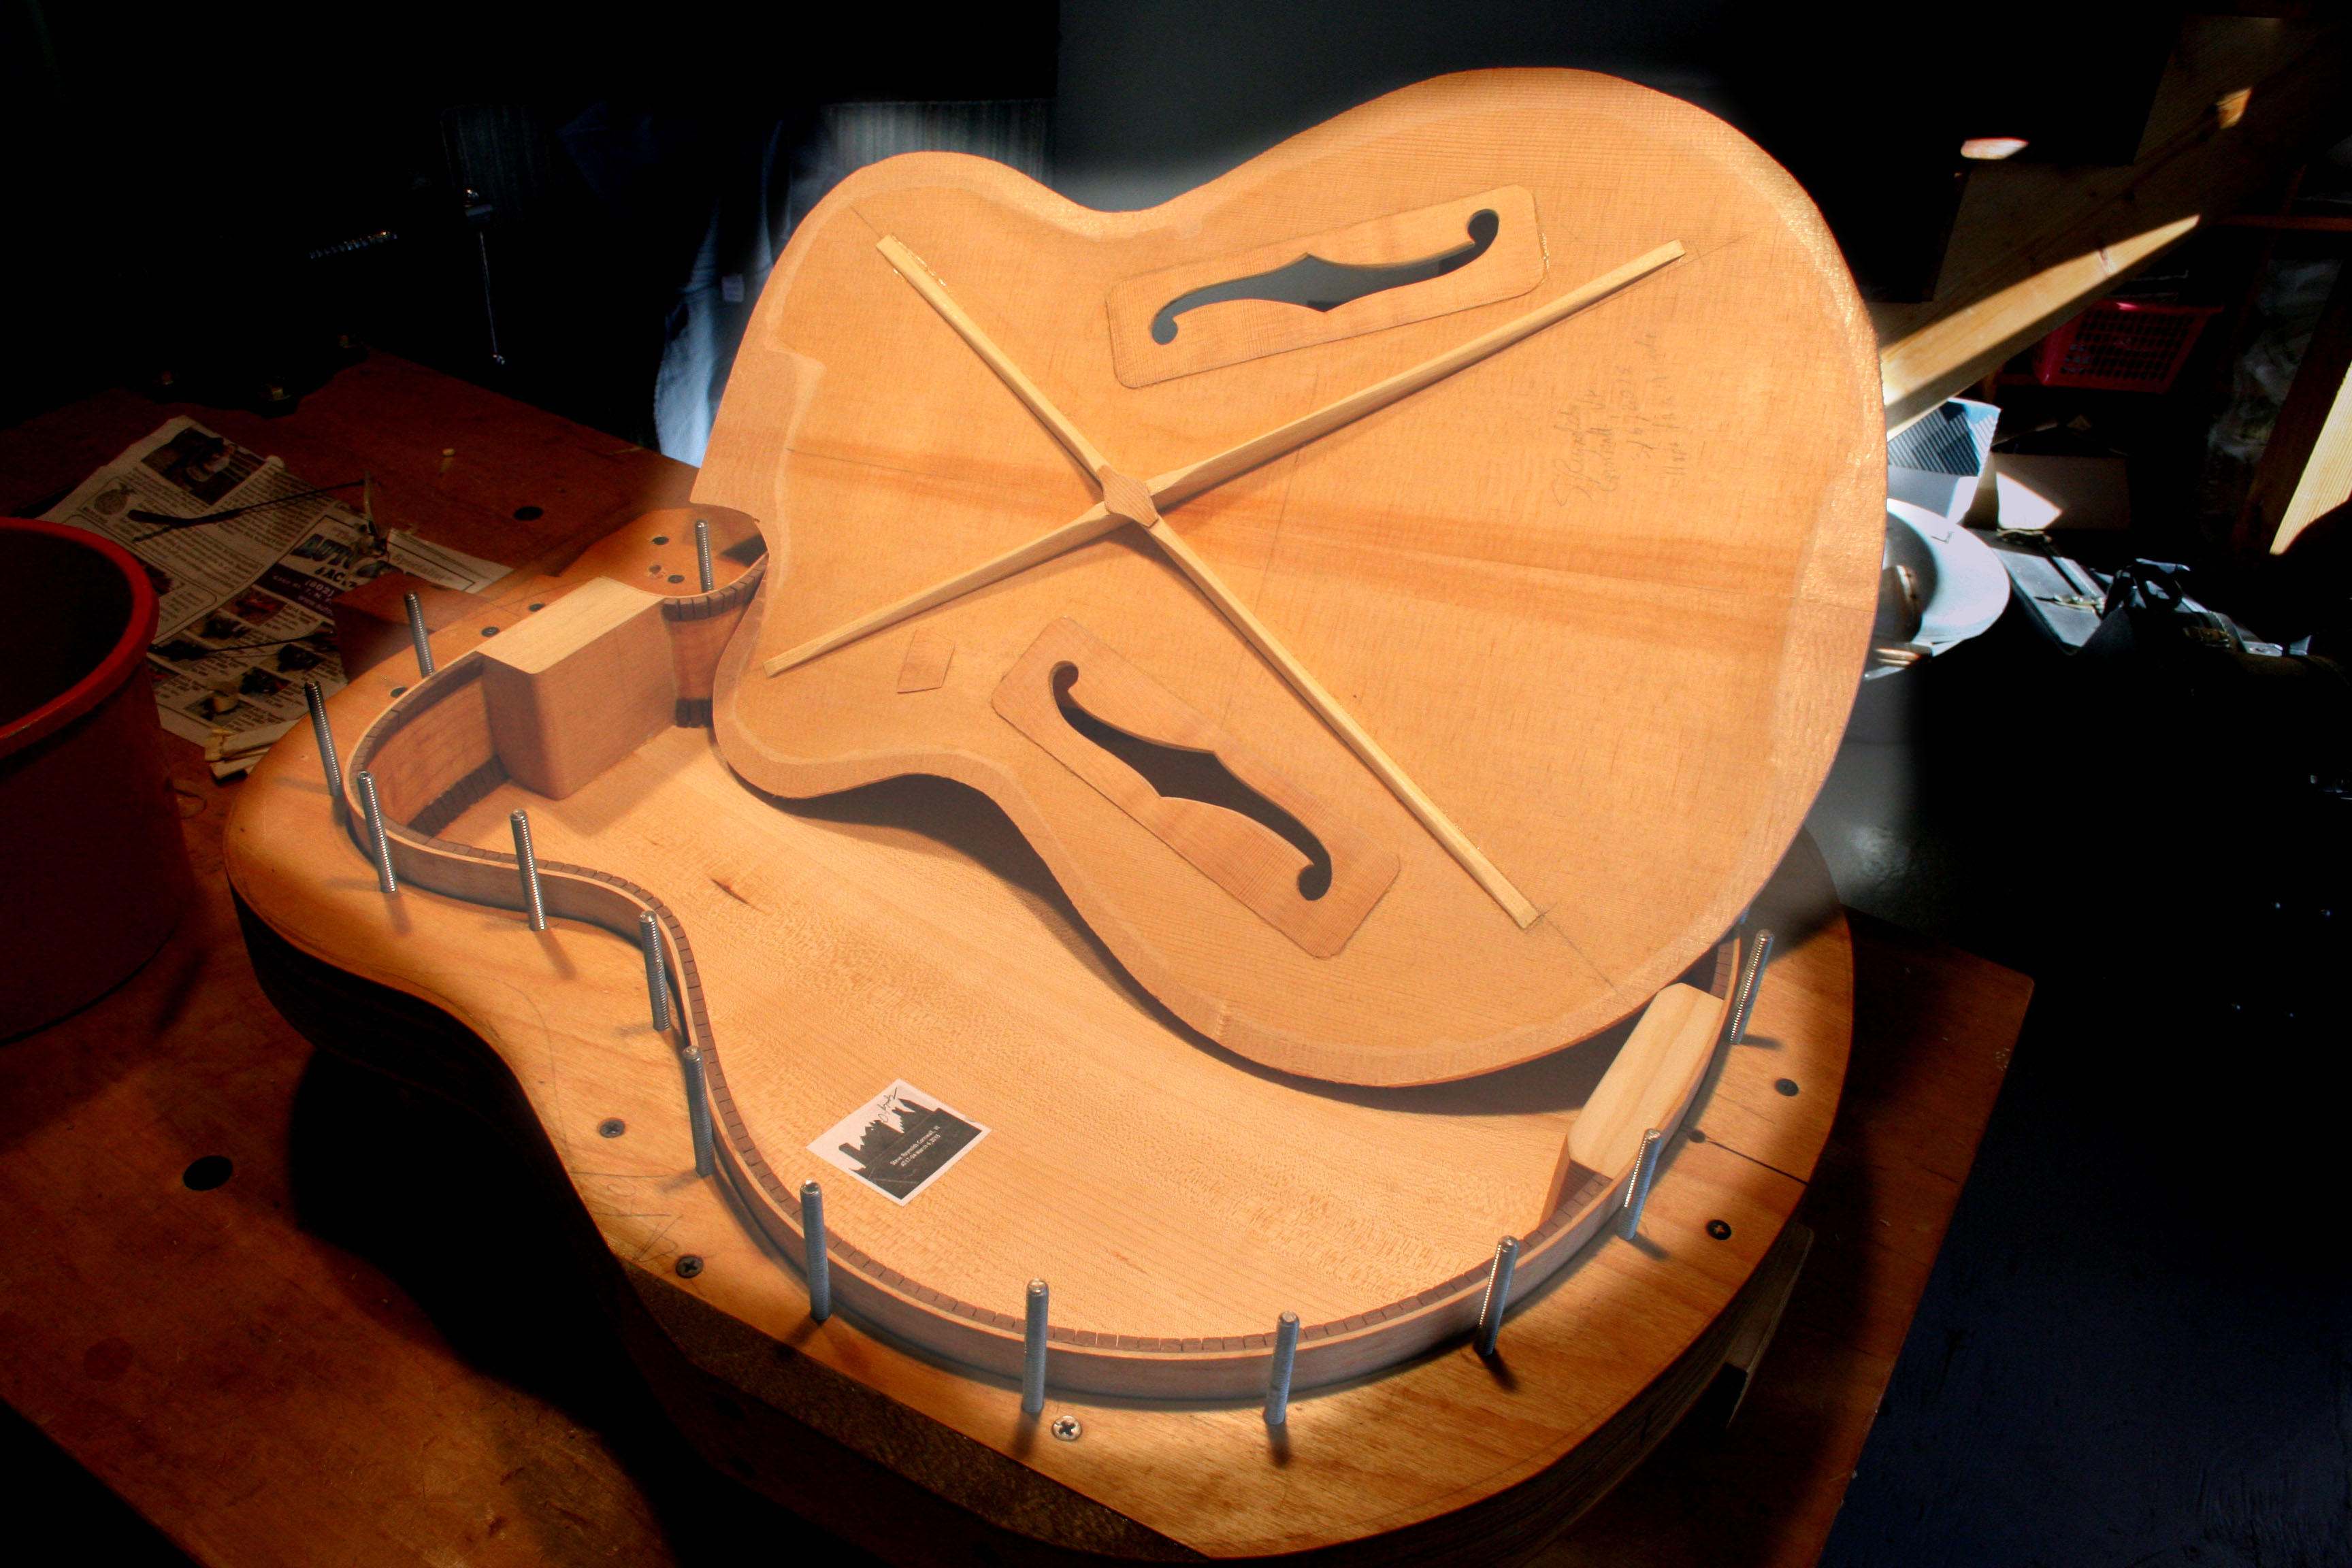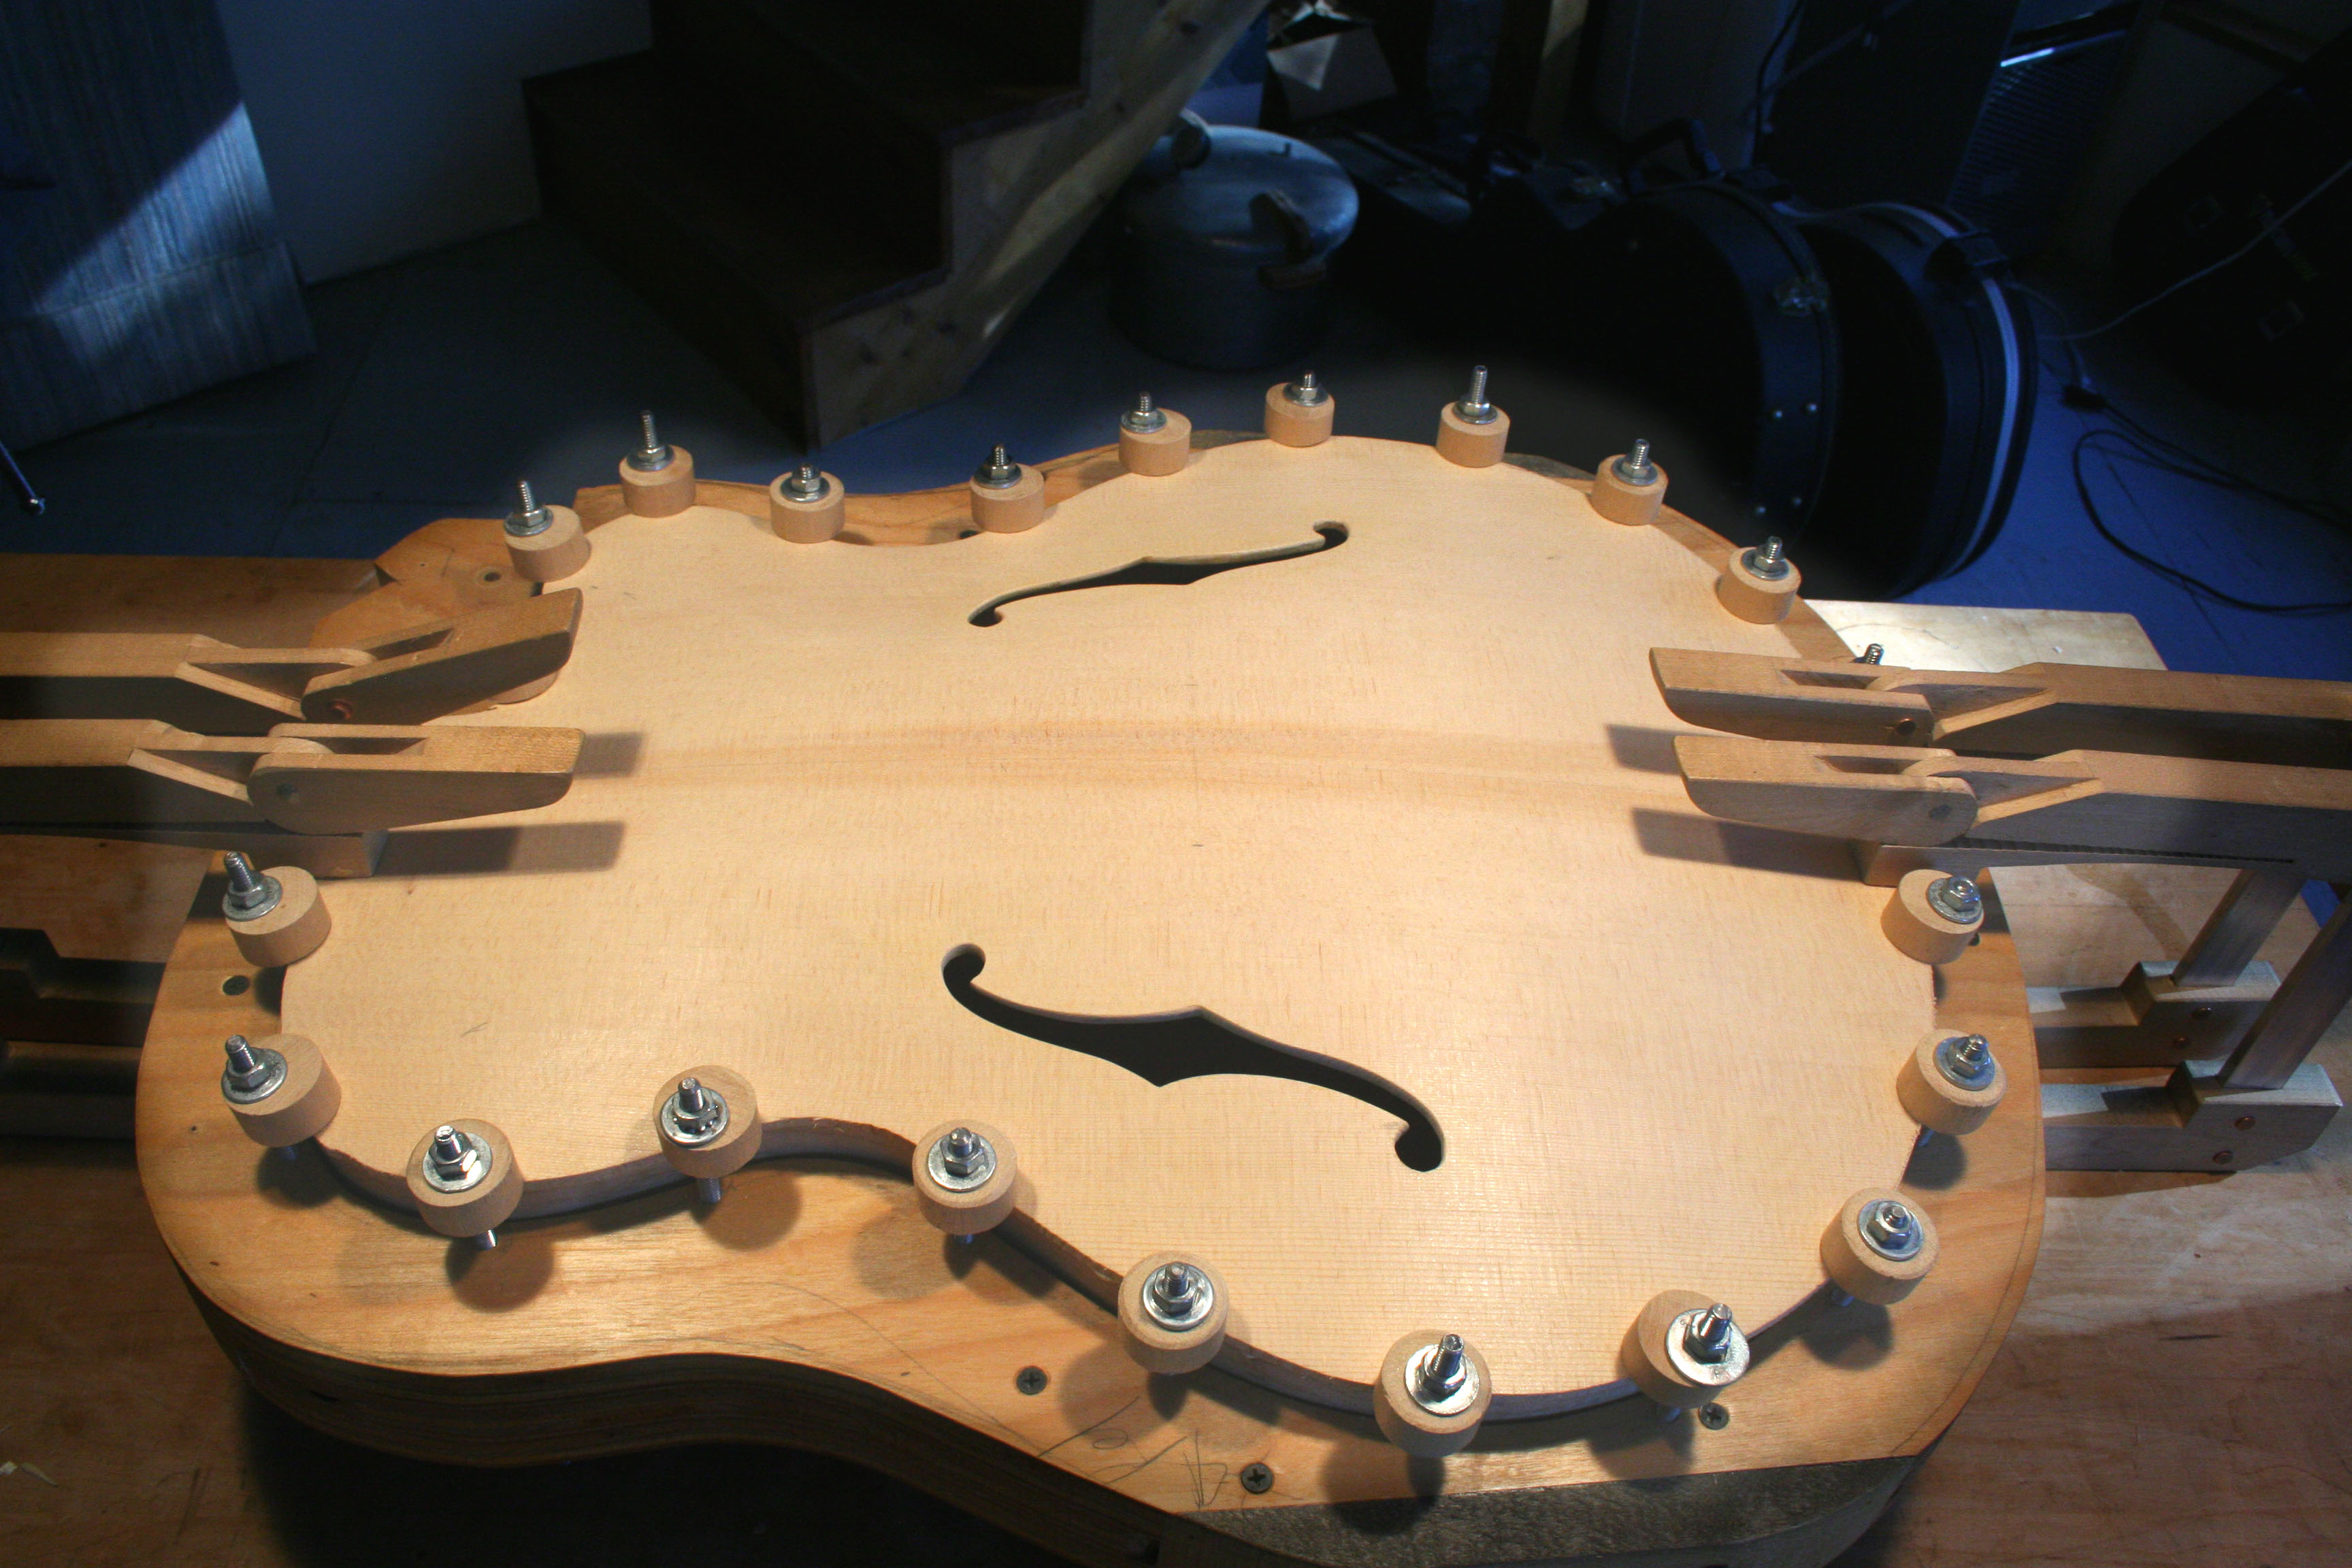
After assembling the body the ledges for the binding are cut and the binding glued and scraped smooth. I chose to use black walnut for the contrast with the white maple. There are two pieces to the binding all the way around, a taller piece with some black-white purfling on the bottom and a small square piece that sits inside the outer piece and adds visual depth. The walnut is first bent to shape on the bending iron – 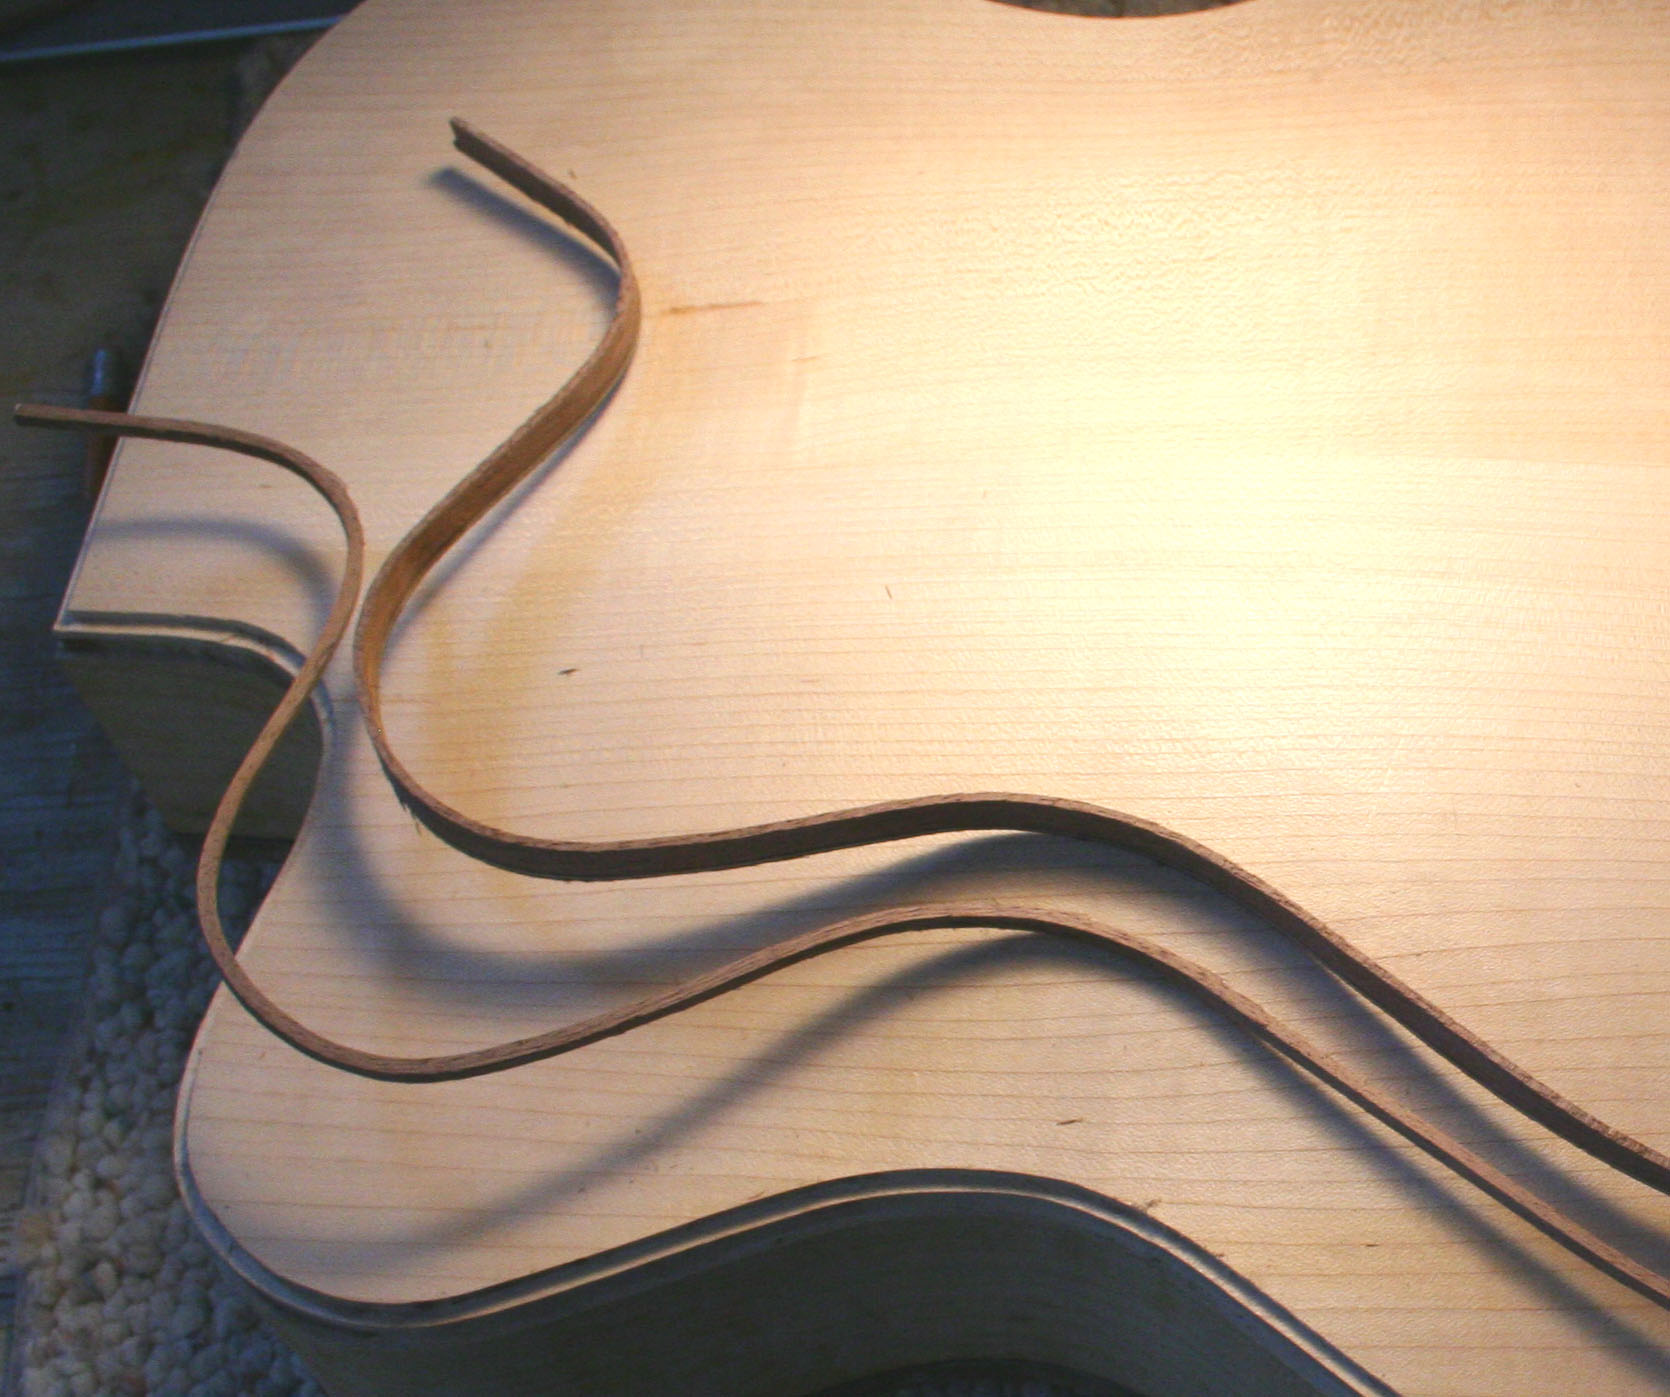 the pieces are about 3/32″ thick and I have to bend slowly to prevent breaks. The binding ledge is a two-step affair, cut with two passes on a router setup in a router table with a special cutter guide that sets the depth and height of cut. Gluing the binding is a messy process – everything is held in place with masking tape until the glue dries –
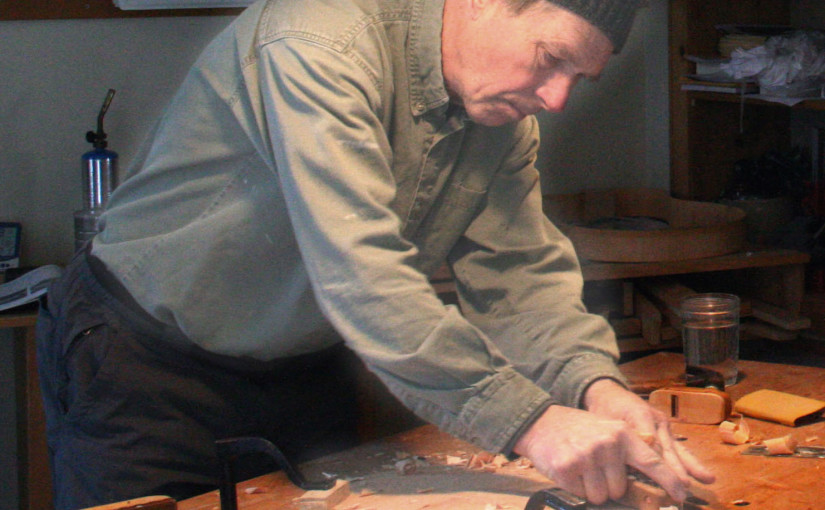
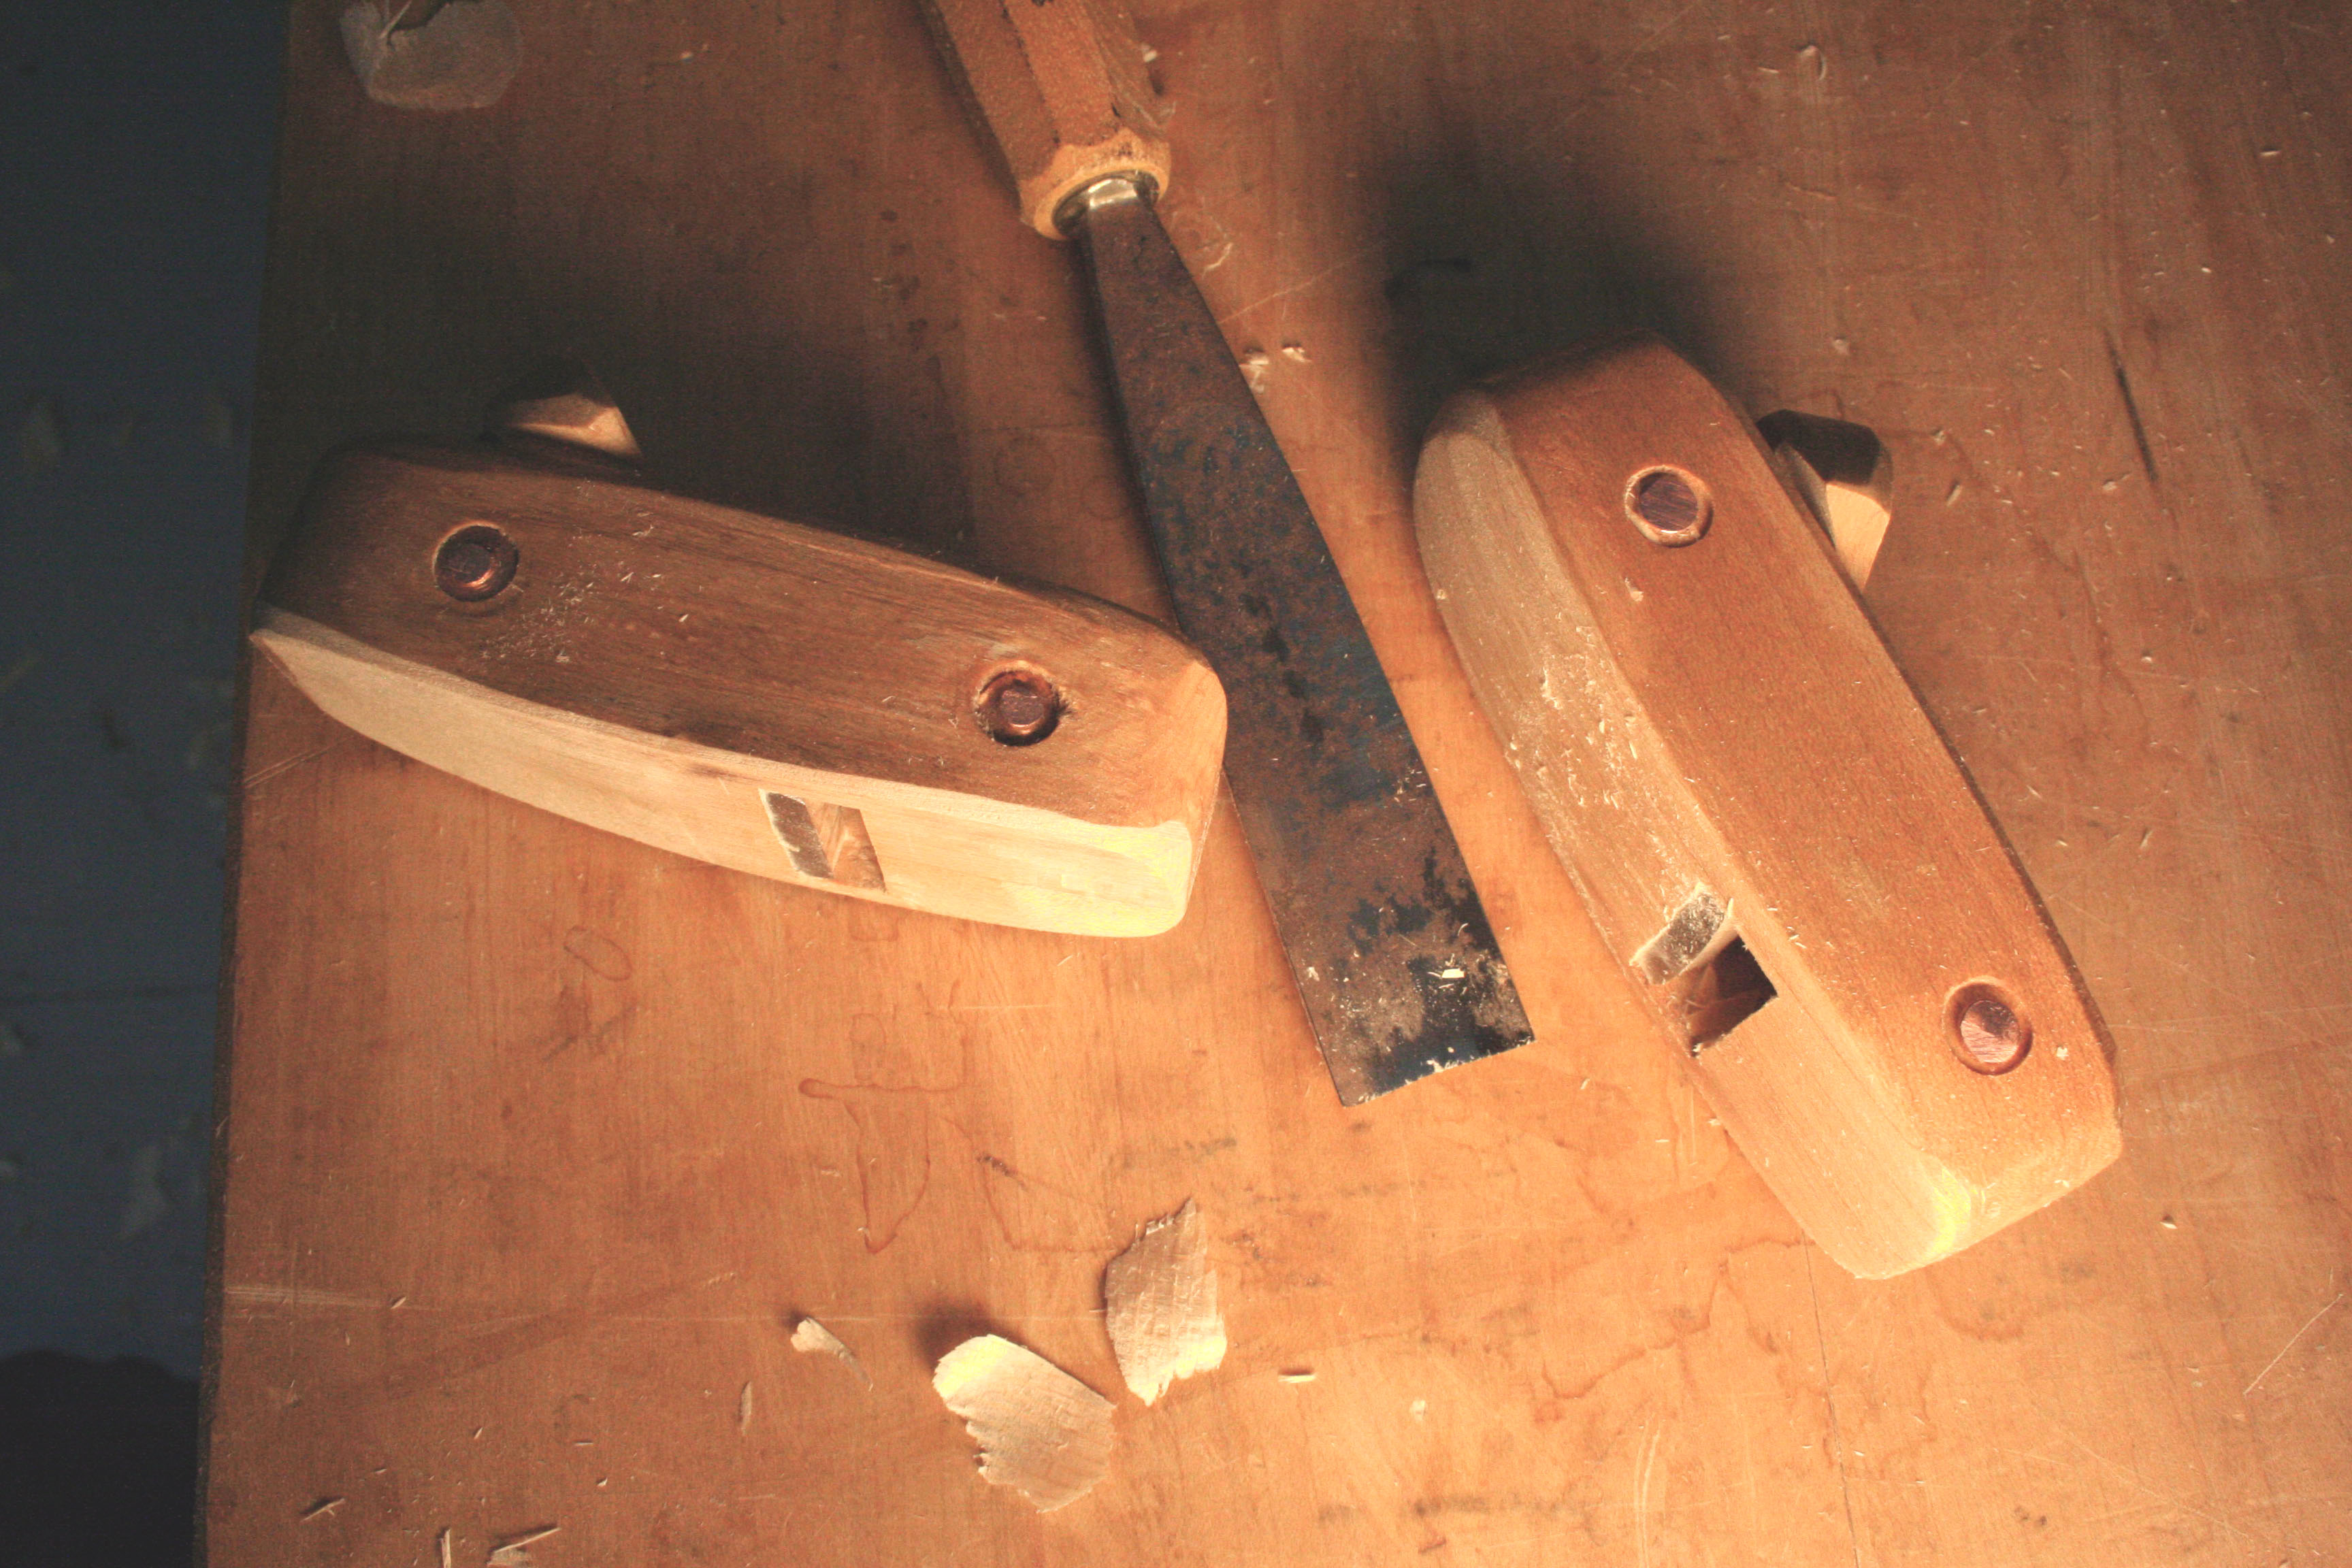
 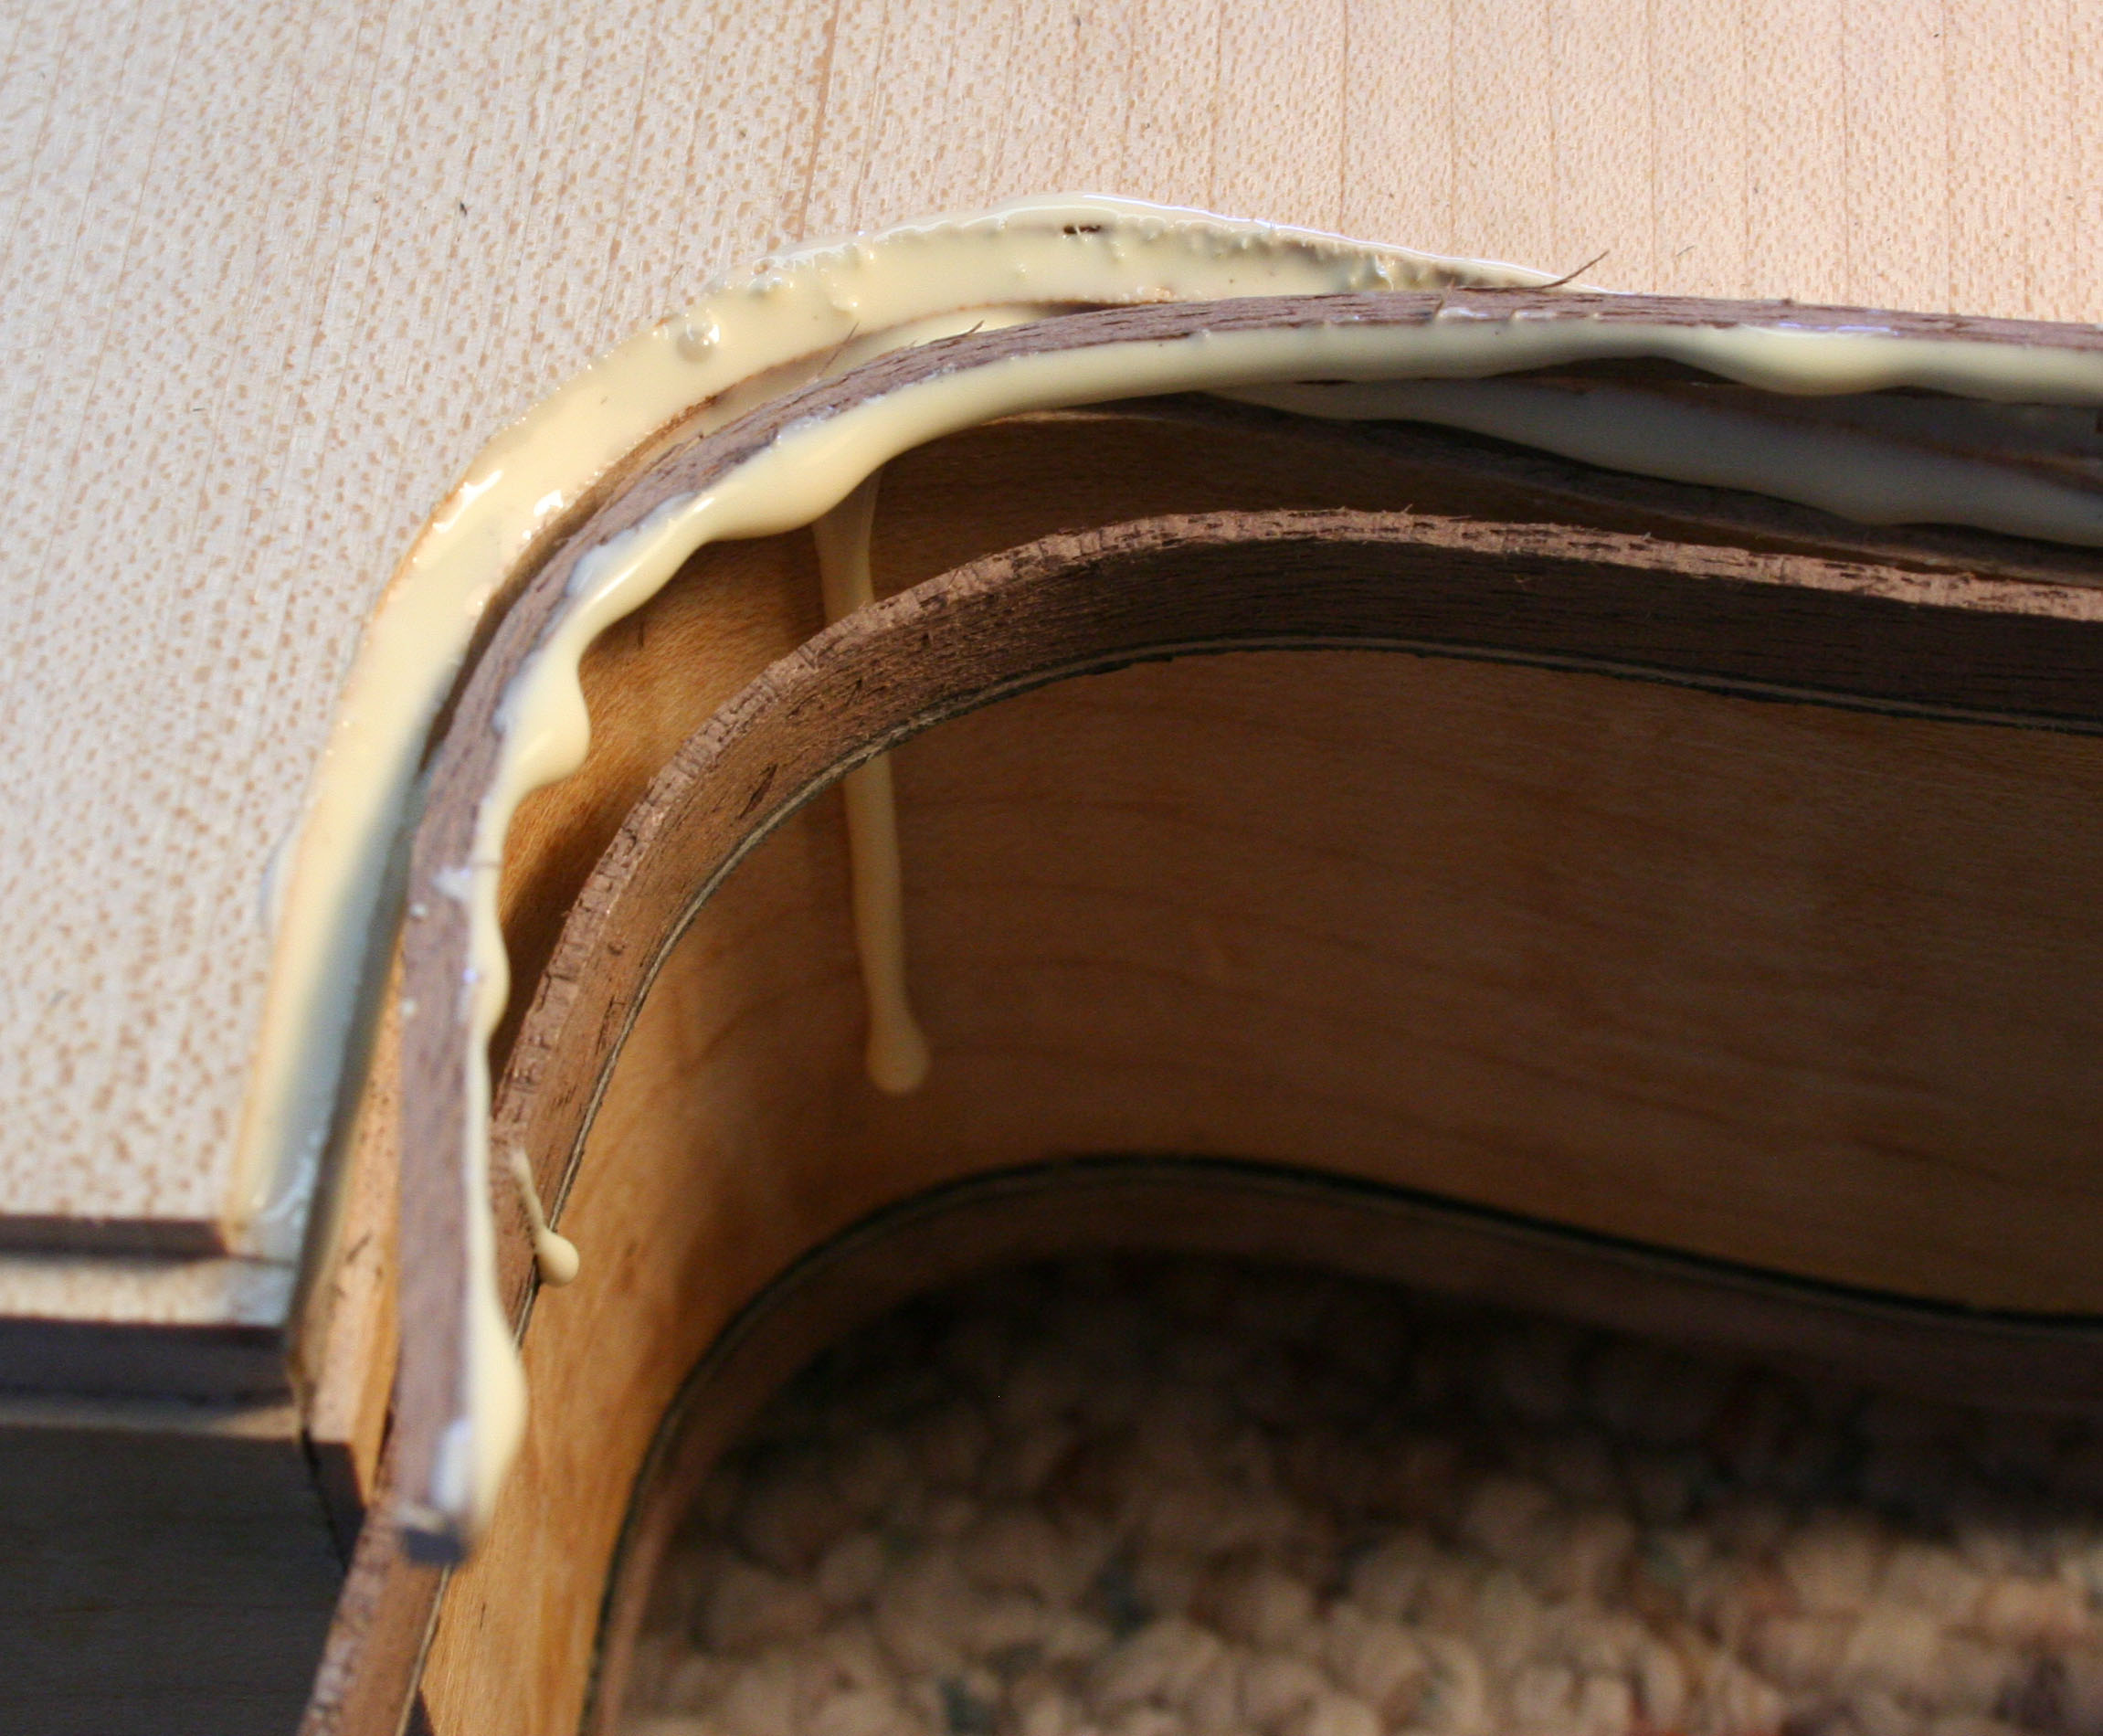 but careful work starting with a small block plane and going to a cabinet scraper yields satisfyingly clean results –
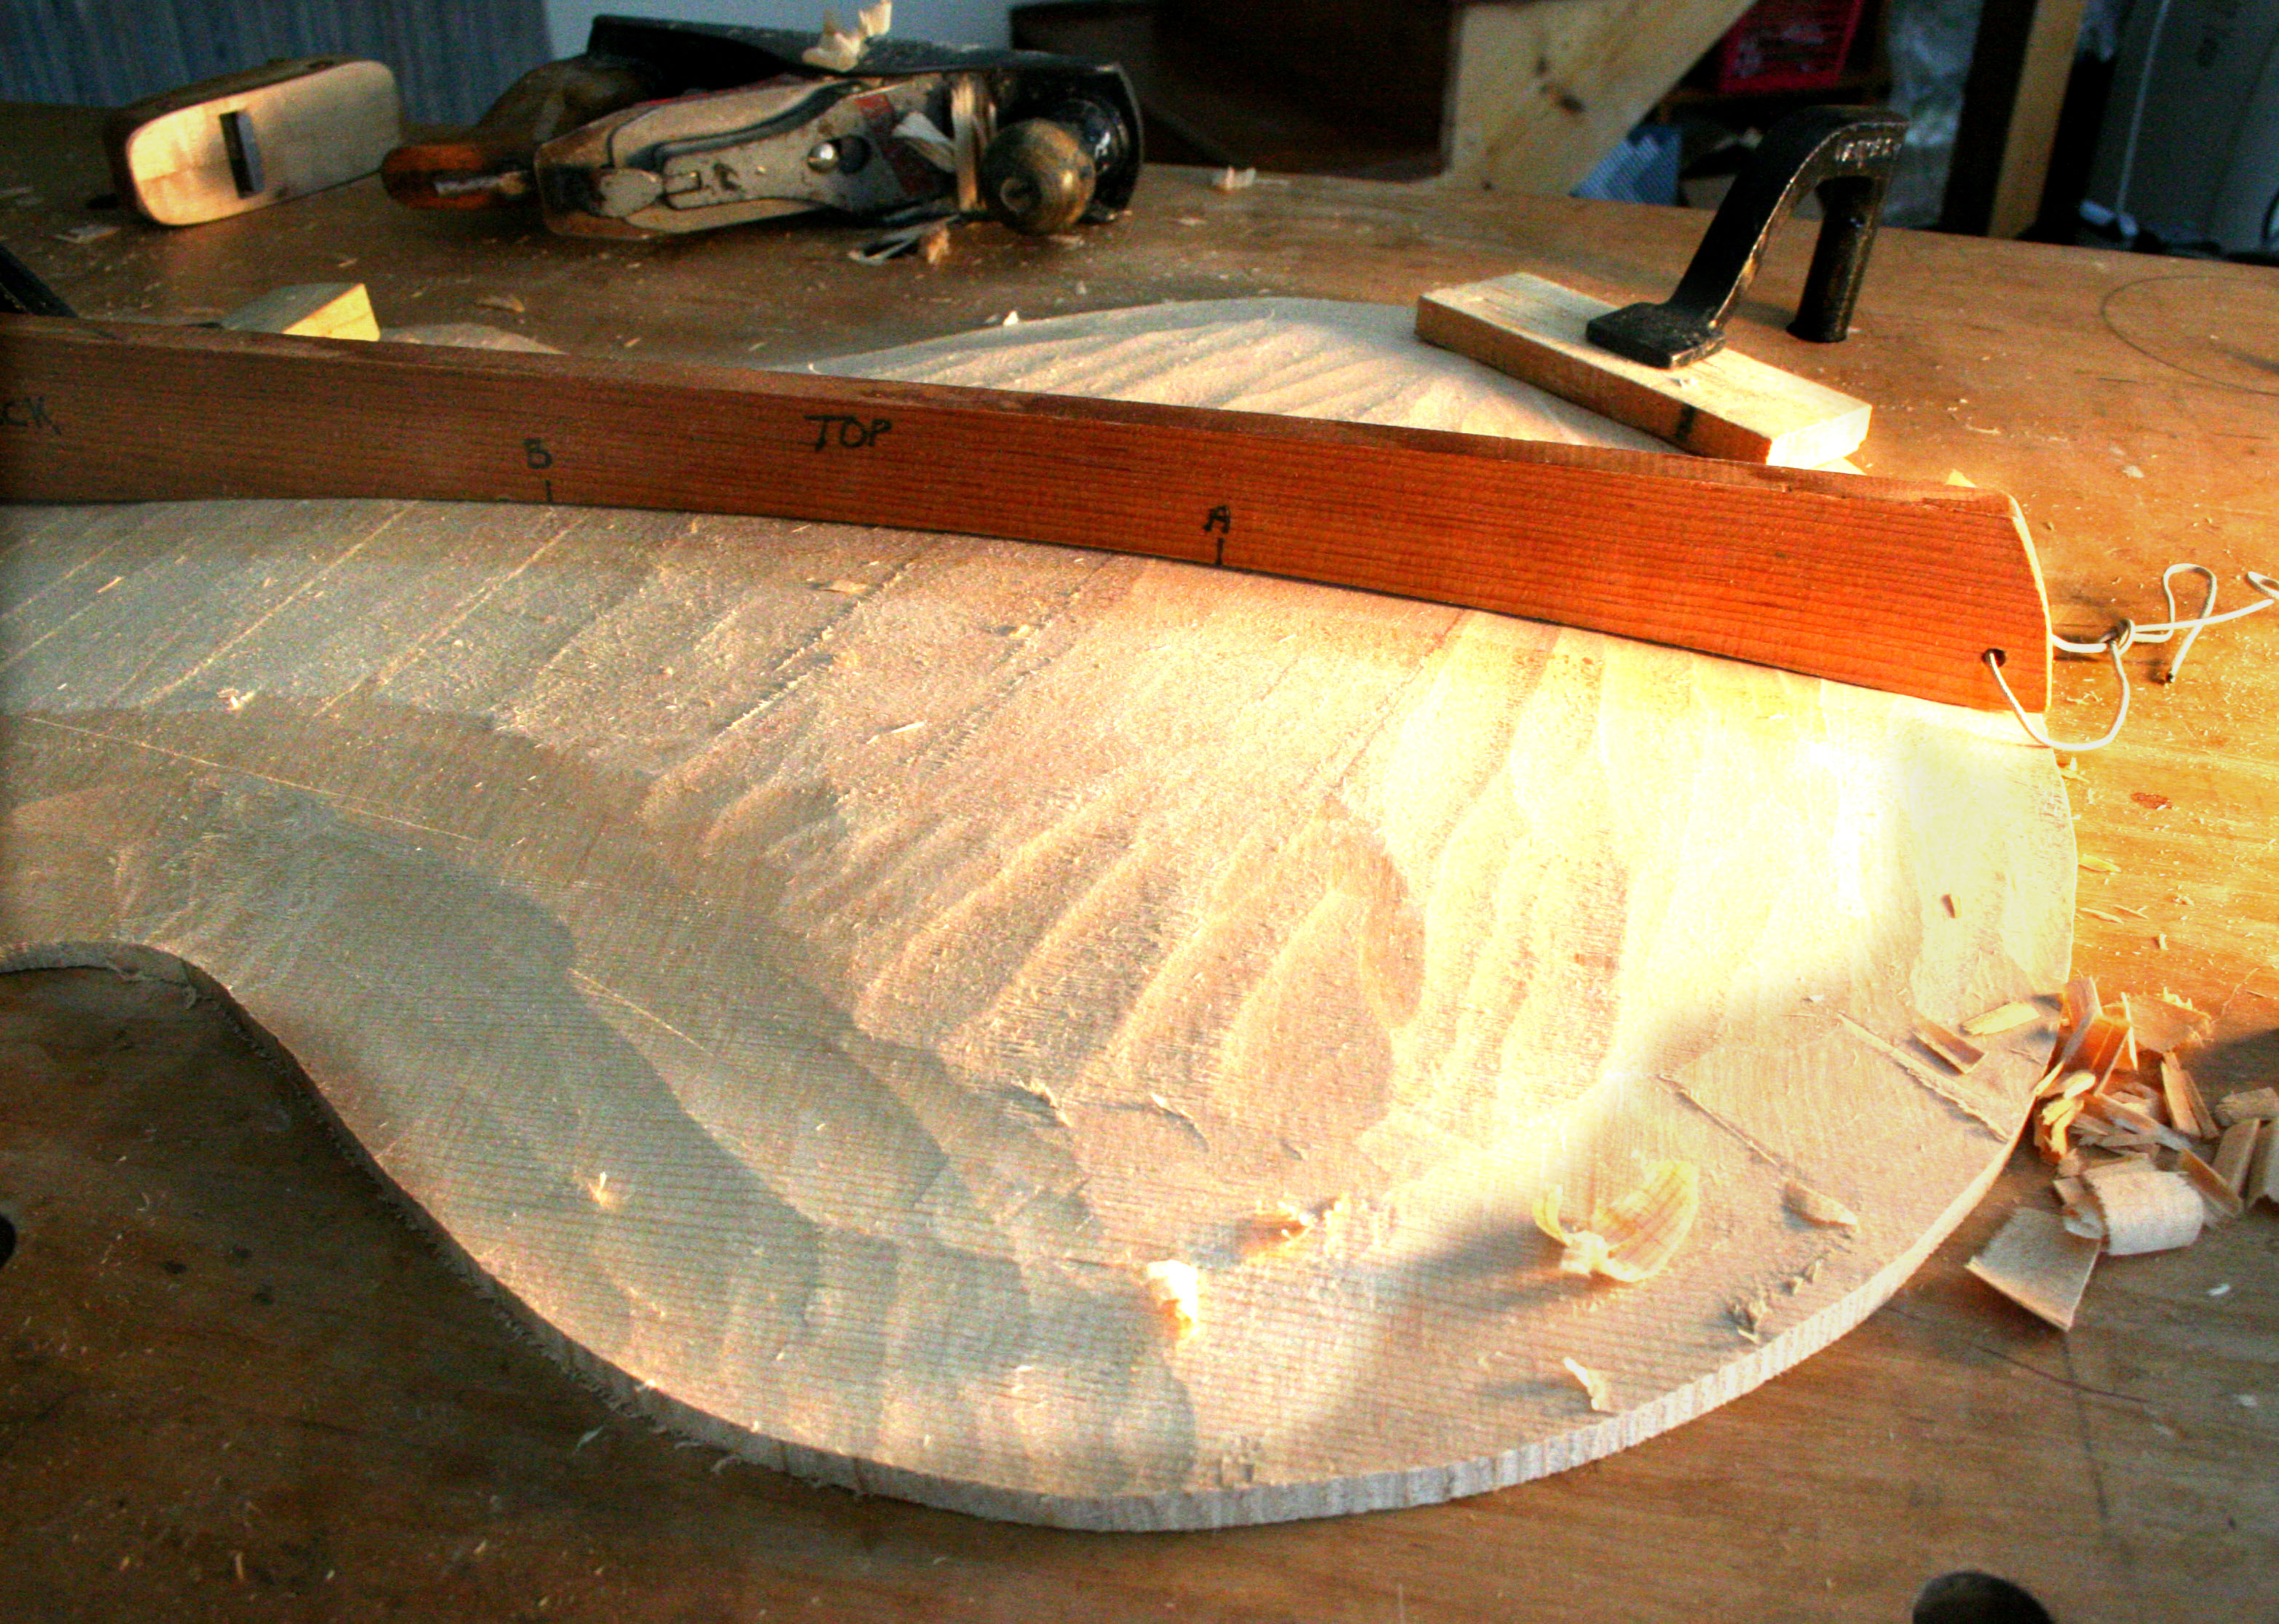
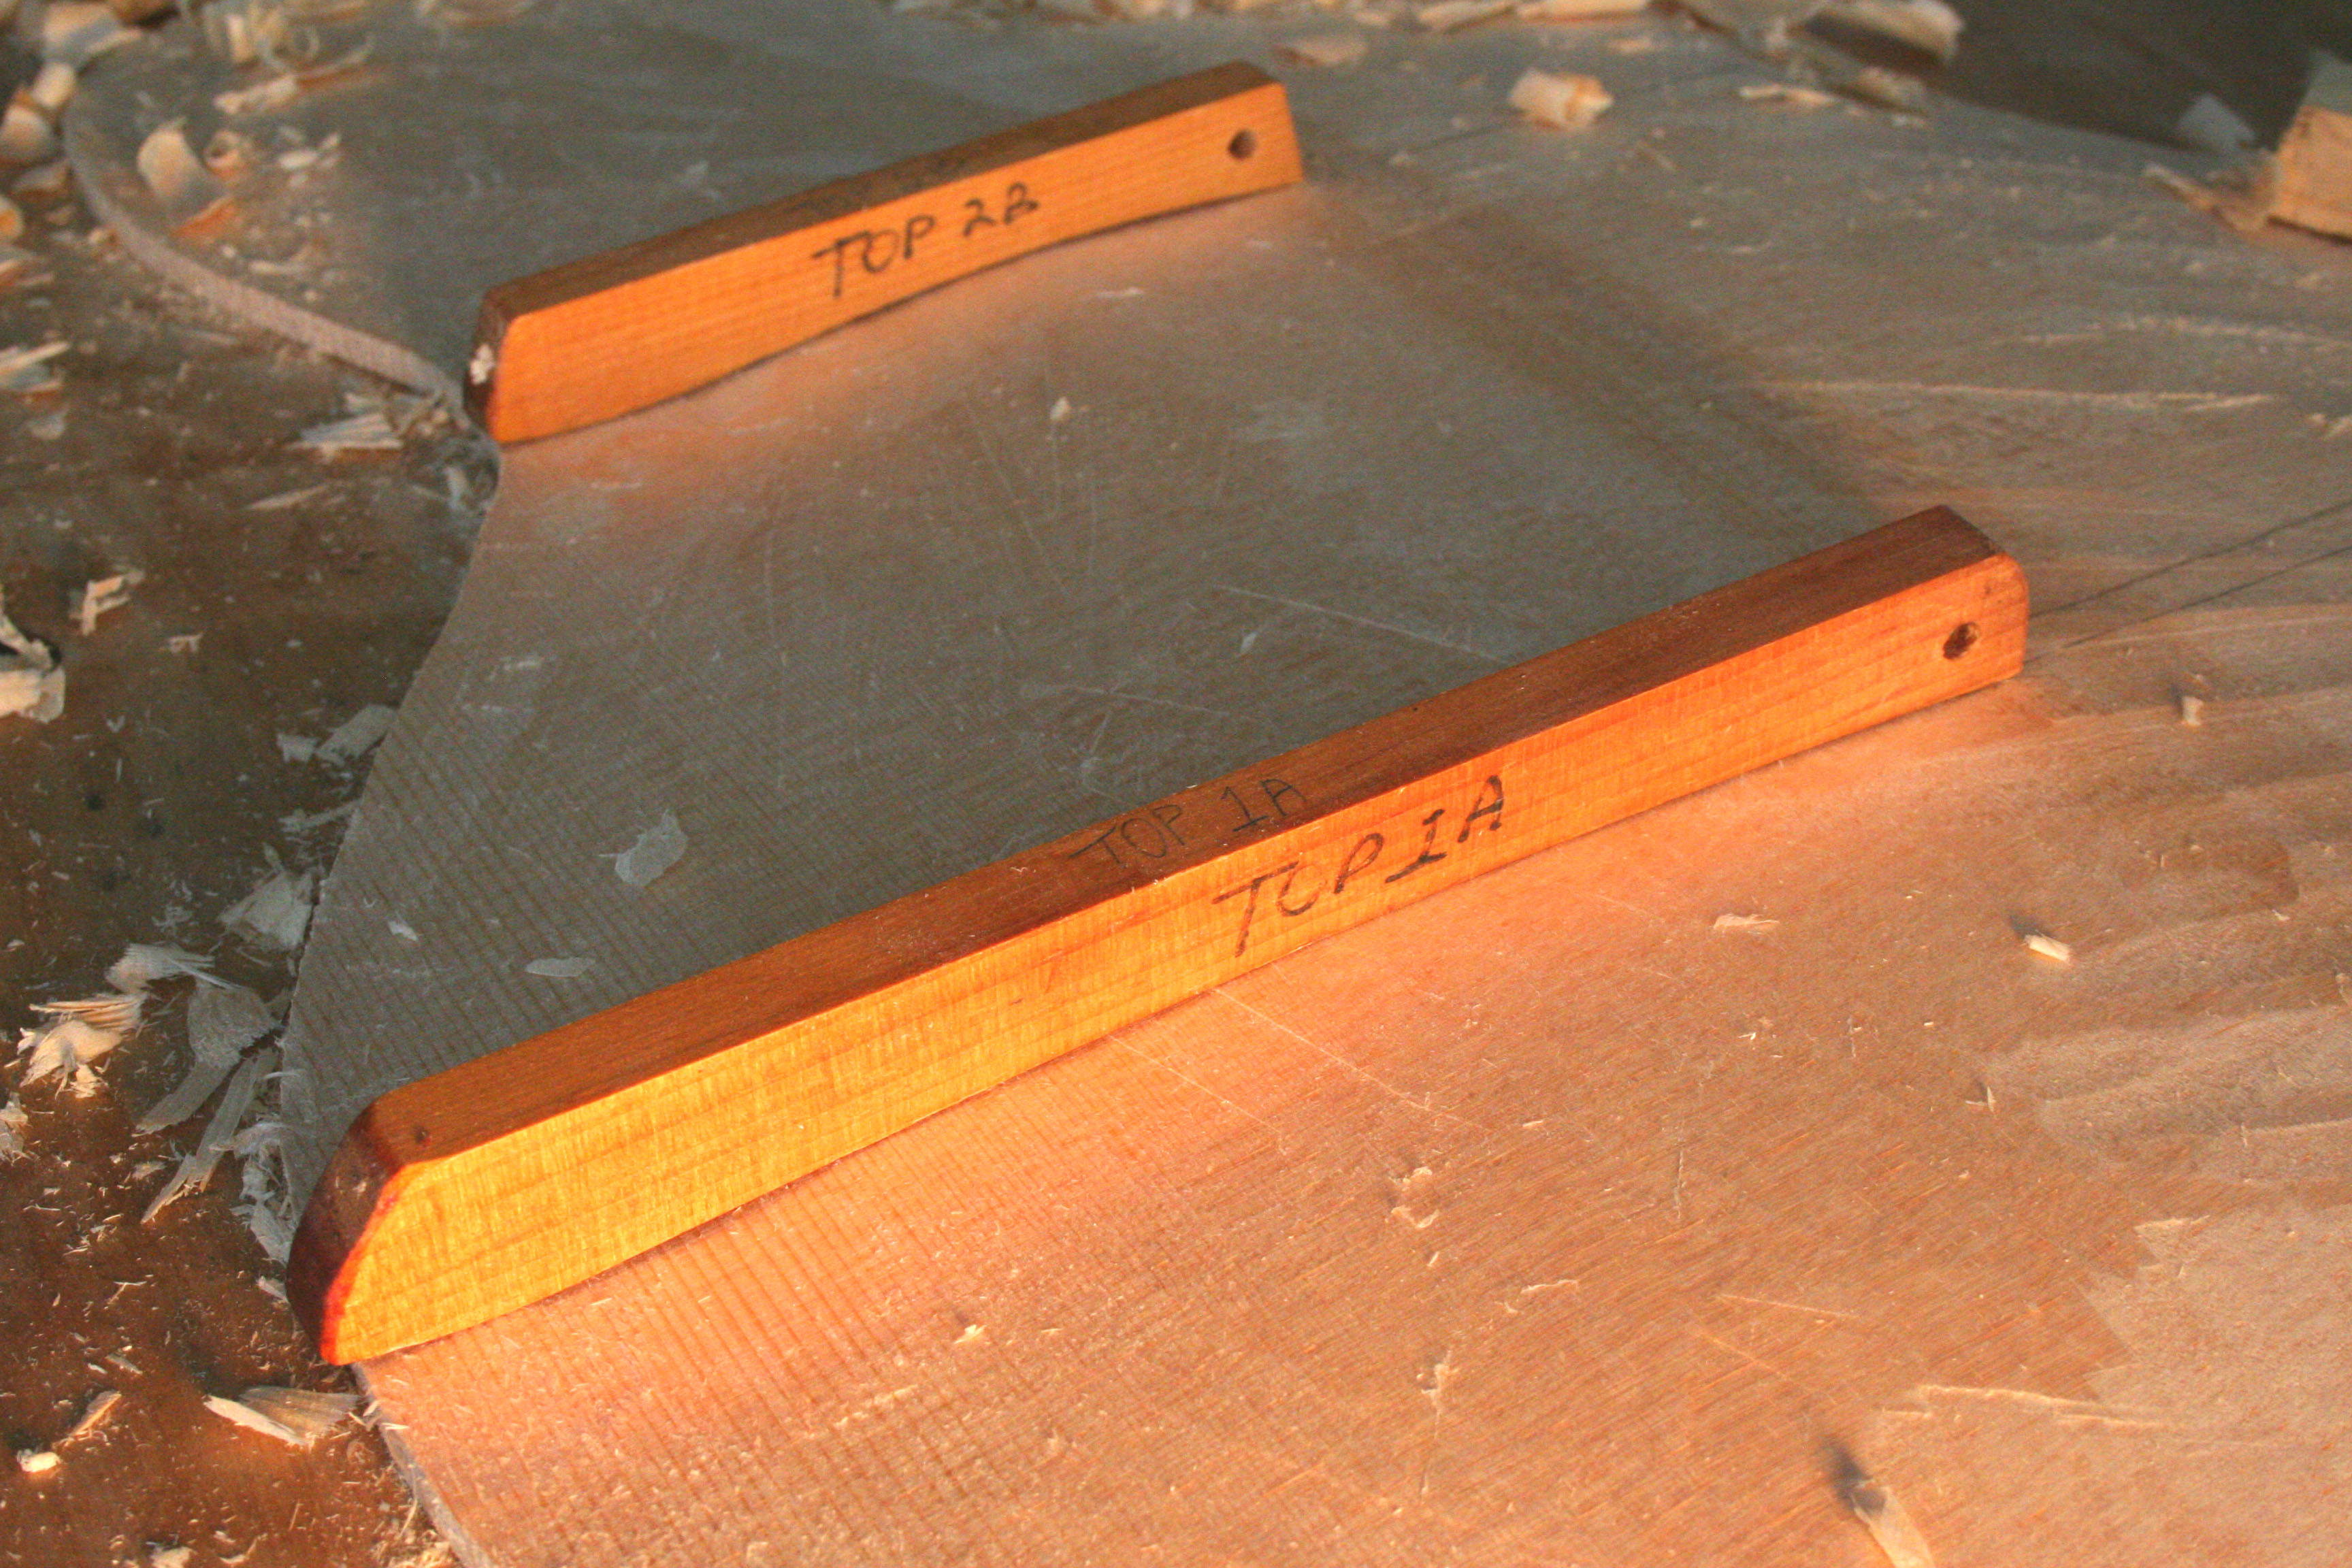
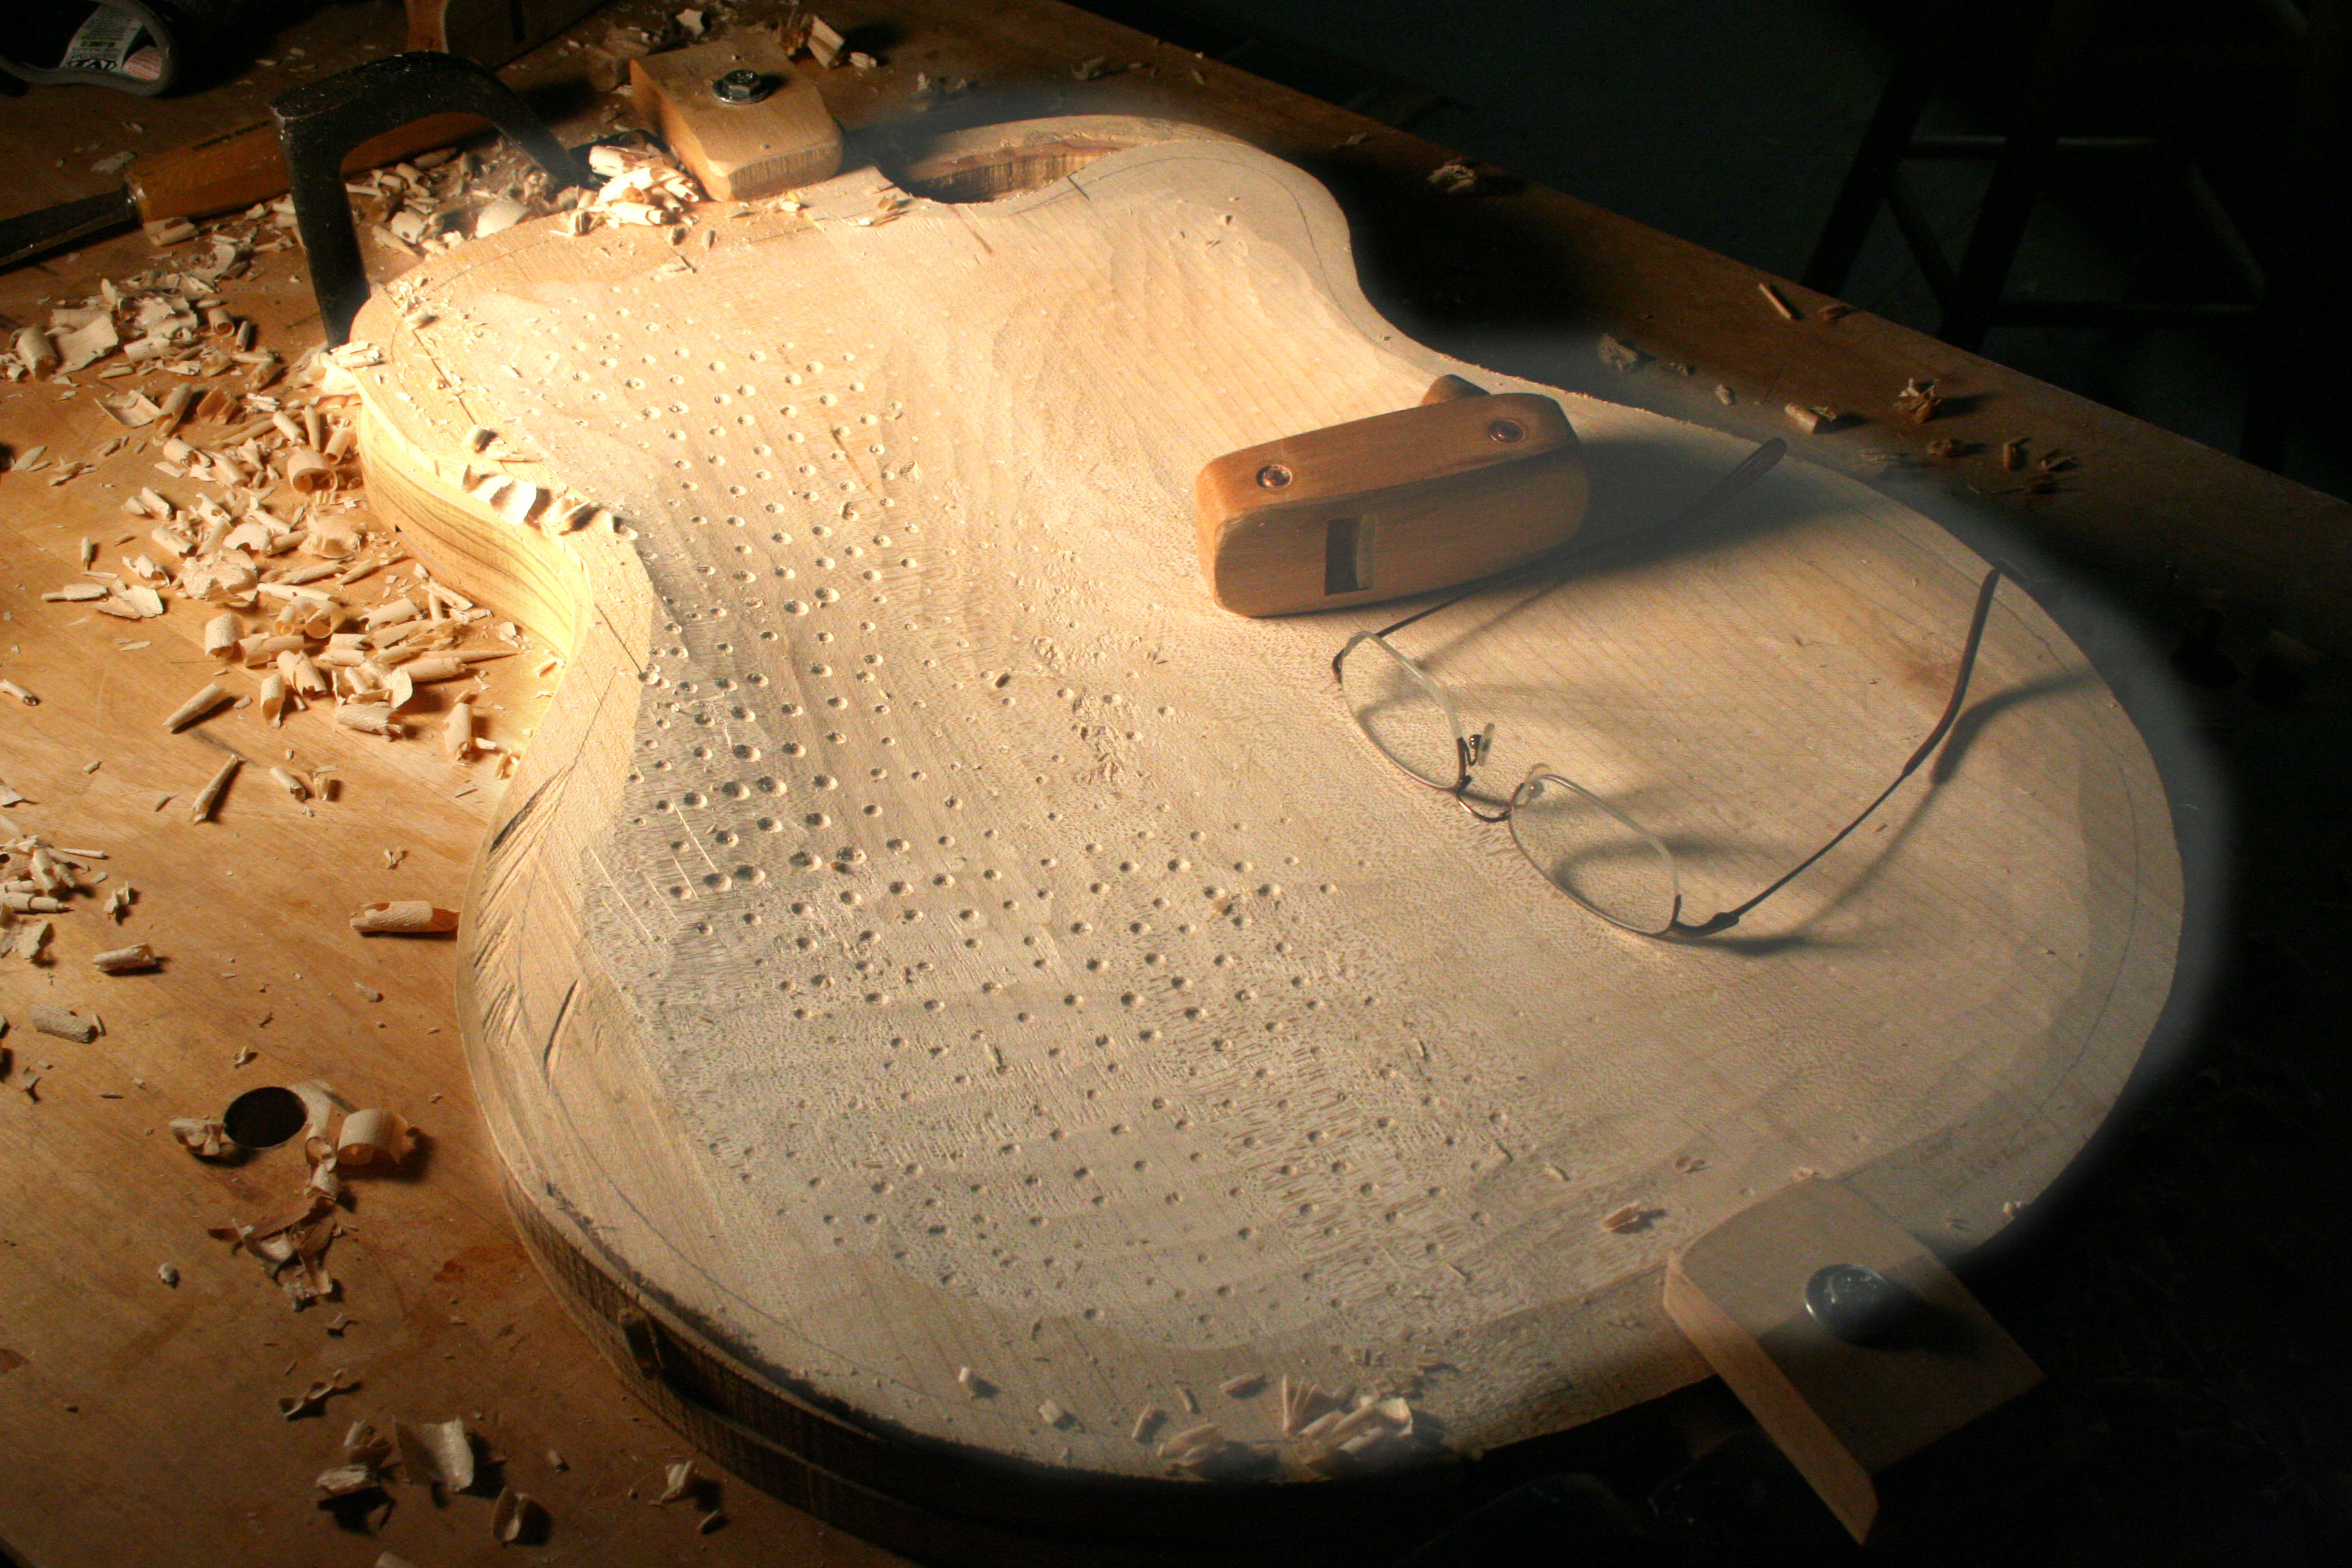
 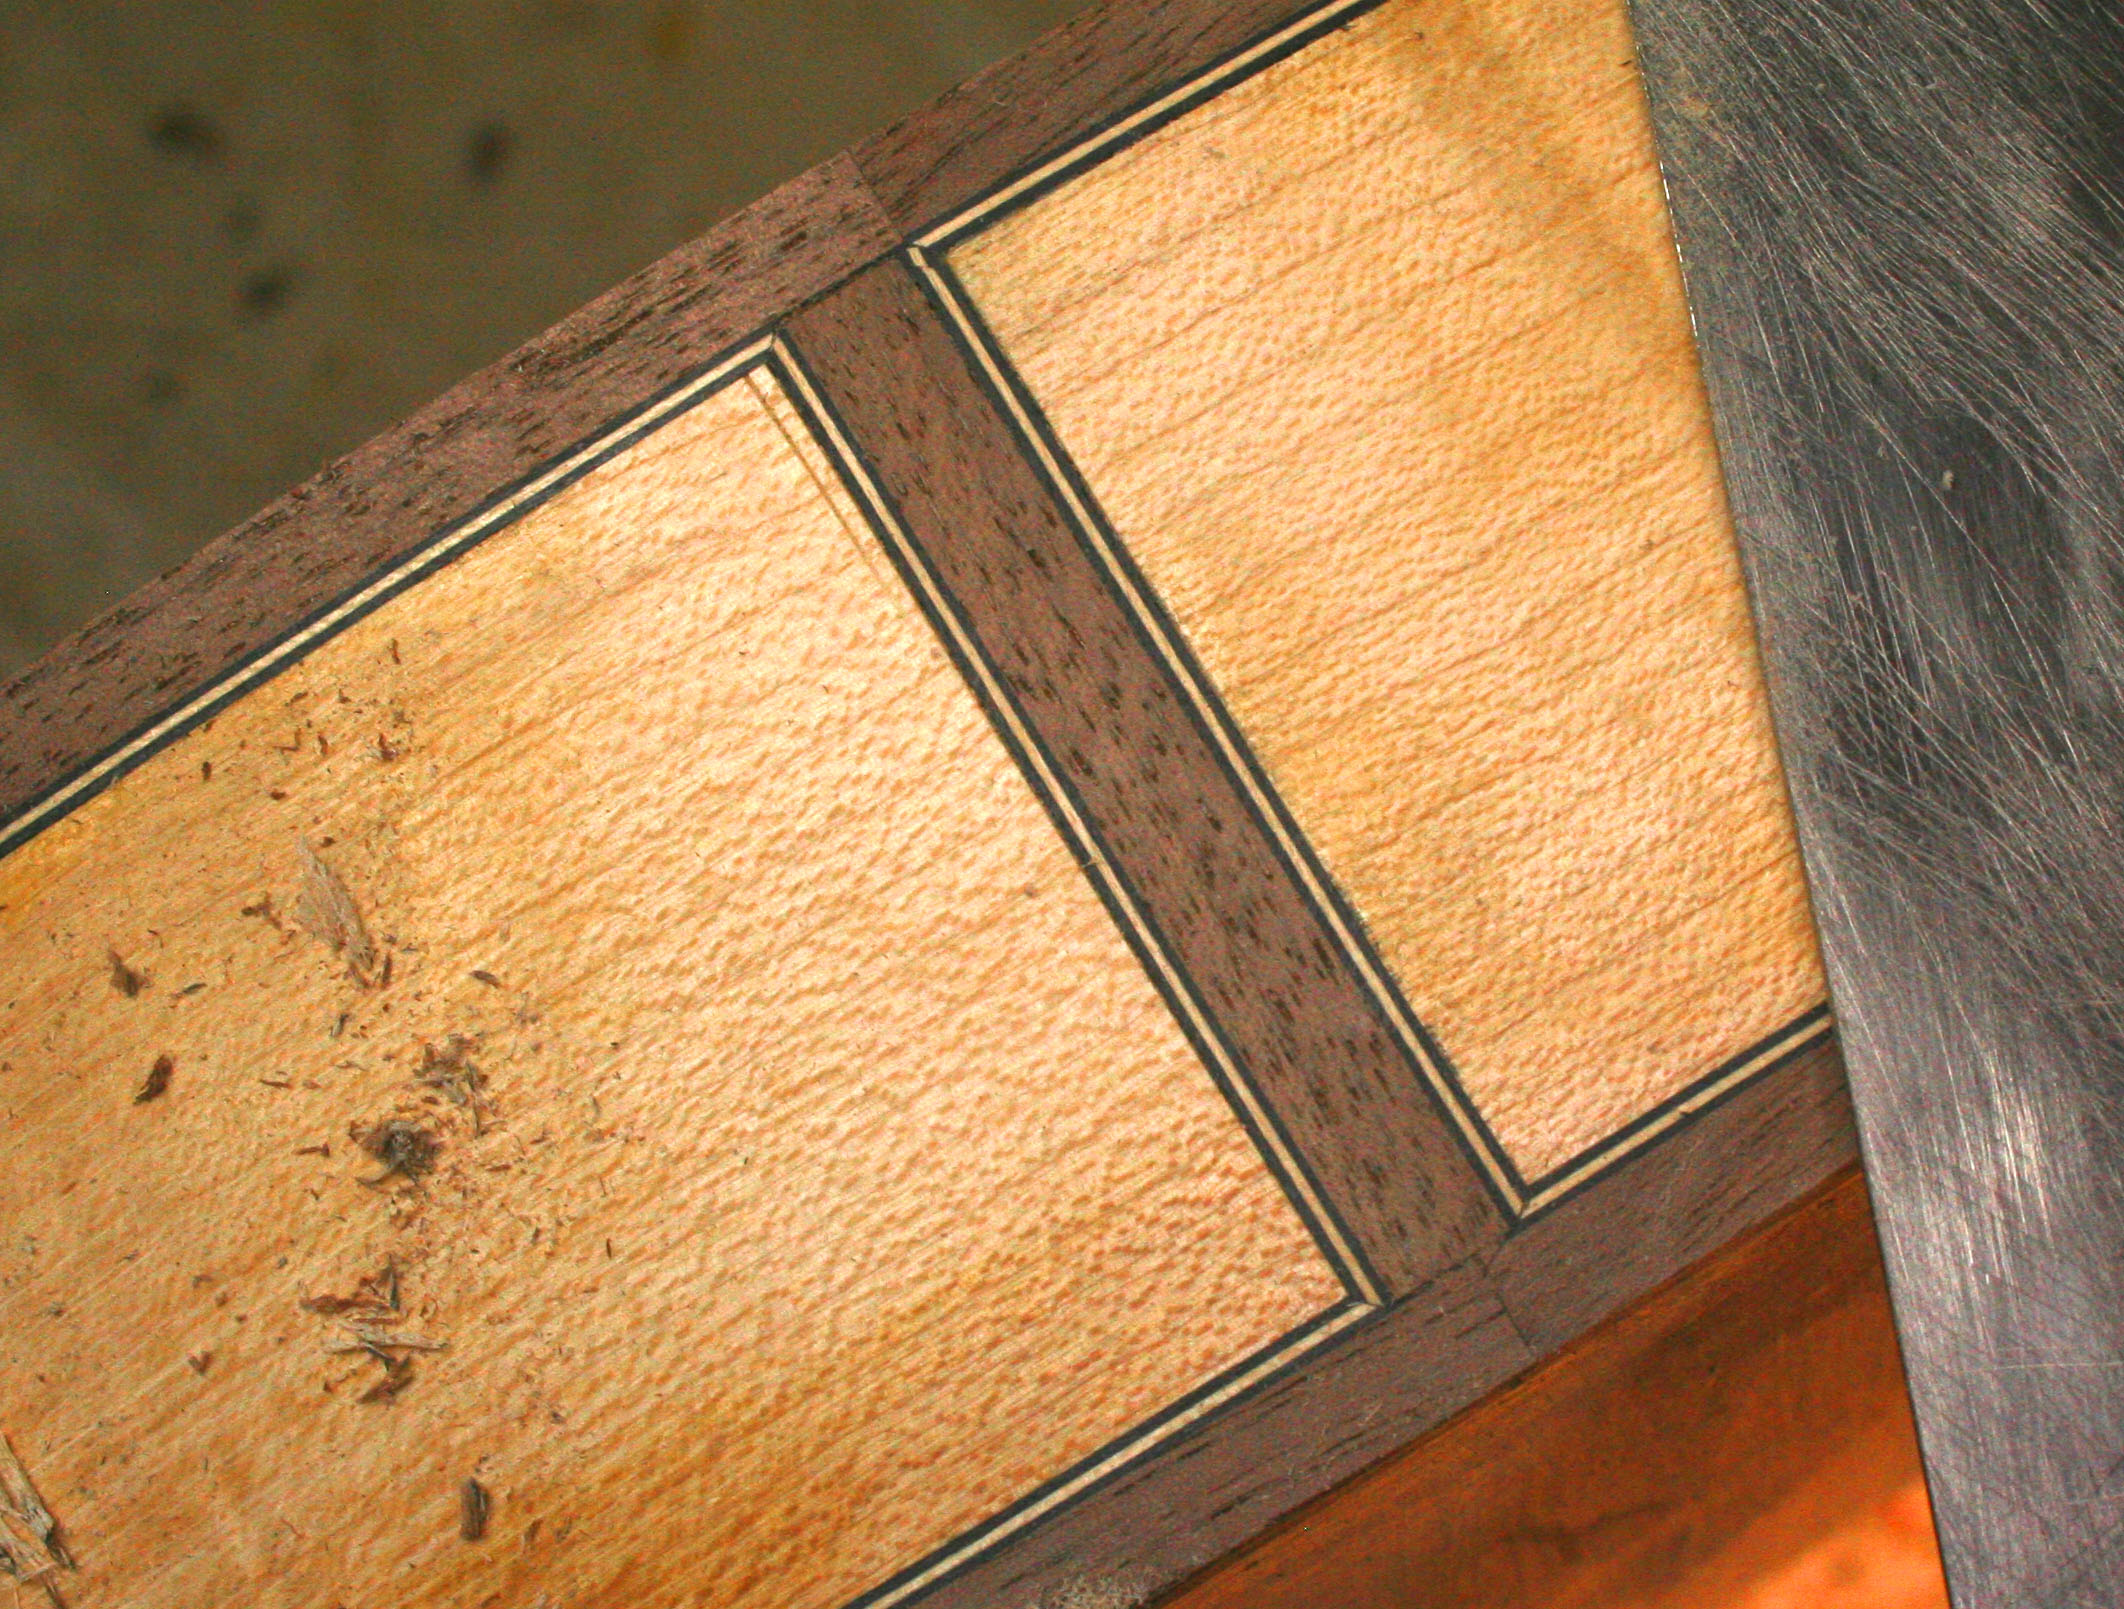 After the binding is done, about six hours of sanding results in the body being ready for the first finish coat – a sealer of thin shellac which protects it from stains and minor dings during the remaining processes. Then, the neck dovetail is cut using a router and jig and 1/2″ dovetail bit. Below, it has been coated with red chalk to facilitate fitting the neck dovetail.
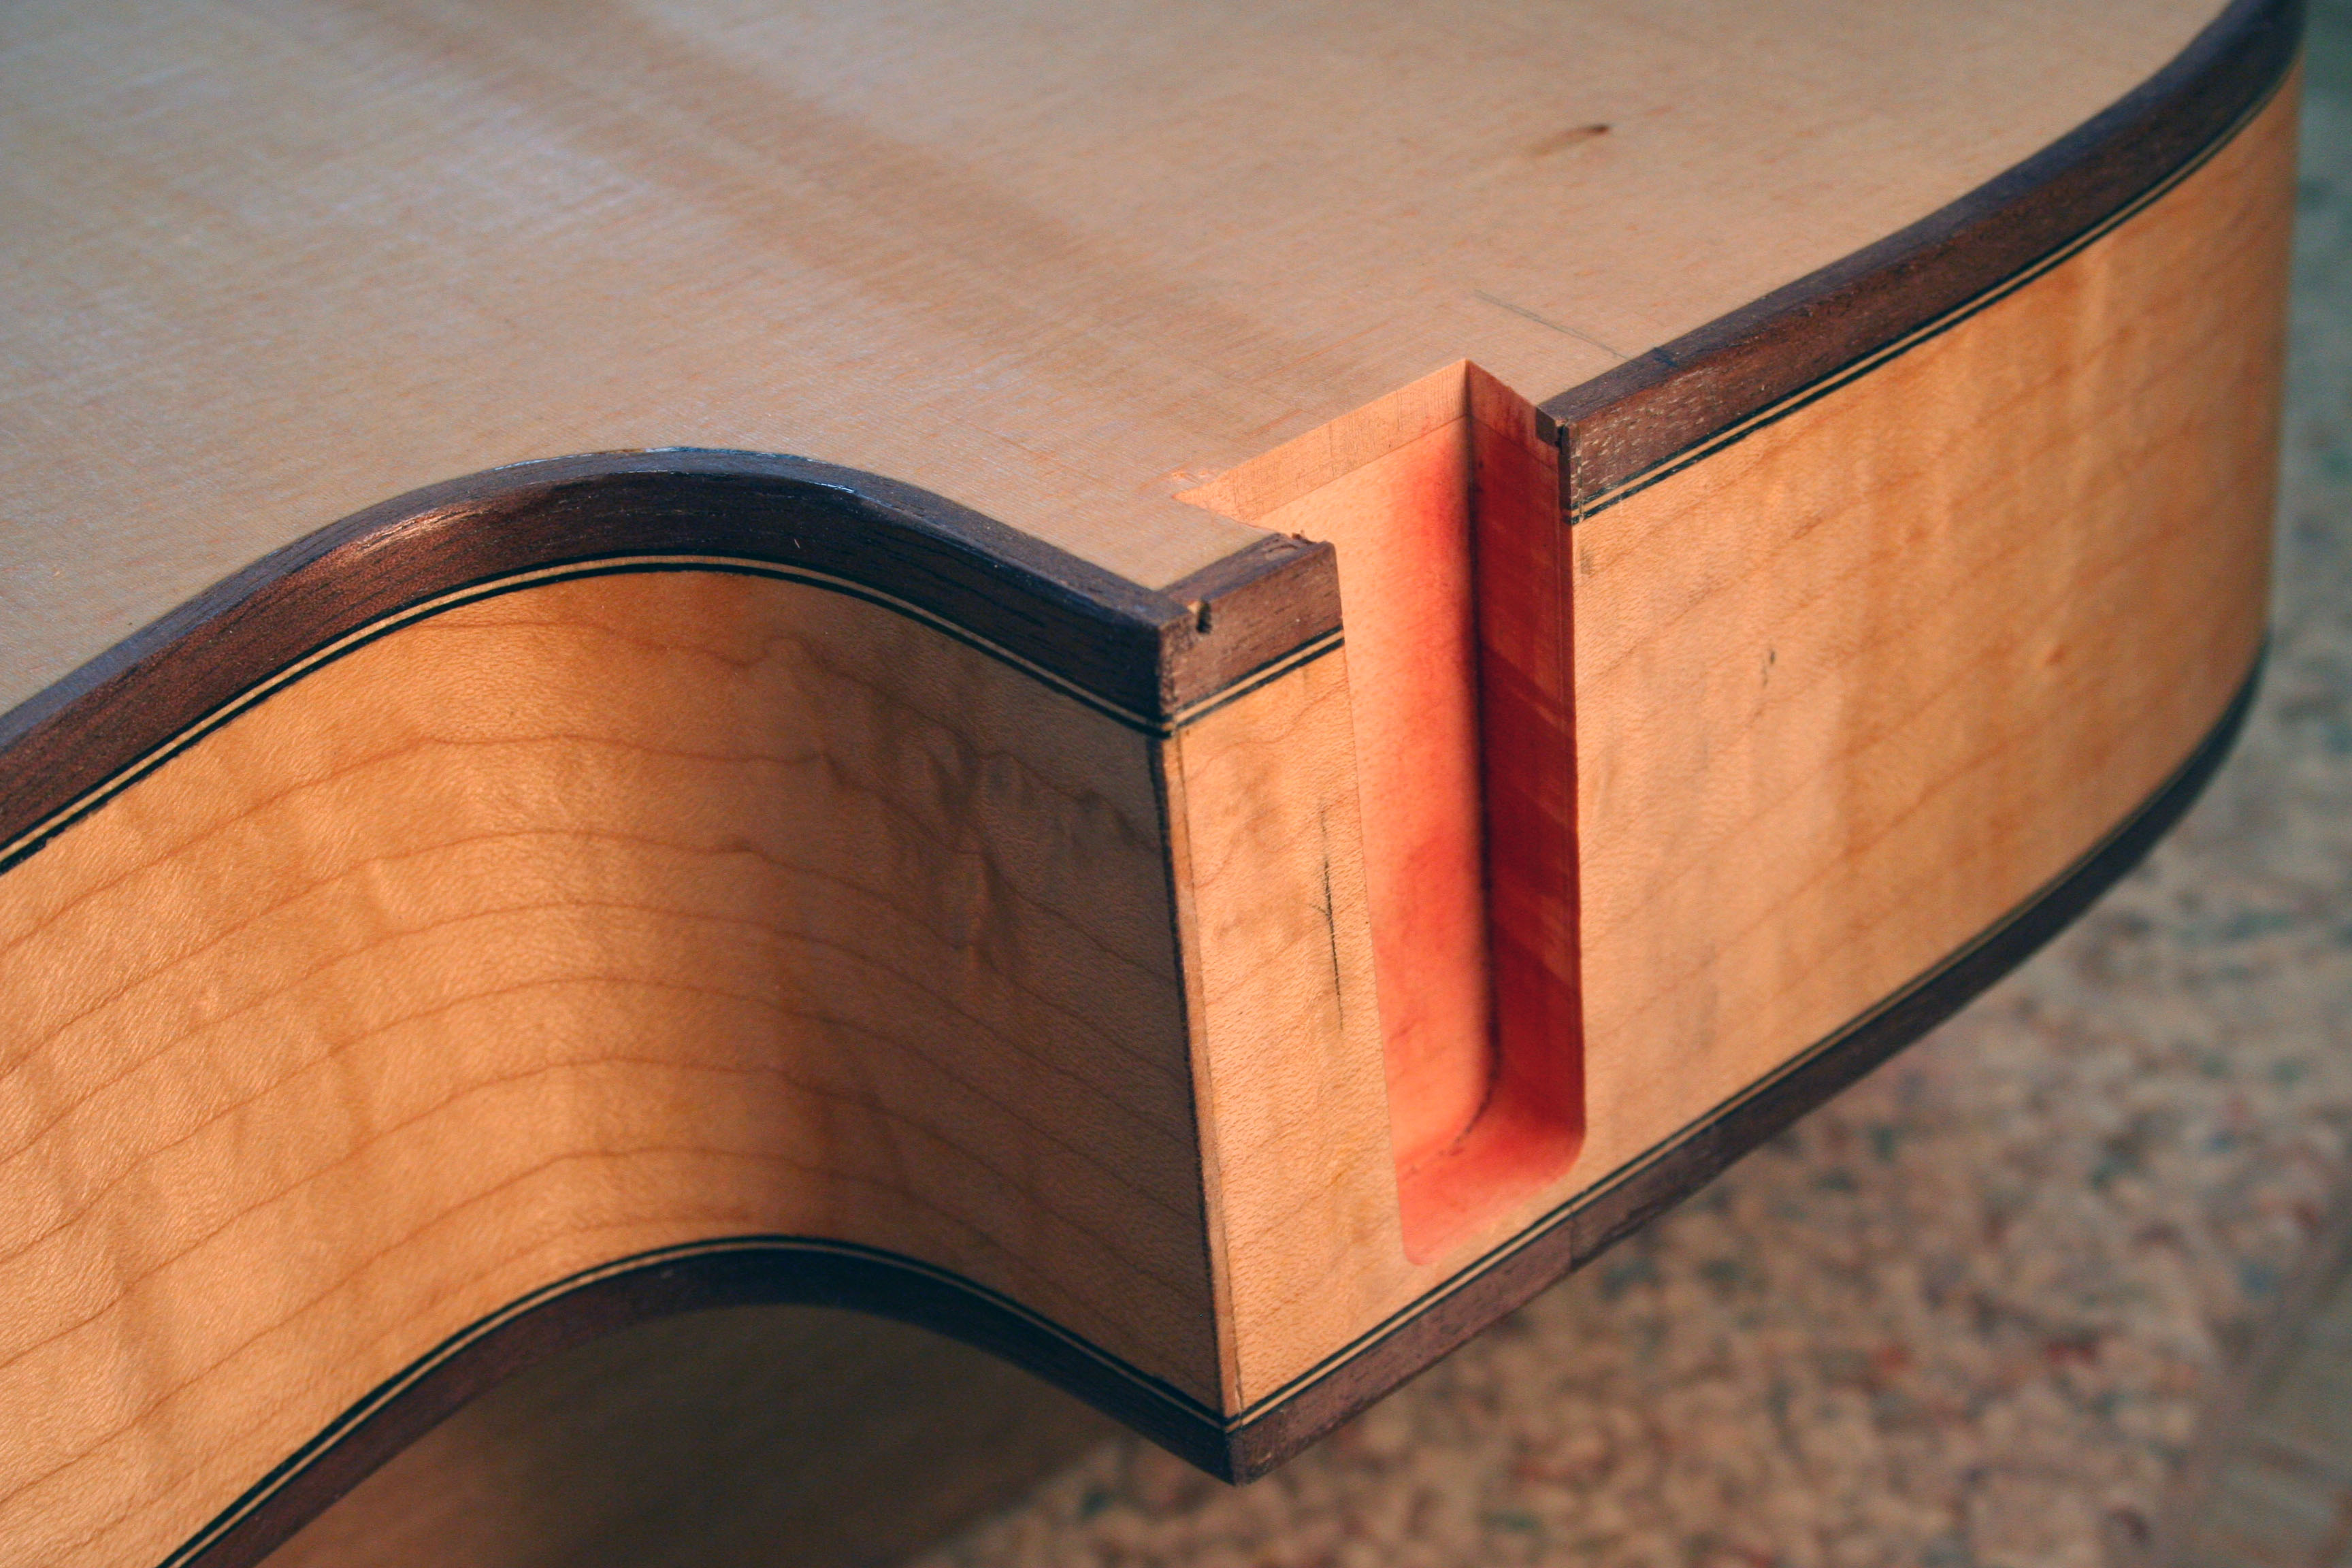
I had a few pieces of 3×3″ quarter-sawn stock I kept from the tree this guitar body came from (it’s a graveyard guitar, remember?) and I chose one of these to make the 1-piece neck. Below is the neck ready for gluing the fingerboard on – peghead ears and veneer (curly maple) glued on, peghead tapered to final thickness, truss rod slot cut, truss rod and truss rod cover installed, dovetail cut and fingerboard extension glued on. Next step is to glue the fingerboard on, radius it and finish sand it, put in the frets, level and dress the frets, carve the neck to its final shape, sand and put on a shellac sealer coat, fit the dovetail and glue the neck on.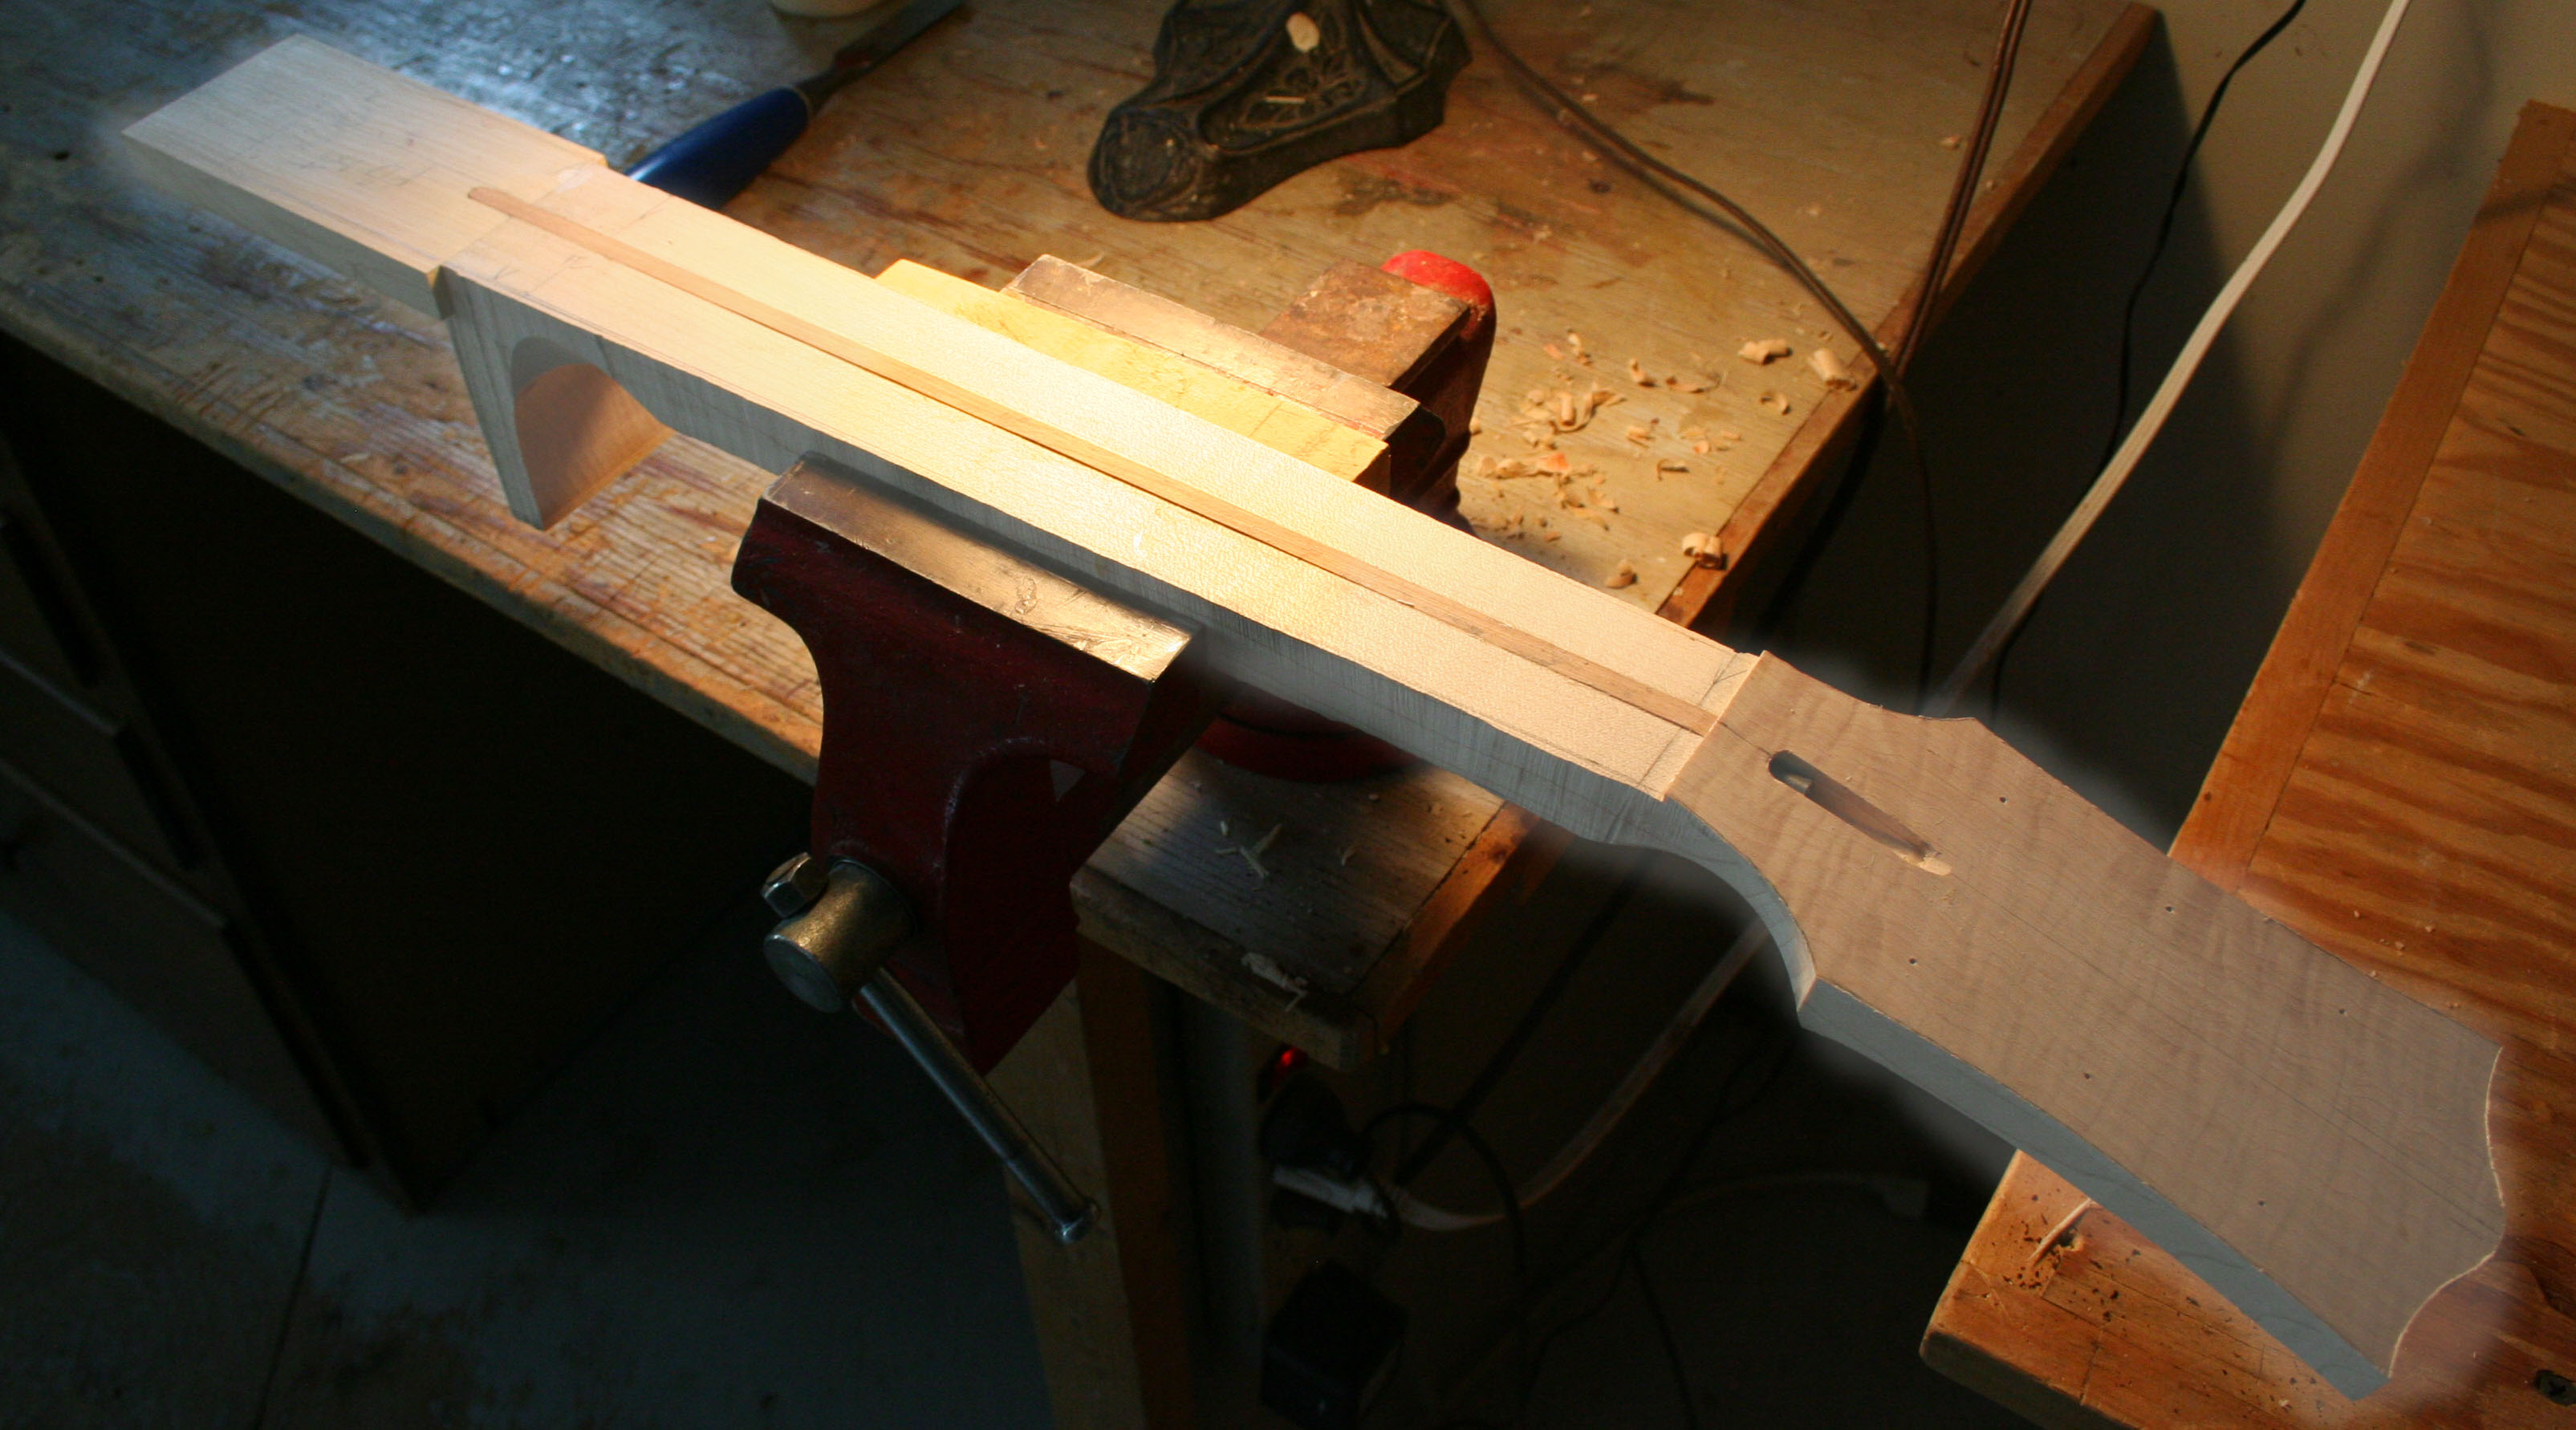
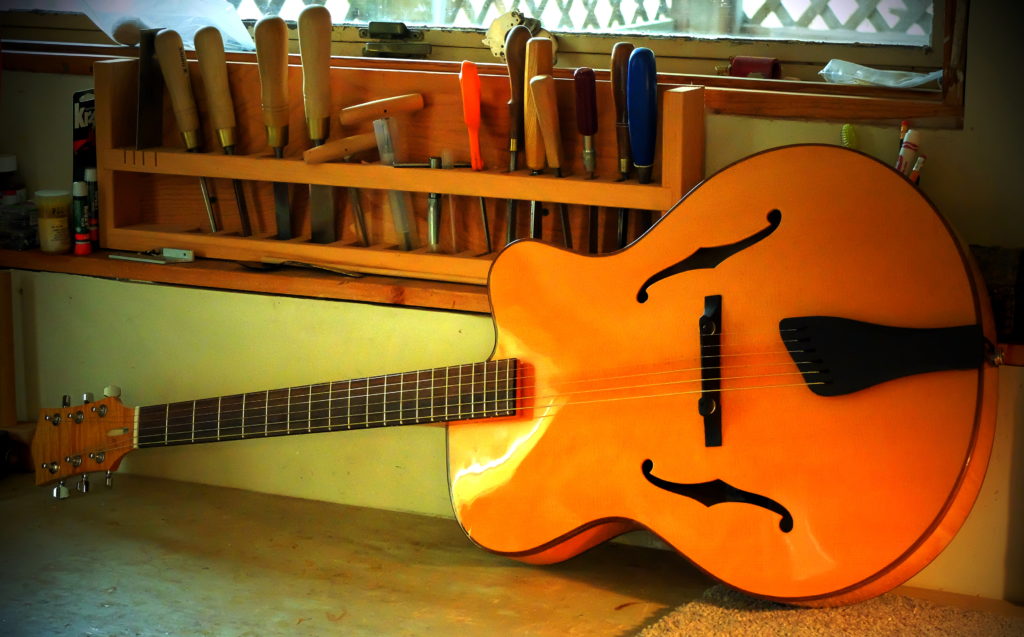
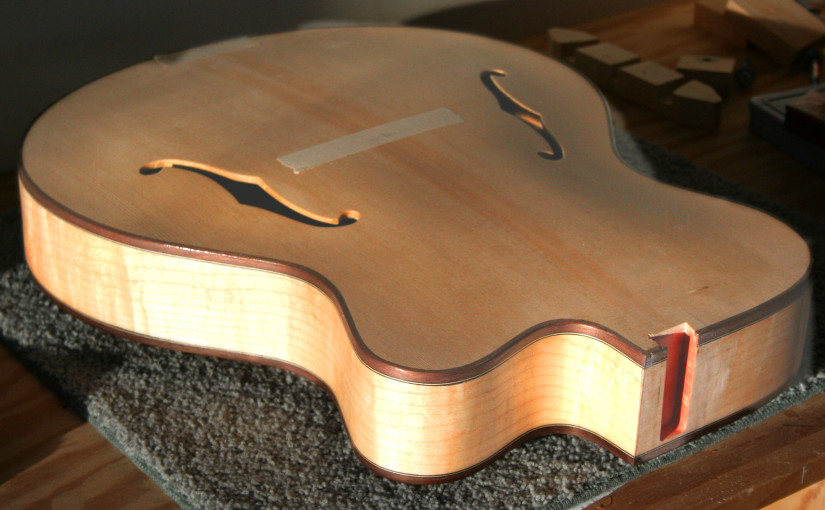
Finished, minus the finger rest and pickup –