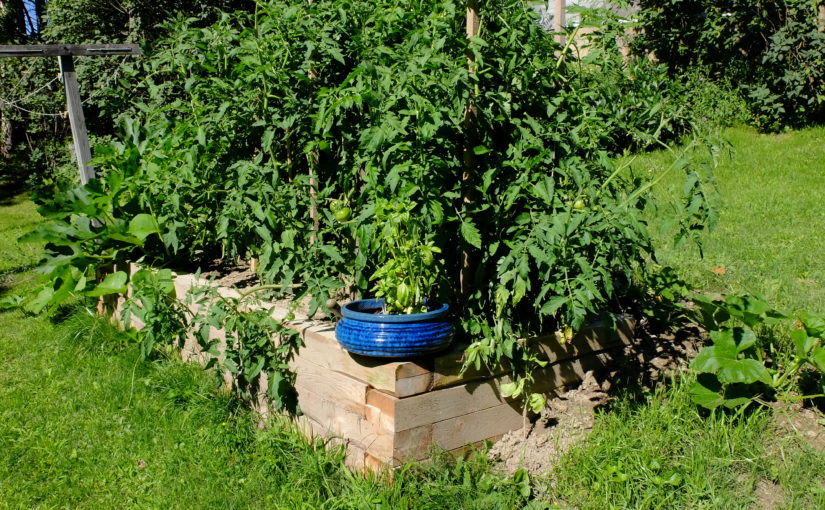
Once I was able to resume work after my hip replacement, the first project was a small raised-bed garden made out of 4×6 white cedar. Every part of my yard is on a slope, so using the 4×6’s log-cabin style let me build it into the hill easily. I pegged the timbers together with 1/2″ steel re-bar cut in 24″ lengths and driven in (pre-drilled holes) with a sledge hammer. The outside dimensions are 10′ x 4′ – the entire space can be reached by hand from the downhill side making weeding etc. a joy. I got my cedar from the Cedar Sawmill of Swanton Vt, cut to my specs. My local excavator had some topsoil he delivered and pretty soon we had tomatoes deluxe. They didn’t stop bearing until we finally had a frost the first week of November. It also grew 2 pumpkins a bunch of zucchini and some green peppers. Pretty good for a 3×9′ space.
Having entered the age of joint replacements, I also thought I’d better get ready for the next one, which is actually coming up next week. Hospital discharge planners are always asking ‘do you have outside steps? A handrail? Are they uneven?’ – to which I used to answer ‘Yes’ ‘No’ ‘Yes’. A little perusing the internet suggested that the forms for concrete steps are actually pretty simple – a couple of outside stringers with risers connecting them, and you pour the concrete from the bottom up. Suggest a ‘3″ to 4″ slump and 3,000 psi’ if you want to sound like you know what you’re doing when you order the concrete. Calculating the volume is a little tricky – you don’t want to over-buy, but neither do you want to run short. I took the overall length, made an estimate of the average depth and rounded up a little. I ordered 2 yards for this pour, and had a little left over. Removing the old steps was more than half the work – they were made of stones set in mortar that was actually very solid. That’s a portion of the old steps beside the forms. I removed material until I would have a minimum of 6″ concrete everywhere. There is 1/2″ re-bar placed to tie the whole thing together.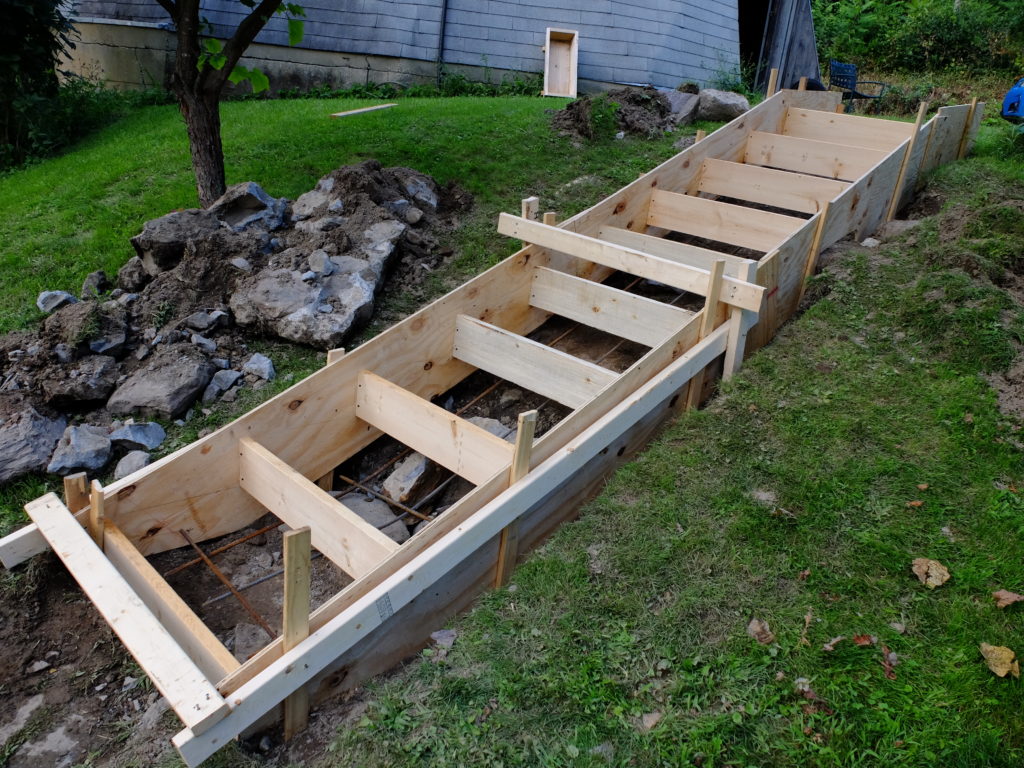
Filled with concrete. It is good to put a little slope on the steps so they will drain. I finished the edges with an edger (of all things) and gave the steps a coarse surface with a light brooming. 
The railing is 1 1/2″ galvanized steel pipe (local plumbing shop) set in separate concrete pads, with a white oak railing. (Boat project is waiting …)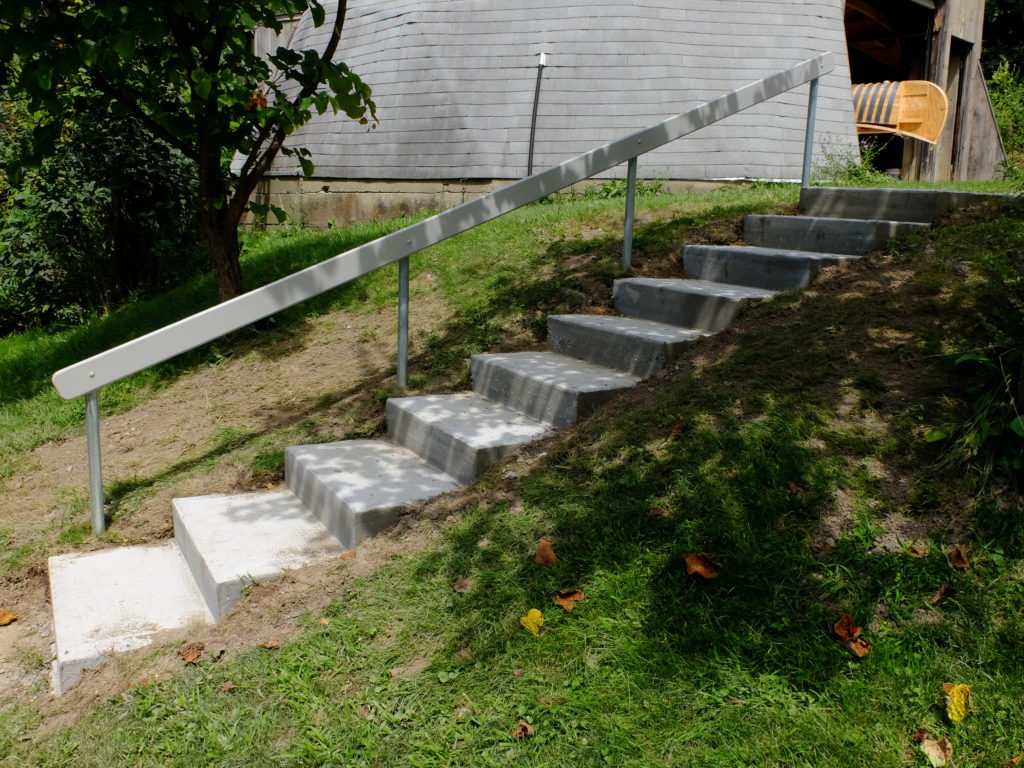
It has been a big mouse year. Starting with a foray on my screened porch that led to a victory combined with a disaster, things devolved into a protracted battle leading to an uneasy truce. I found a hole into my rim joist under my front porch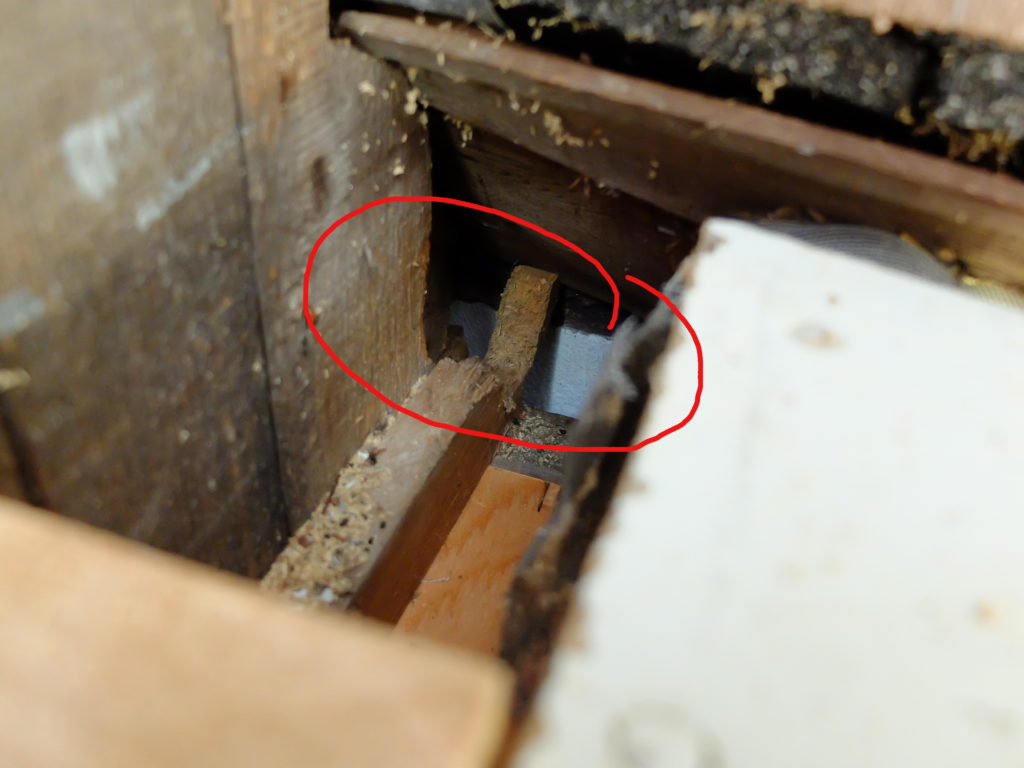 and cleverly filled it with concrete
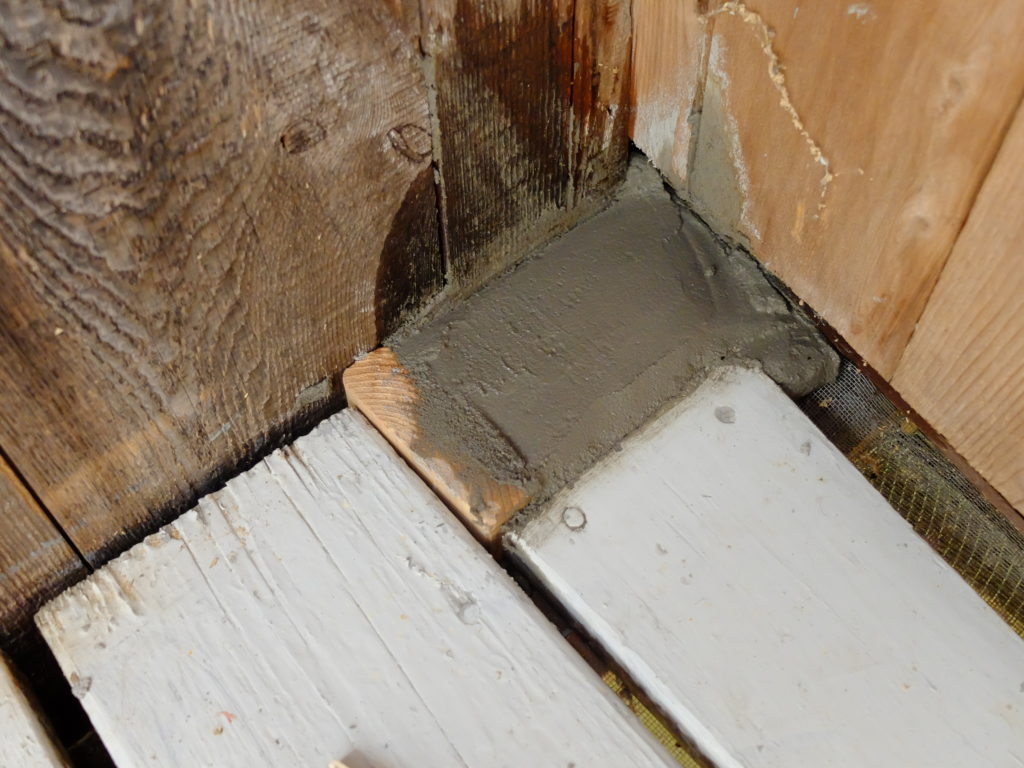 only to discover I not only blocked the point of ingress, but also the point of egress. The interior mouse population apparently doubled. (that was the minor victory/disaster). In pursuit, things got a little out of hand after I decided I’d better check under the basement / guitar shop floor – to find all sorts of rot and corruption – insulation mouse-shredded, wet on the ground (it’s a dirt floor crawlspace under there), joists half rotted.
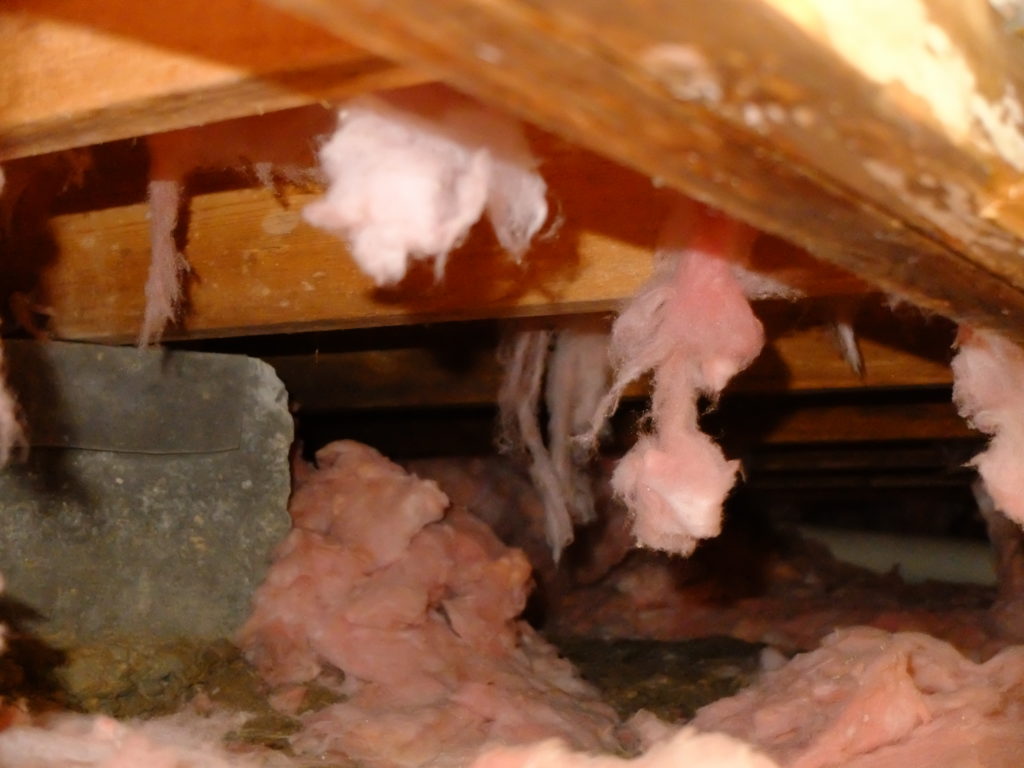
It all had to come out and that’s when I found crawlspacerepair.com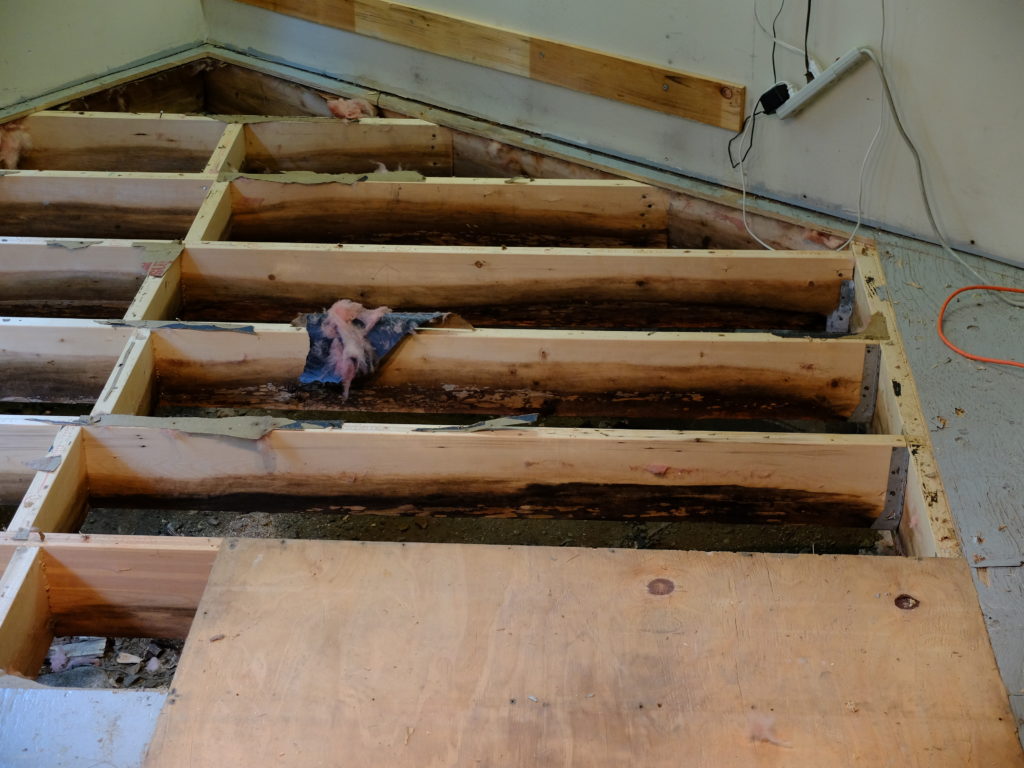
This is not a paid endorsement – I just found their advice and materials and service first-rate. I took their advice. I stripped my old floor out, leveled the dirt subfloor so it would all drain in one direction, put down their felt under-layer and sealed the space with their 12 mil Silverback poly, after insulating the exterior block wall.

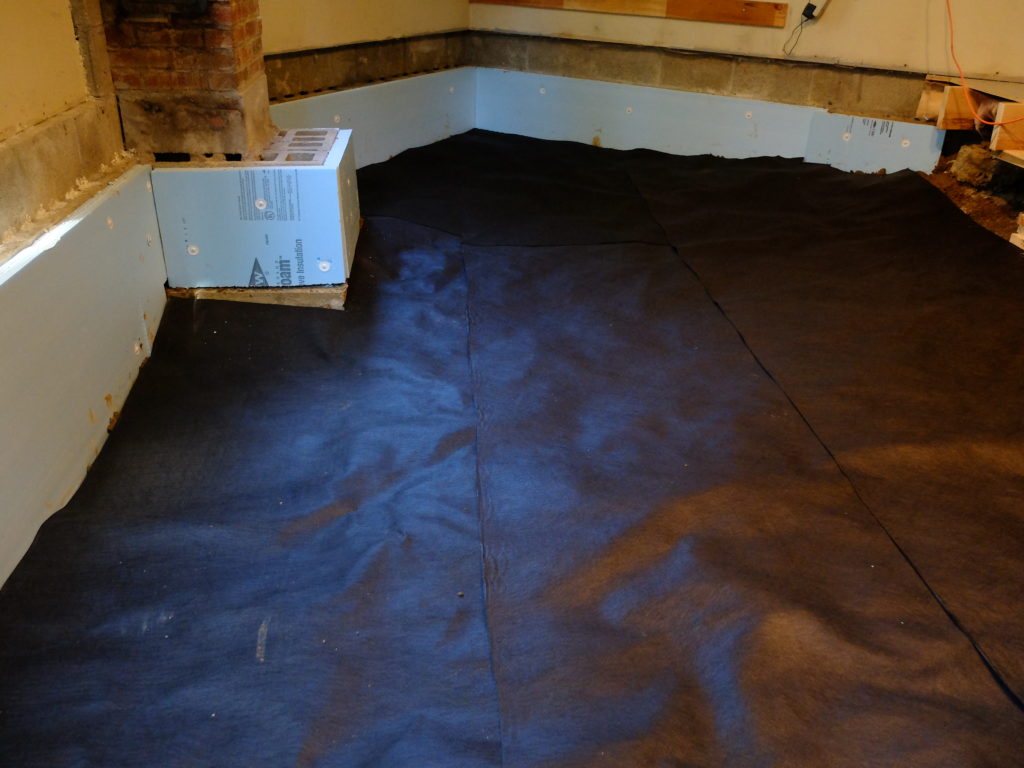
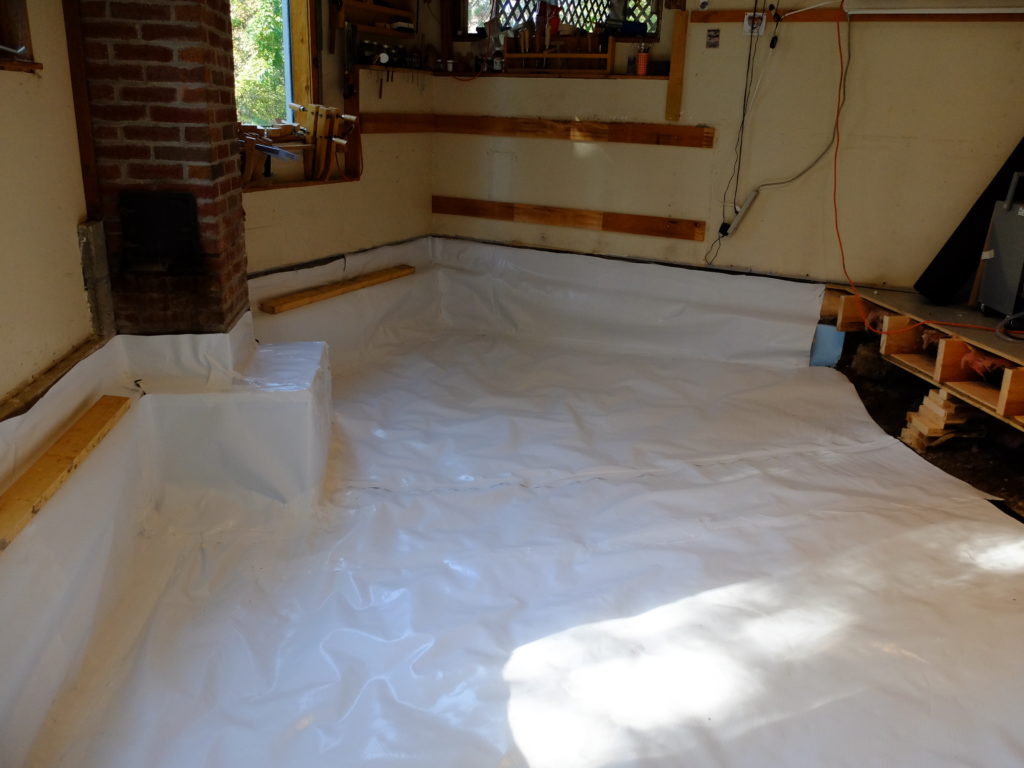
I had to do the floor one side at a time because of all the stuff down there I had no place to move to. New pressure treated joists, plywood subfloor and pine T&G flooring finished the job. I did not insulate the new floor, opting to treat the underneath space as ‘conditioned’ space by putting in a couple passive vents in the floor. If I ever find water accumulating on top of the poly (I left an access hatch) I will put a little sump pump down there, but so far things are absolutely dry. I’m very pleased with the result. Banging down pine tongue and groove with a framing nailer goes against the Fine Housebuilding Code of Ethics – as did my determination to paint the floor – but I already have plenty of nice wood grain to look at, and this is a shop floor, not an art gallery. I felt good about it.
Another plus – it gave me an opportunity to buy the pneumatic framing nailer I’ve always wanted – a DeWalt DWF83WW. Great gun. With this stuff out of the way, I can get back to some fun projects.