Yes, you can buy pre-slotted, pre-radiused, pre-fretted fingerboards – but making your own gives you the freedom to select scale length, radius, fret size etc. I make many different sizes and types of instruments and use the same method for making the fingerboards for all of them. So – here is my method of making a fingerboard.
Starting on the jointer with a fingerboard blank – this one is second grade ebony – I straighten one edge and flatten one face. Then I use the thickness sander to reduce the thickness to somewhere around 0.200″. Steel string necks are finished to a total thickness of 0.850″ at the first fret, going to 0.950″ at the 12th, so a 0.200″ fingerboard leaves me 0.650″ of neck material at the first fret, which is just right for a truss rod slot that is 0.440″ deep. I leave a little more material under the truss rod end beneath the nut for good measure. I put a piece of masking tape along the true edge of the blank and mark the fret positions accurately with small pencil marks. I use a fret scale ruler from Steward MacDonald to locate the frets for ‘normal’ scales, or measurements from the fret location calculator that Stew-Mac offers for scales that aren’t on the fret ruler, like bass and uke scales. (This may sound like a plug for Stew-Mac, but it isn’t. I just happen to use some of their tools). Next, the blank goes into a homemade miter box, true edge towards the back fence. A light placed behind the box shows through the slot to line up the fret location marks. If I don’t move the light, each mark will come out true relative to the others.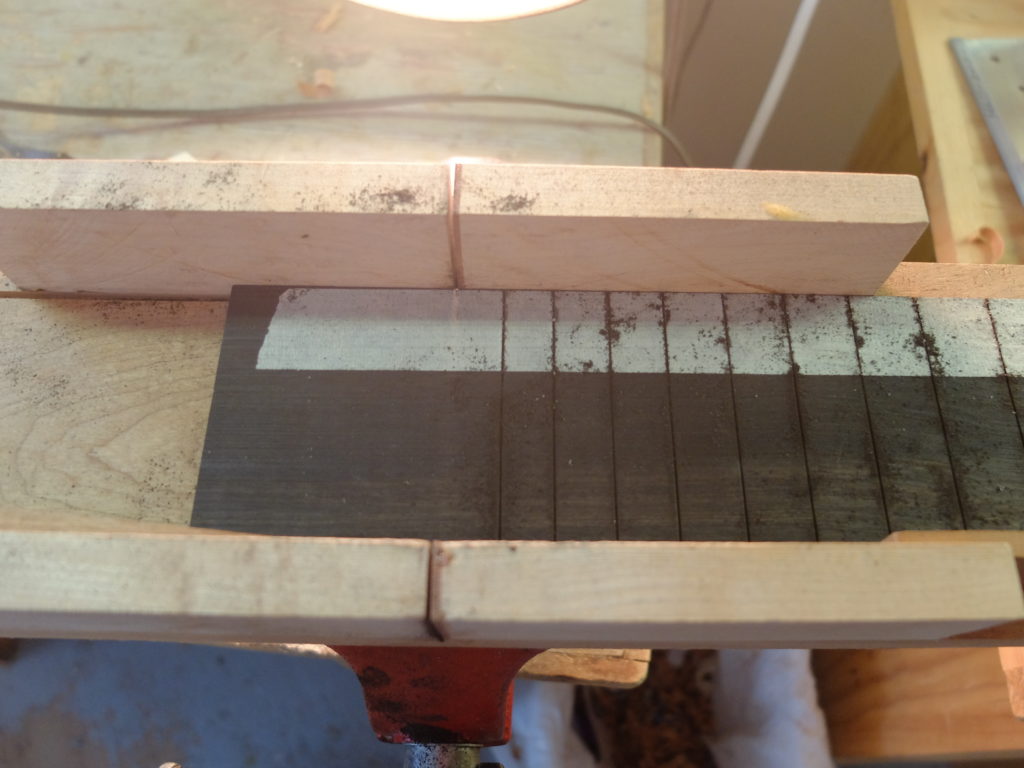
The purpose of this phase is to get all the slots started, at right angles to the edge, but not take them to their finished depth – that comes after the radius is put on. I am using the Stew Mac pull-stroke fret saw.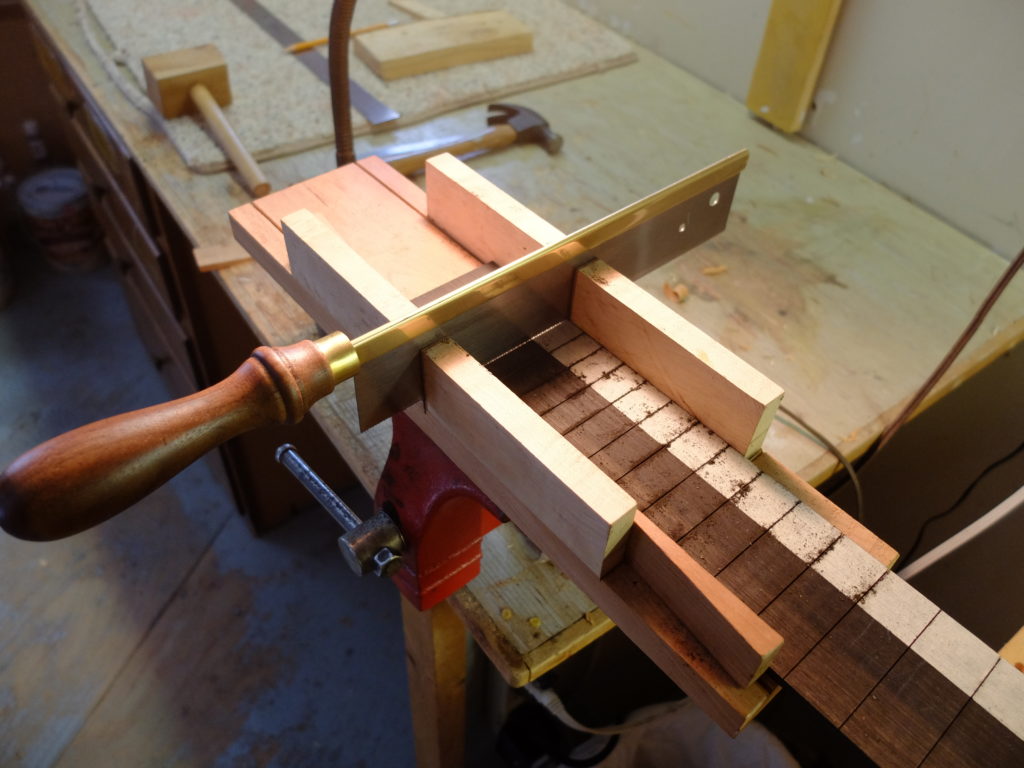 I use wedges to hold the board in place for each cut. After all the slots are started, I mark the taper – 1 11/16″ at the nut to 2 3/16″ at the 14th fret – and then cut that out on the bandsaw and clean up the edges with the jointer after cutting the board to its finished length.
 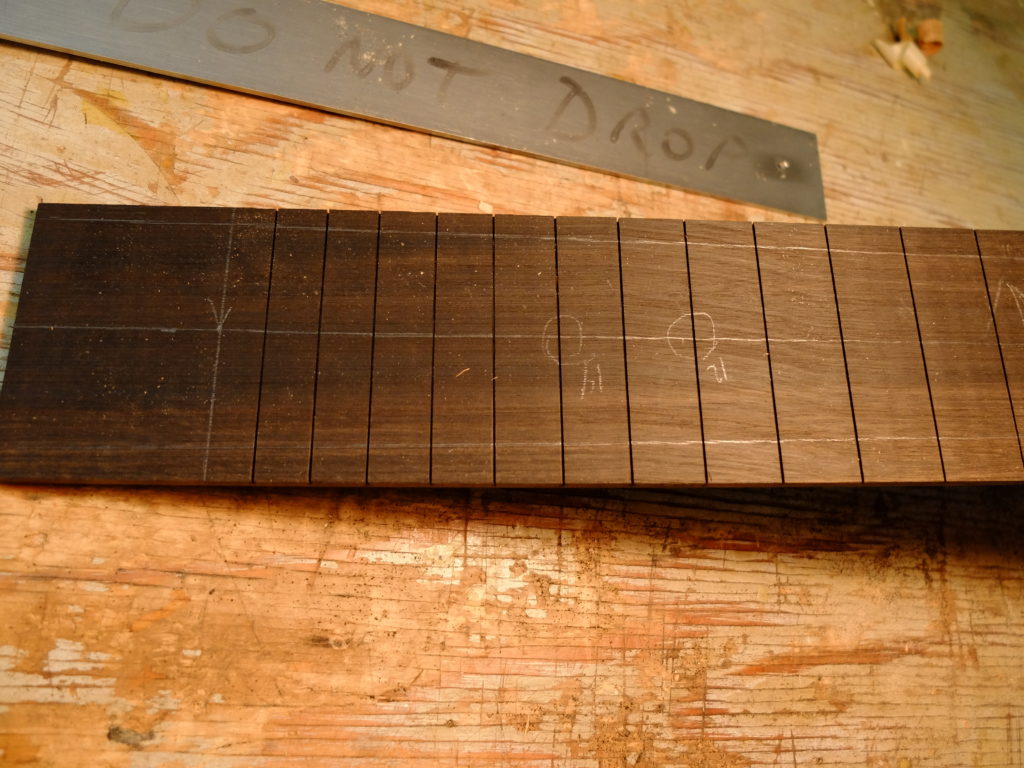 Now is the time to do any inlay – this one has abalone dots at the octave position. I lightly glue (2 small drops of Titebond) the board to a flat, rigid backer, and start in with the radius sanding block with 80 grit paper. This is a flat top and uses a 16″ radius. I use rubber cement to glue the paper to the block.
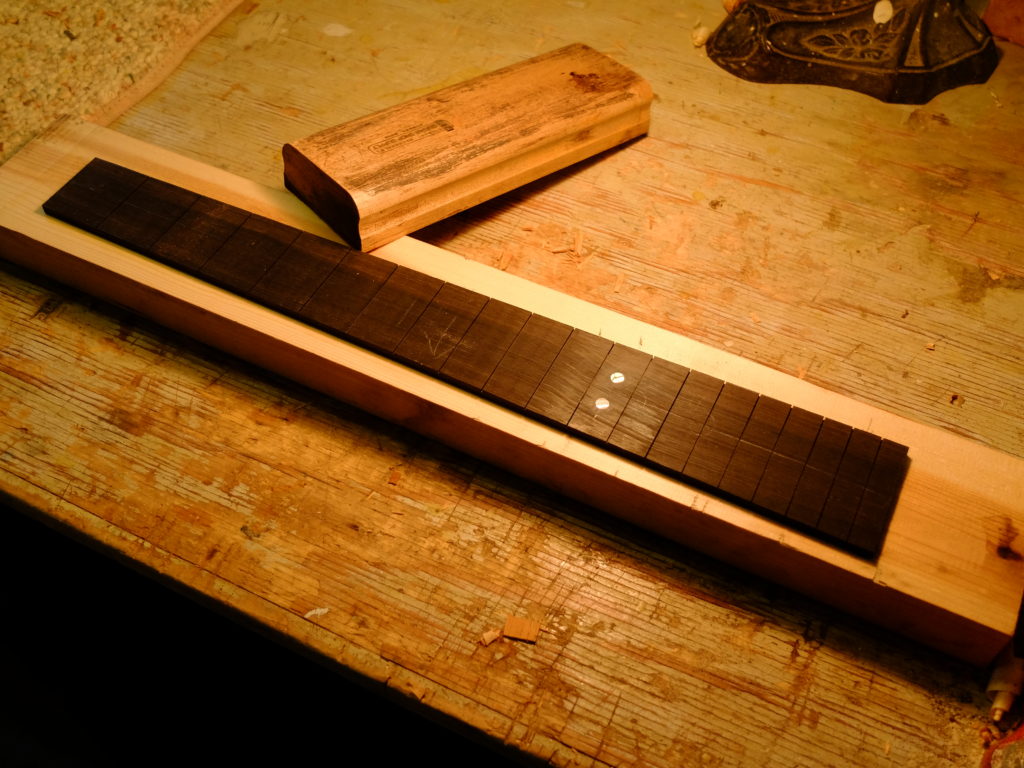 The radius goes on fairly quickly –
 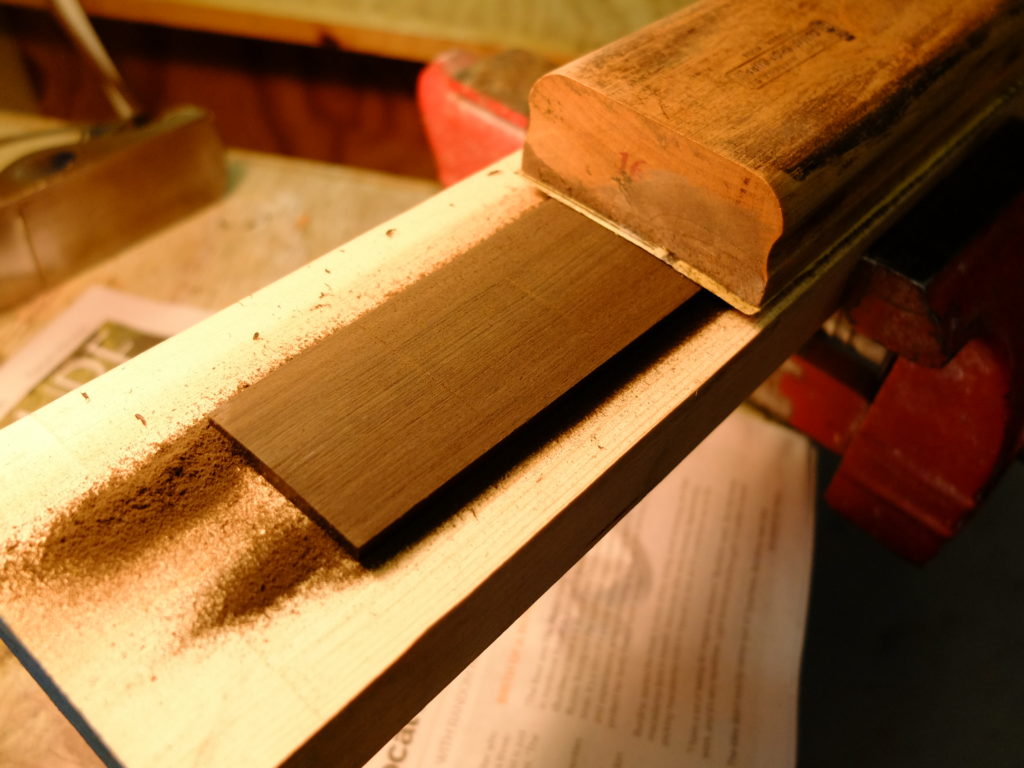 I make a series of pencil marks on the face, and when they are all gone, I can stop with that grit.
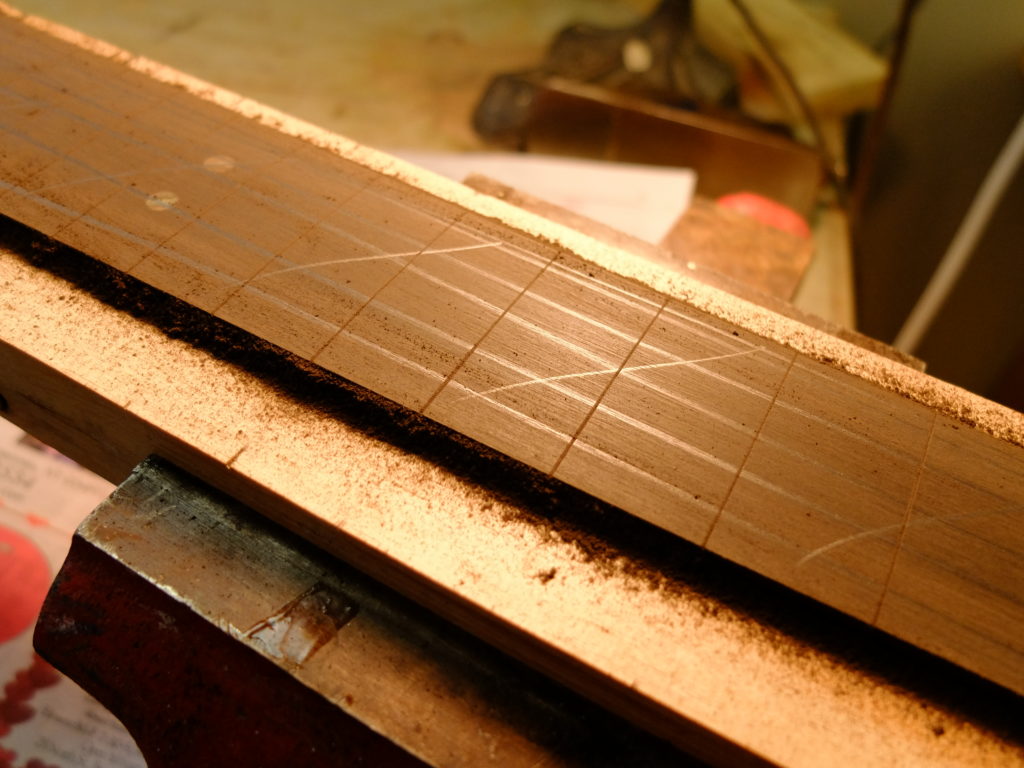 When I have the whole board radiused, I stop and cut all the slots to their finished depth with the Stew Mac pull-stroke fret saw with depth attachment. I use a lubricant called Pro Cut to help keep the saw from binding. I shoot for cutting the slots at least 0.010″ deeper than the fret tang.
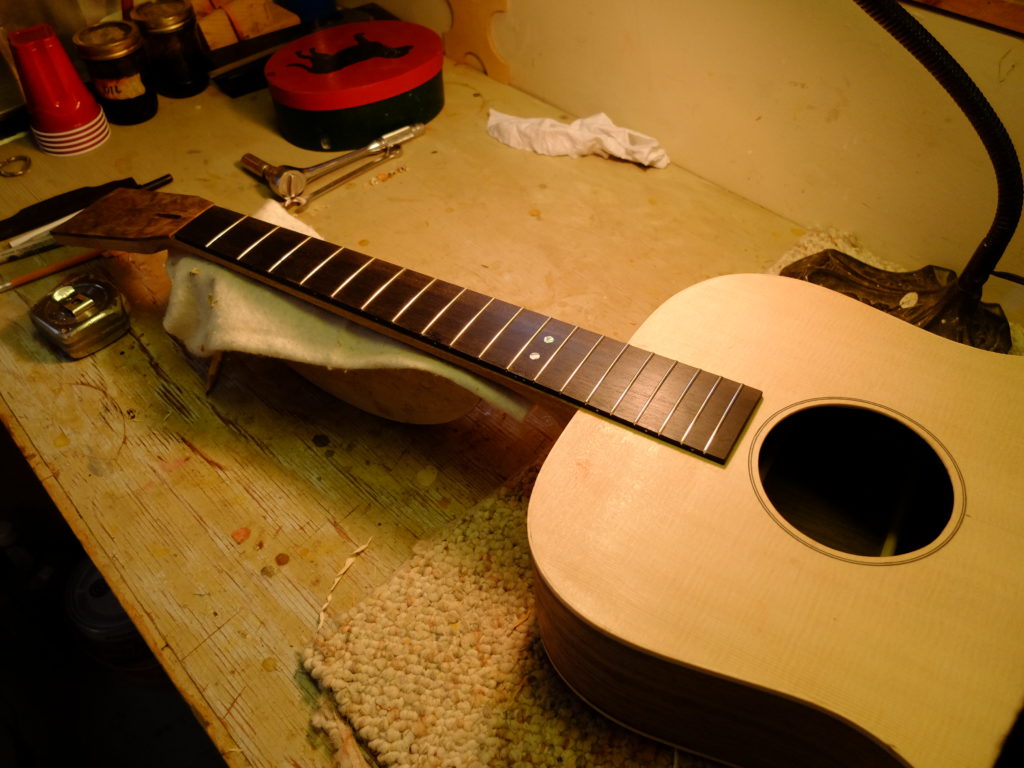
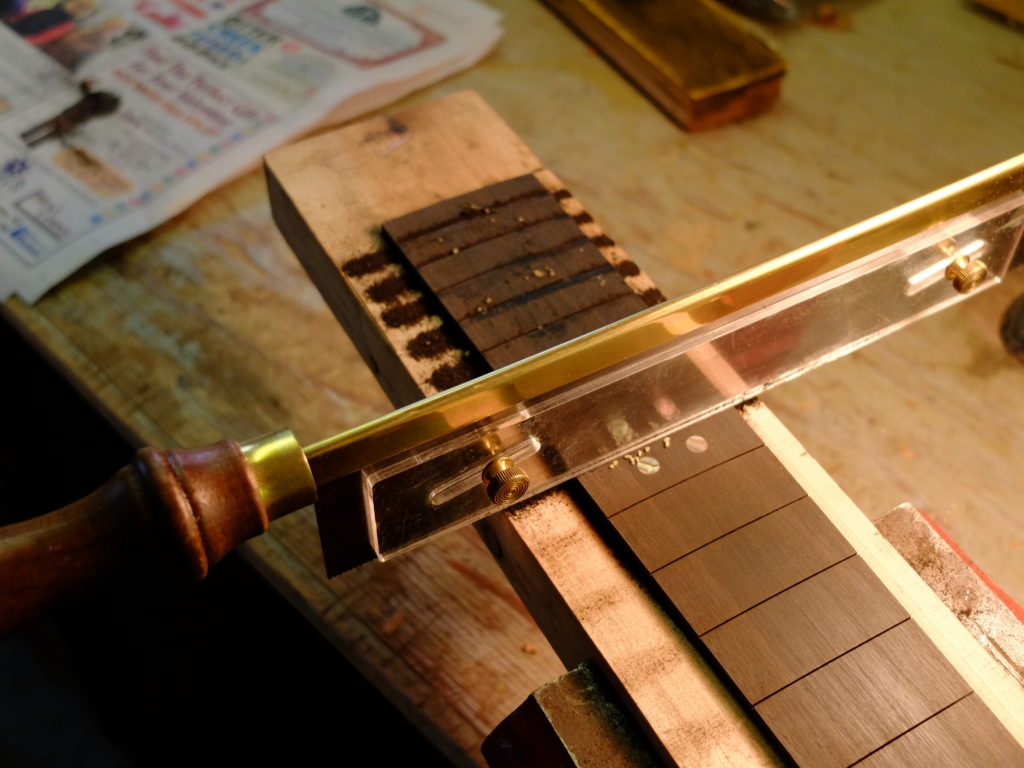 Now that I have the board radiused at 80 grit and the slots at their finished depth, I take the radius sanding block and work up through 120, 220, 400 and 600 grit successively, ending with a 0000 steel wool polish. This results in a semi-mirror finish ready for frets. I happen to use the Stew Mac fret press. You have to carefully line up the press caul with the fret to avoid tilting it, but pressed frets generally give a more uniform fretting job than hammered frets.
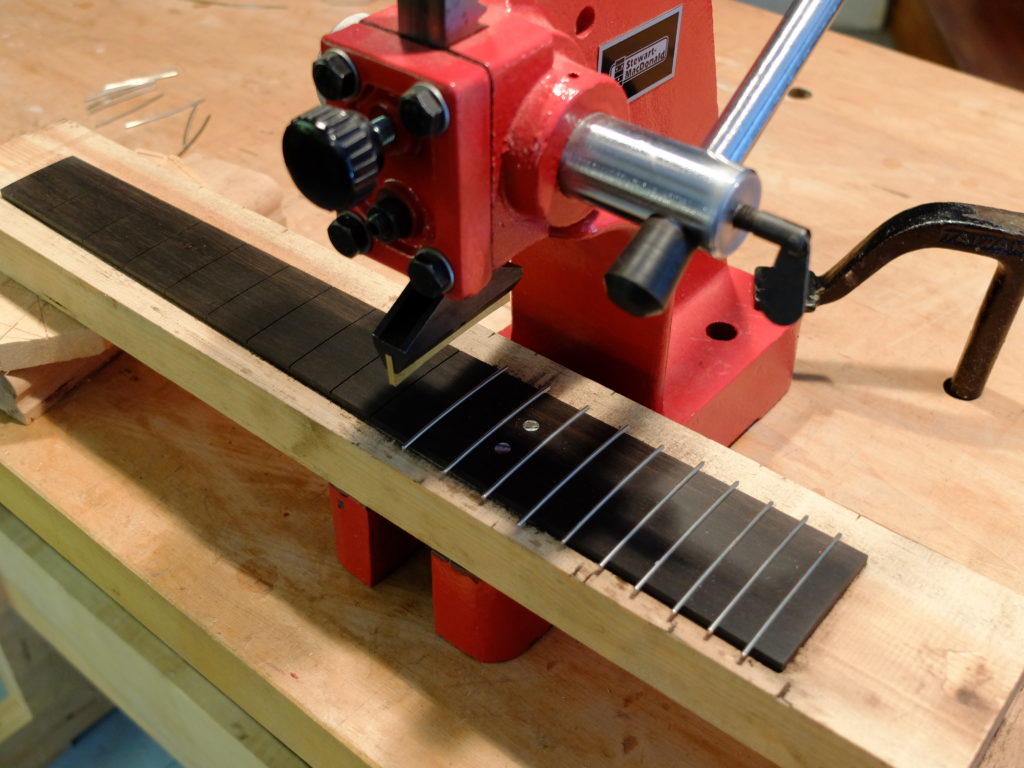 After all the frets are in, they are snipped close to the edge and then a drop of Krazy Glue is applied to each fret end.
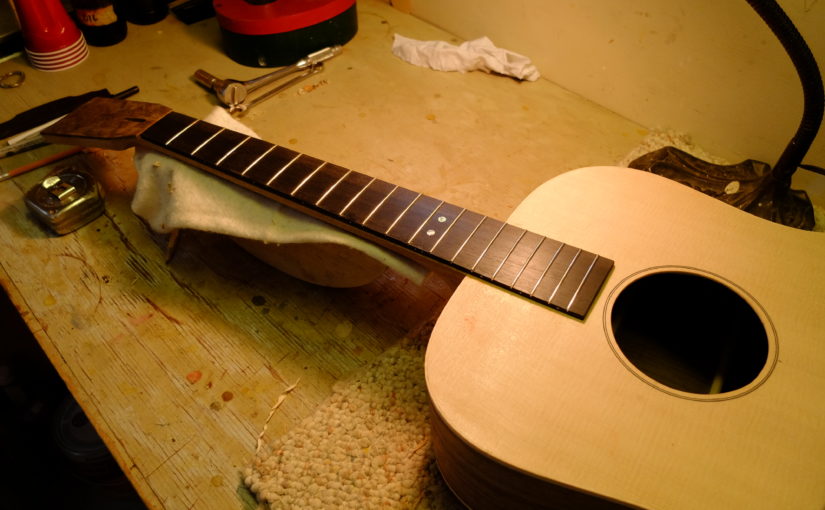
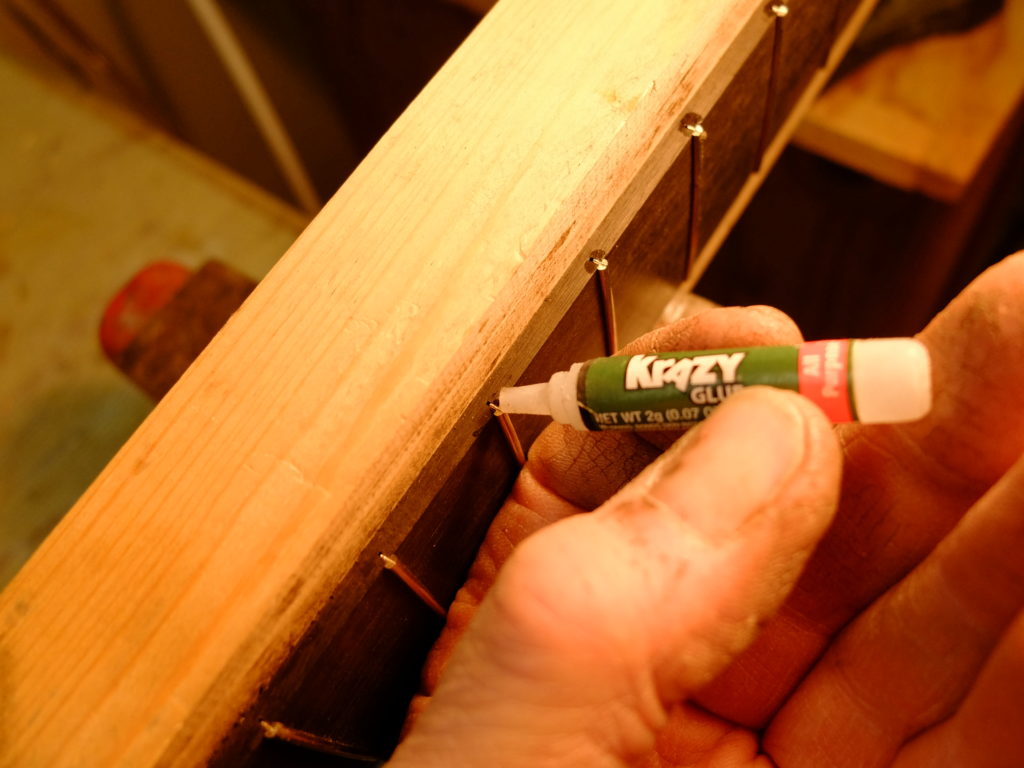 Next, I drill and put in the side dot markers – these are 1/16″, glued in with Krazy Glue.
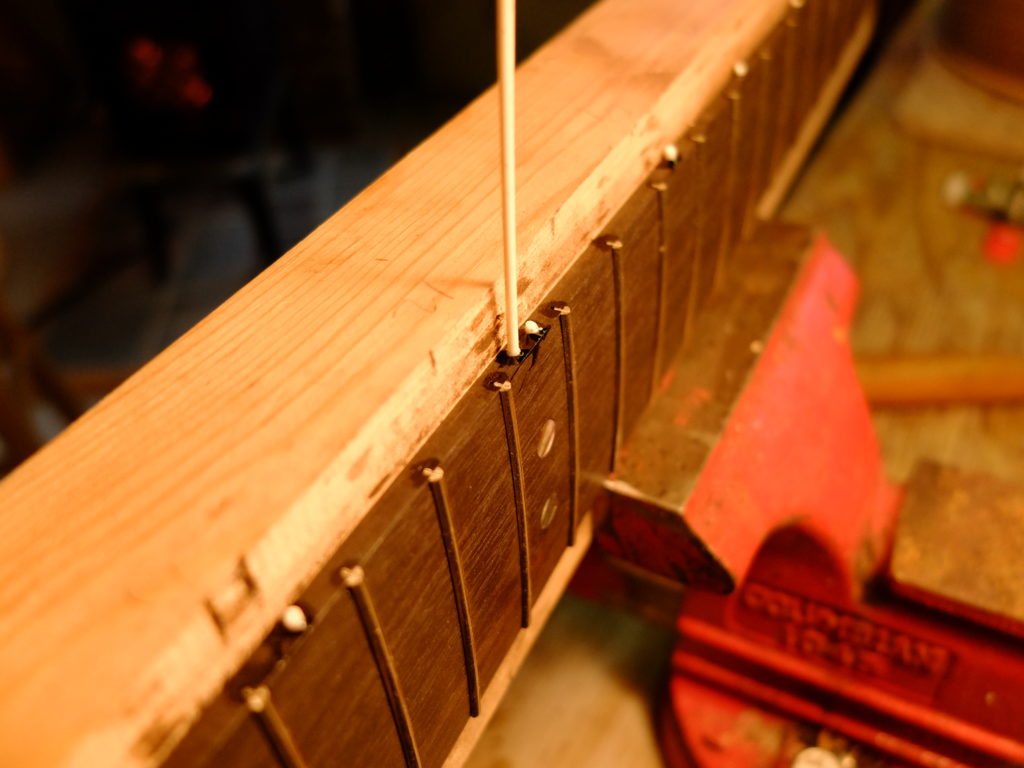 Then the board is removed from the backer with a warm seam-separation knife (Stew Mac has one, if you don’t already), the ends of the frets are filed flush with the edge of the board and I’m ready to glue the board to the neck.