Tenor Uke

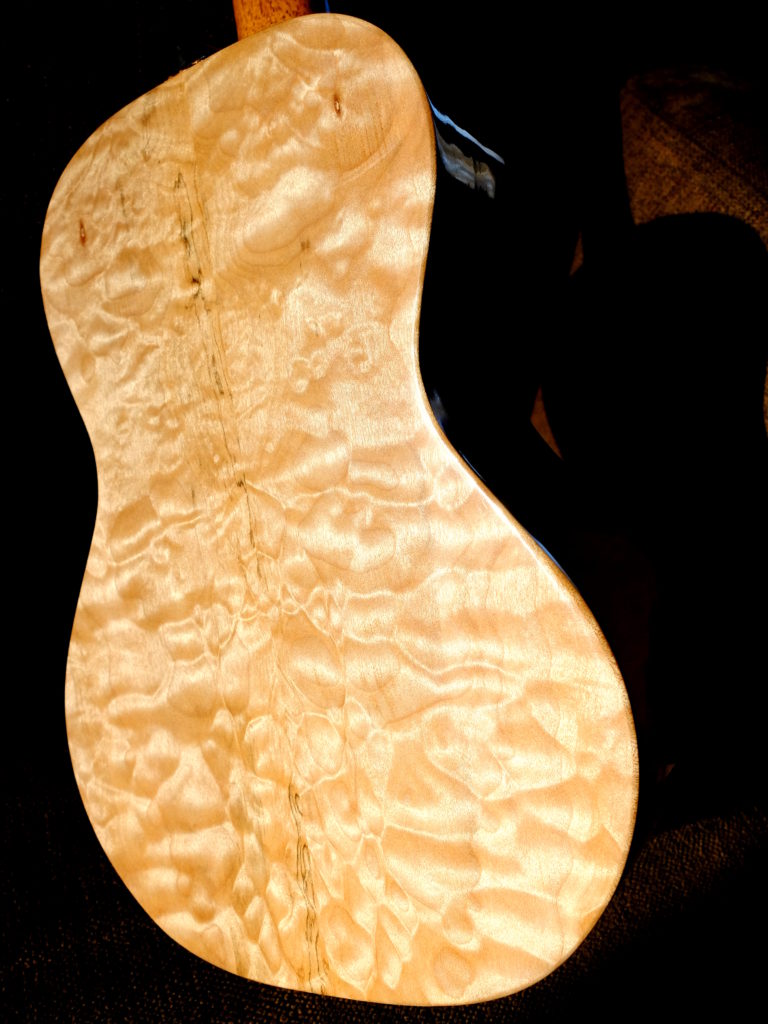
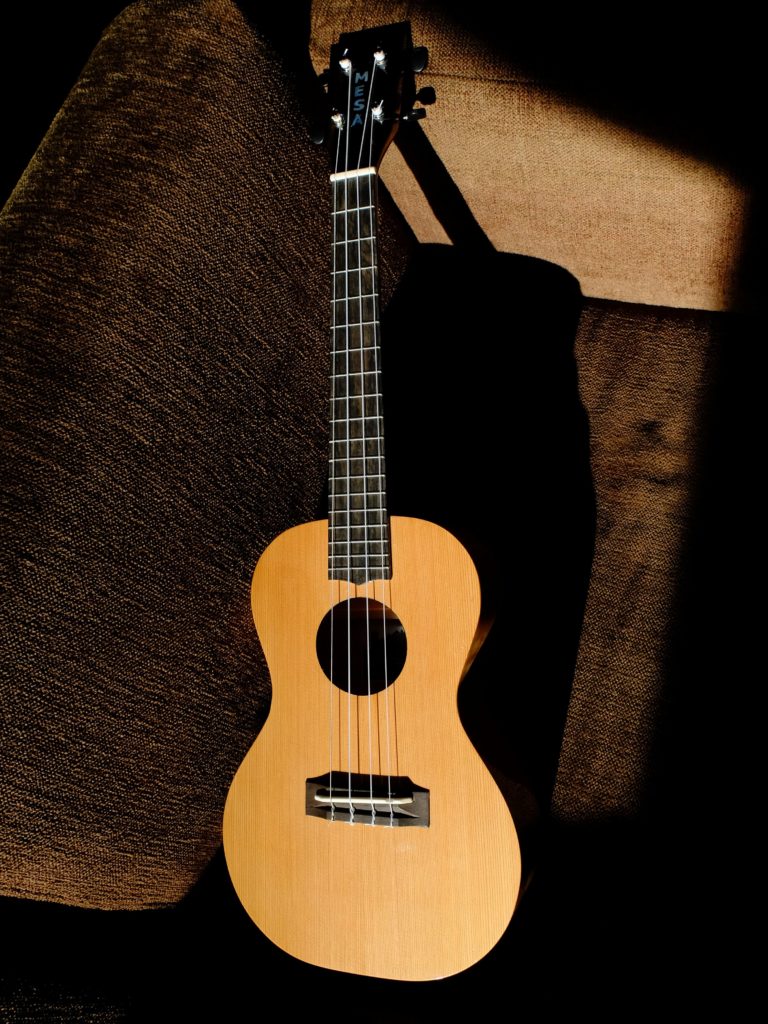
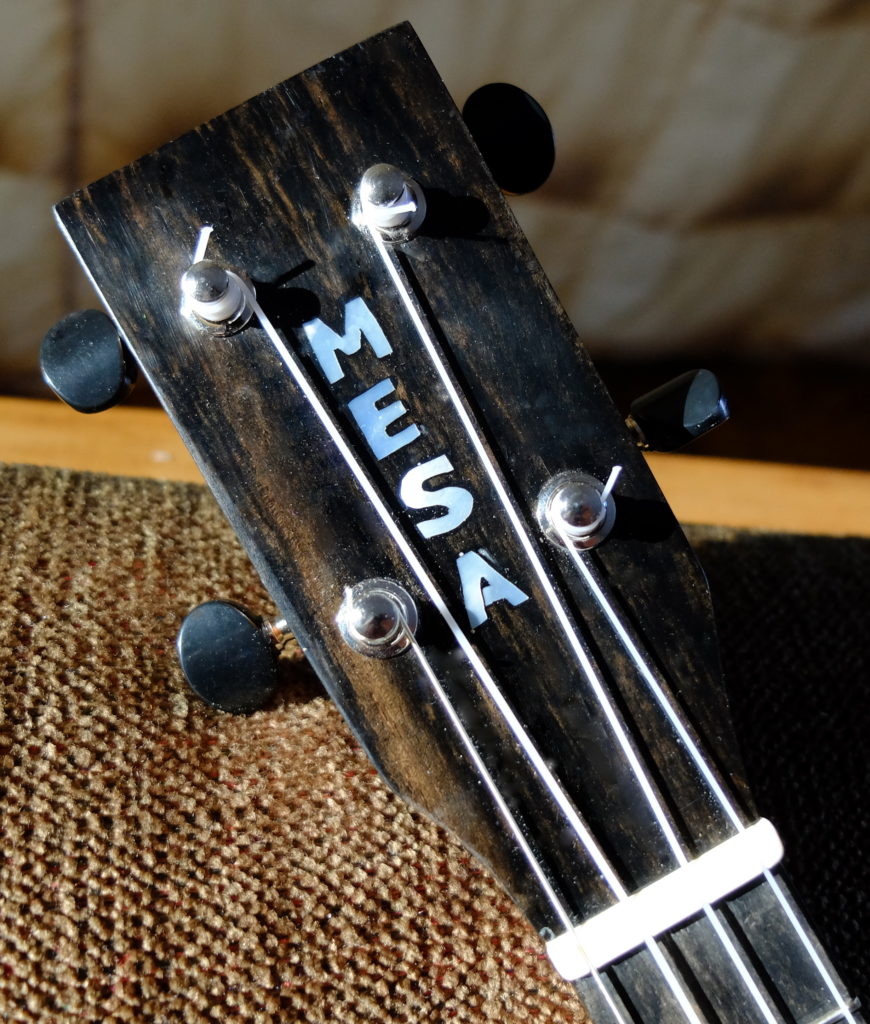
My grand daughter is showing signs of talent with guitar-family instruments, so I decided to make her a tenor uke for Christmas.  Back and sides are quilted big leaf maple, around 0.070″ thick.  Top is western red cedar, around 0.078″ thick, lightly braced, no bridge plate or anything like that.  Solid linings 0.080″ thick to minimize reduction of resonant area on the top.  Neck is spanish cedar, using a mortise and tenon neck joint, glued and bolted for good luck.  Peghead, fingerboard and bridge are certified sustainably harvested second-grade ebony, and her name is inlaid in pearl.  Peghead being readied for inlay – DSCF1513

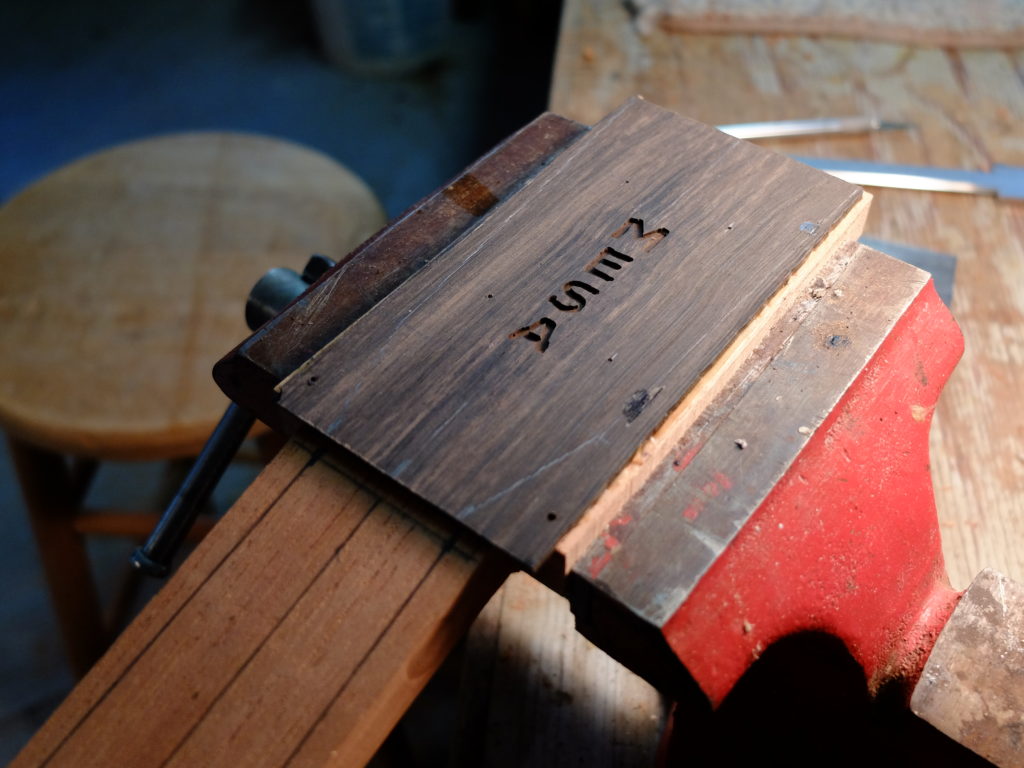
Back and sides ready for glue-up

DSCF1520

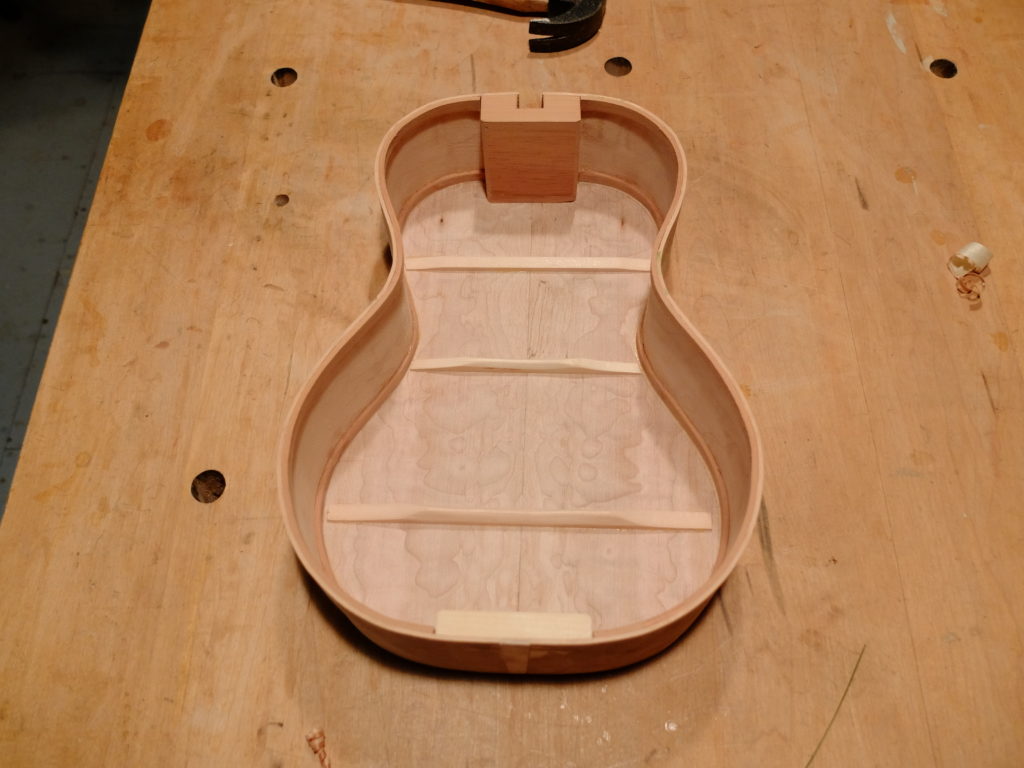
Top bracing complete – flat braces pass through cross brace without contact.

DSCF1522

Finish is 10 coats of Tru Oil hand rubbed, sanded between coats 5 and 10, and rubbed out with Meguiars buffing compounds – complete in 3 days (Christmas rush).

DSCF1573

DSCF1569

DSCF1571

I was excited to see her play it.


Child’s sized Adirondack Chairs

This is a summer project that looks good in January.  Pine chairs kids will love.  All made with 3/4″ (actual thickness) pine.  Start with 2 side pieces 3 3/4″ x 20″ beveled at front and back so back will sit on the ground, front elevated to 7 5/8″.  Cut 3 pieces for seat bottom 2 1/2″ x 12″, fasten to side pieces with 1/2″ space between, with back of seat 8 3/4″ in from the front.

DSCF1164

Cut 2 legs 1 7/8″ x 11 3/8″ and attach to outside sides, fastened from inside, so top of side piece is 7 5/8″ off the ground.  Cut and fasten 2 1/2″ x 13 3/8″ front apron so its top is flush with seat.

DSCF1166

Cut back pieces – 2 @ 2 1/2″ x 14 3/8″, 2 @ 2 1/2″ x 15 1/2″, and fasten them to middle back support (2″ x 14 7/8″) and lower back stop 1 1/8″ x 12″.  The top of the middle support is 6 1/2″ up from the back bottom.  Use a 9/16″ spacer for the back so the assembled back is 11 5/8″ wide.  Cut two arm rests 2 1/2″ x 14 1/2″.  Fasten lower back stop to sides and fasten arm rests so they overhang the front legs by 1 1/4″, and the projections of the middle back support by a like amount.  Bevel the ends of the middle back support where the arm rests attach.  Nail and glue all joints.   Paint as desired.

DSCF1167_a

Add arm rest braces 1 3/8″ x 3 5/8″ as above and below (closeup of side view of arm rest brace, front apron, etc).

DSCF1190

Closeup of back middle support piece showing overlap of arm rest and bevel of support.

DSCF1191