Starting with the glued-up top and back wedges, the outside contours are established with a gouge and hand planes using templates as a guide. 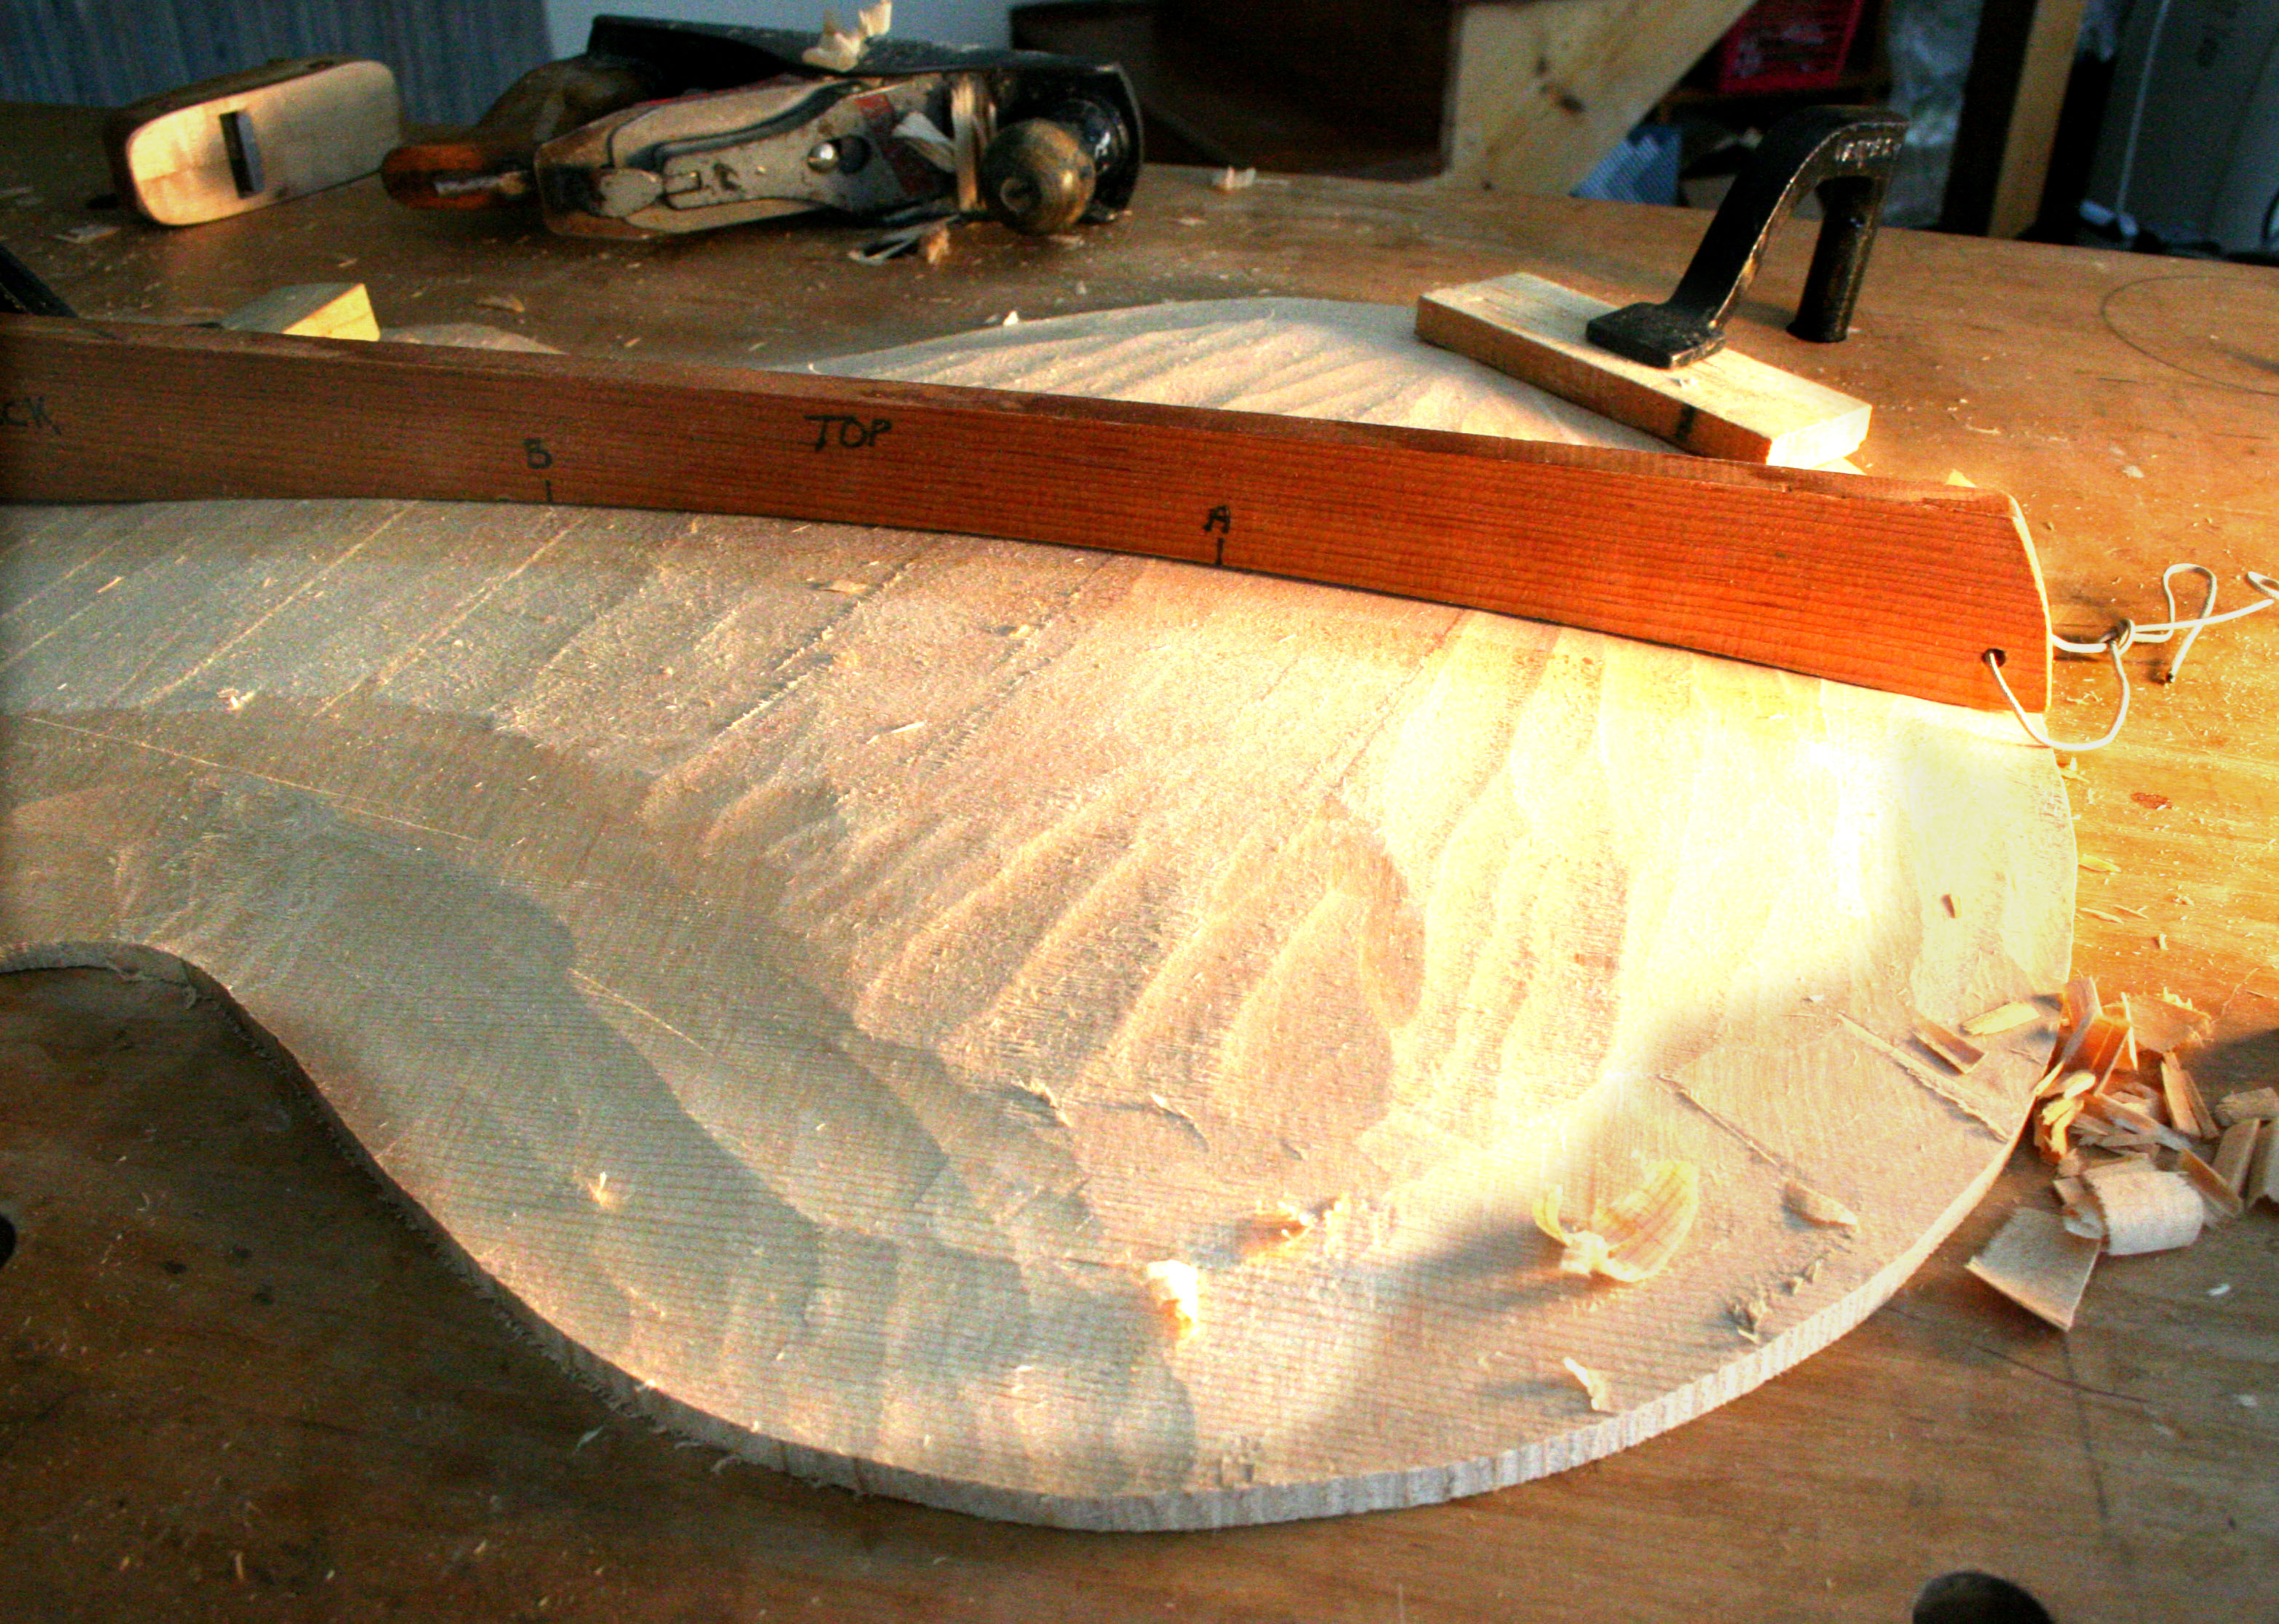 I use Bob Benedetto’s book on archtop guitar making as my main reference, and the templates I use are from his book. There are templates for the lateral curves too –
 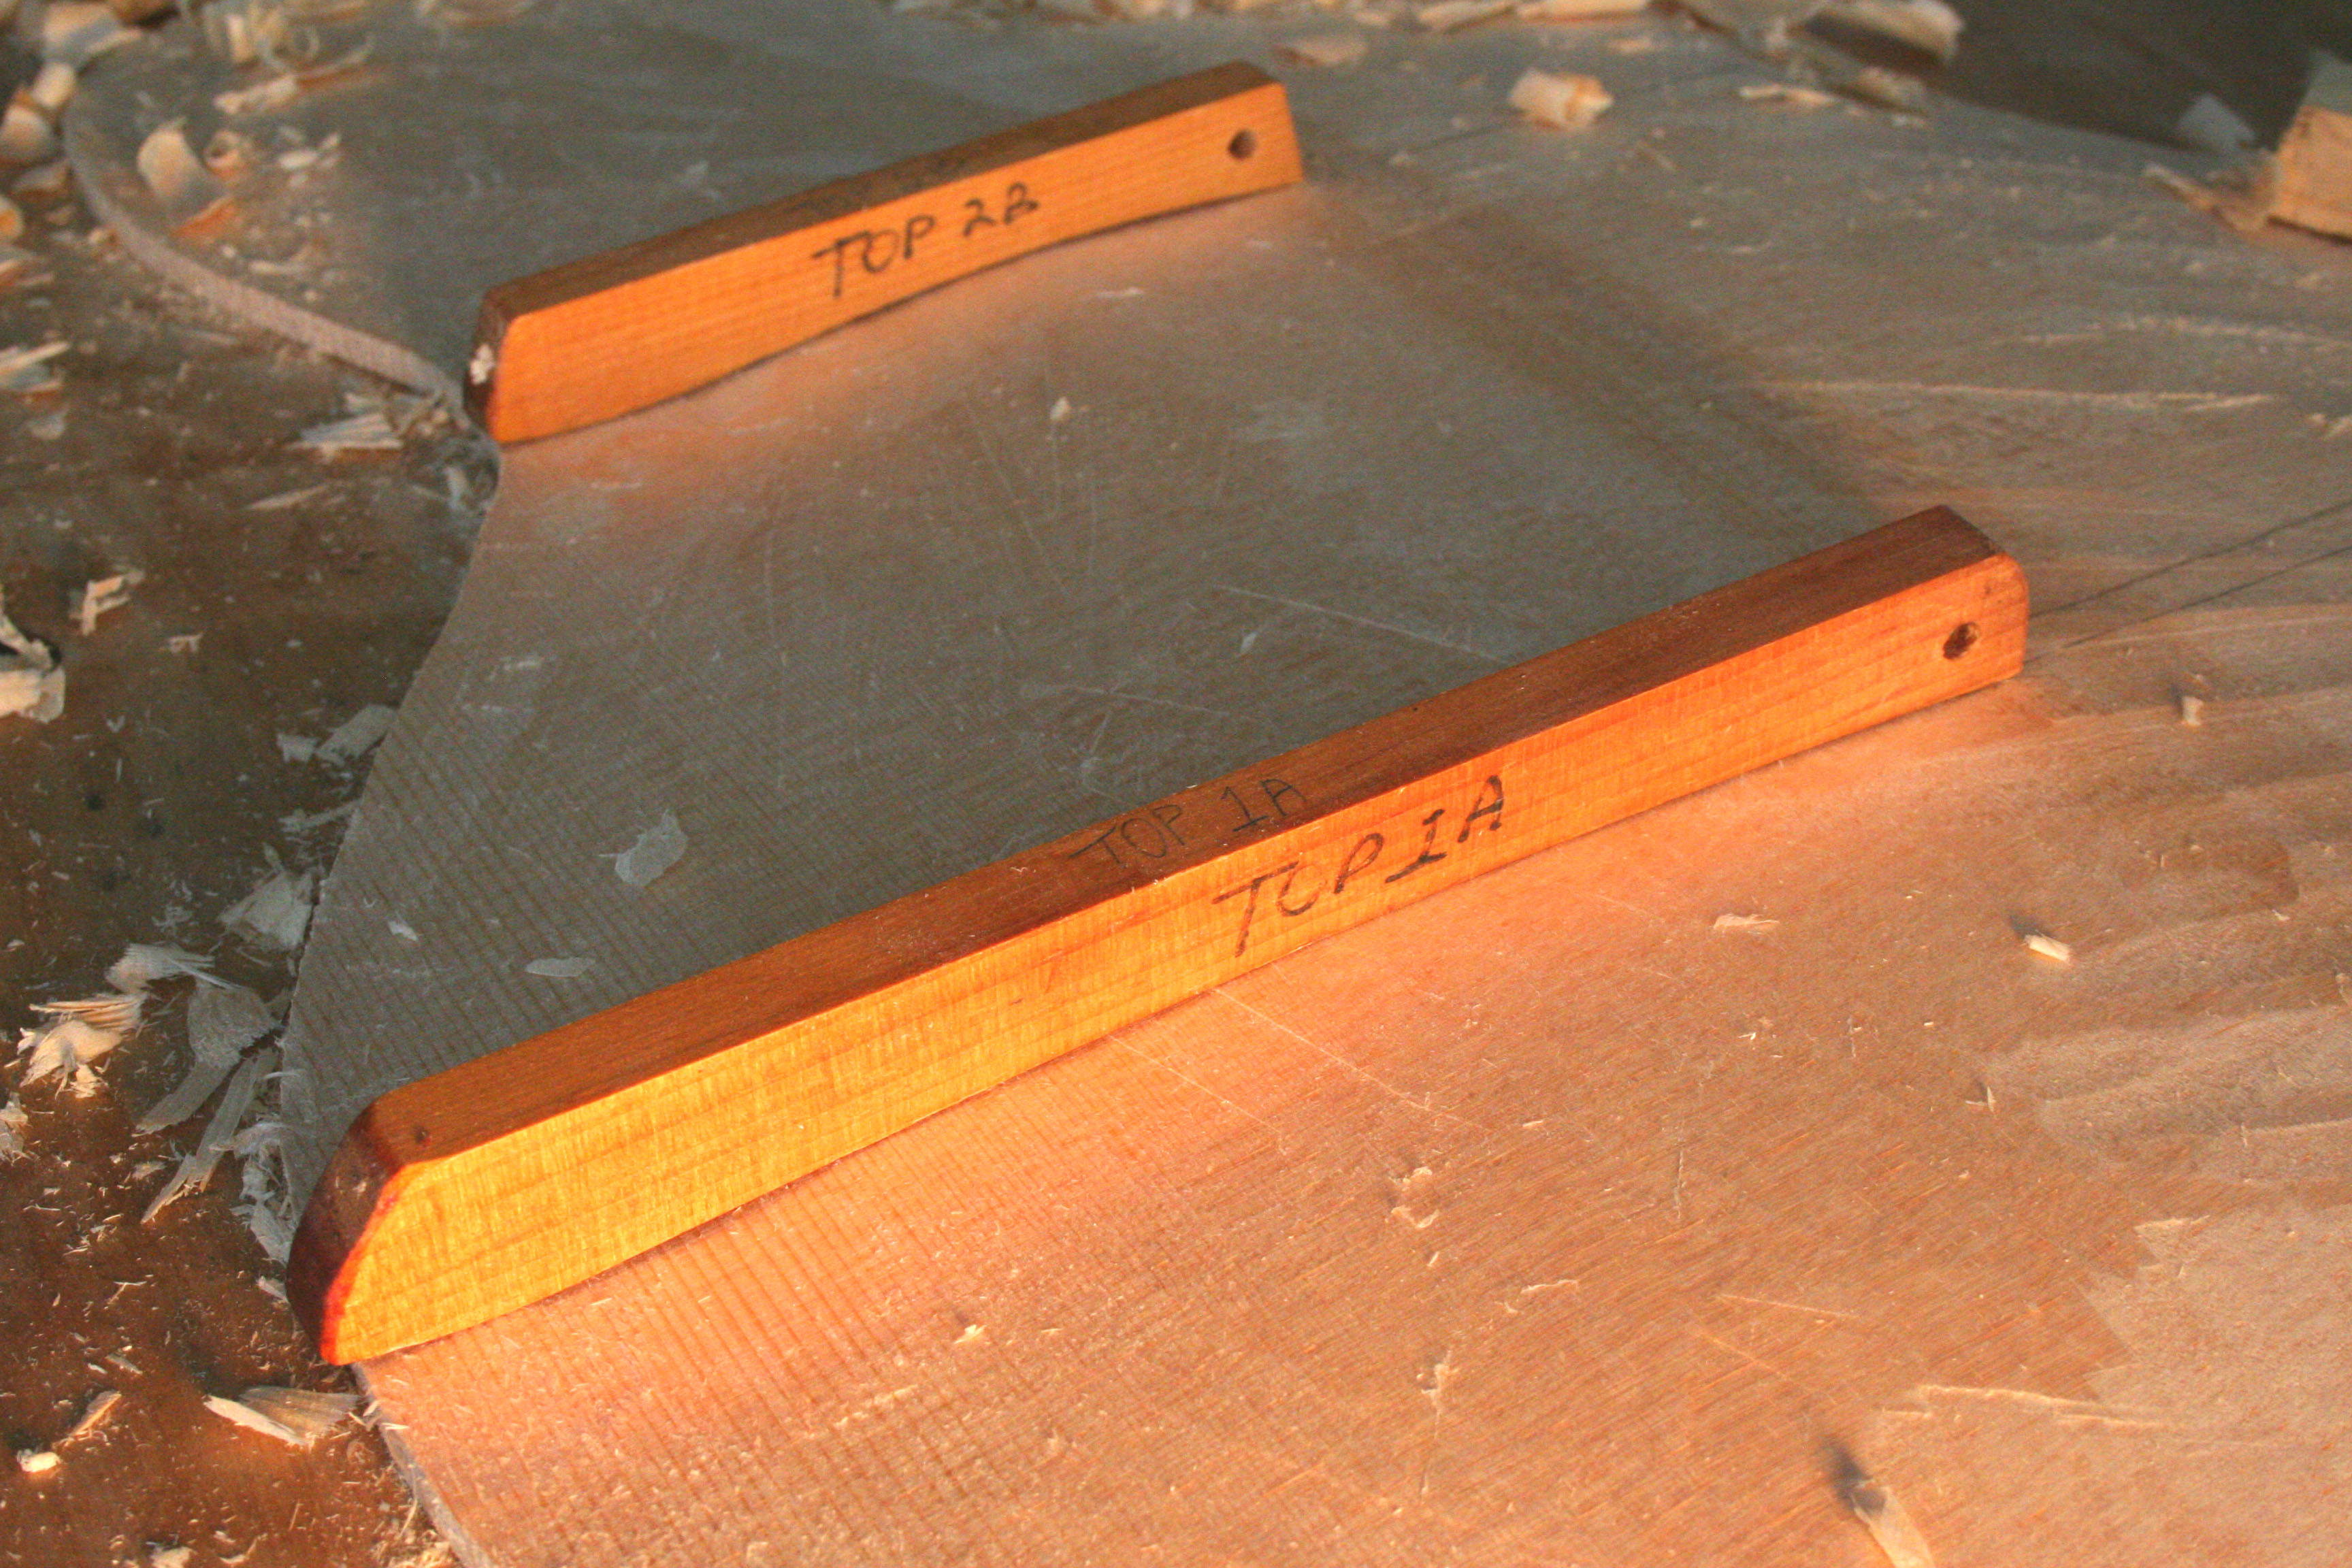 once the basic shape is established it is a matter of smoothing the contours to blend together, ending up with a cabinet scraper.
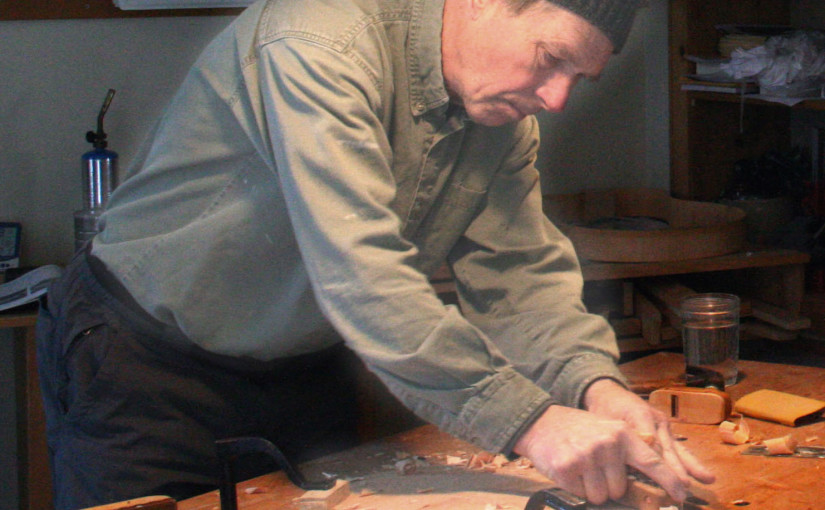
 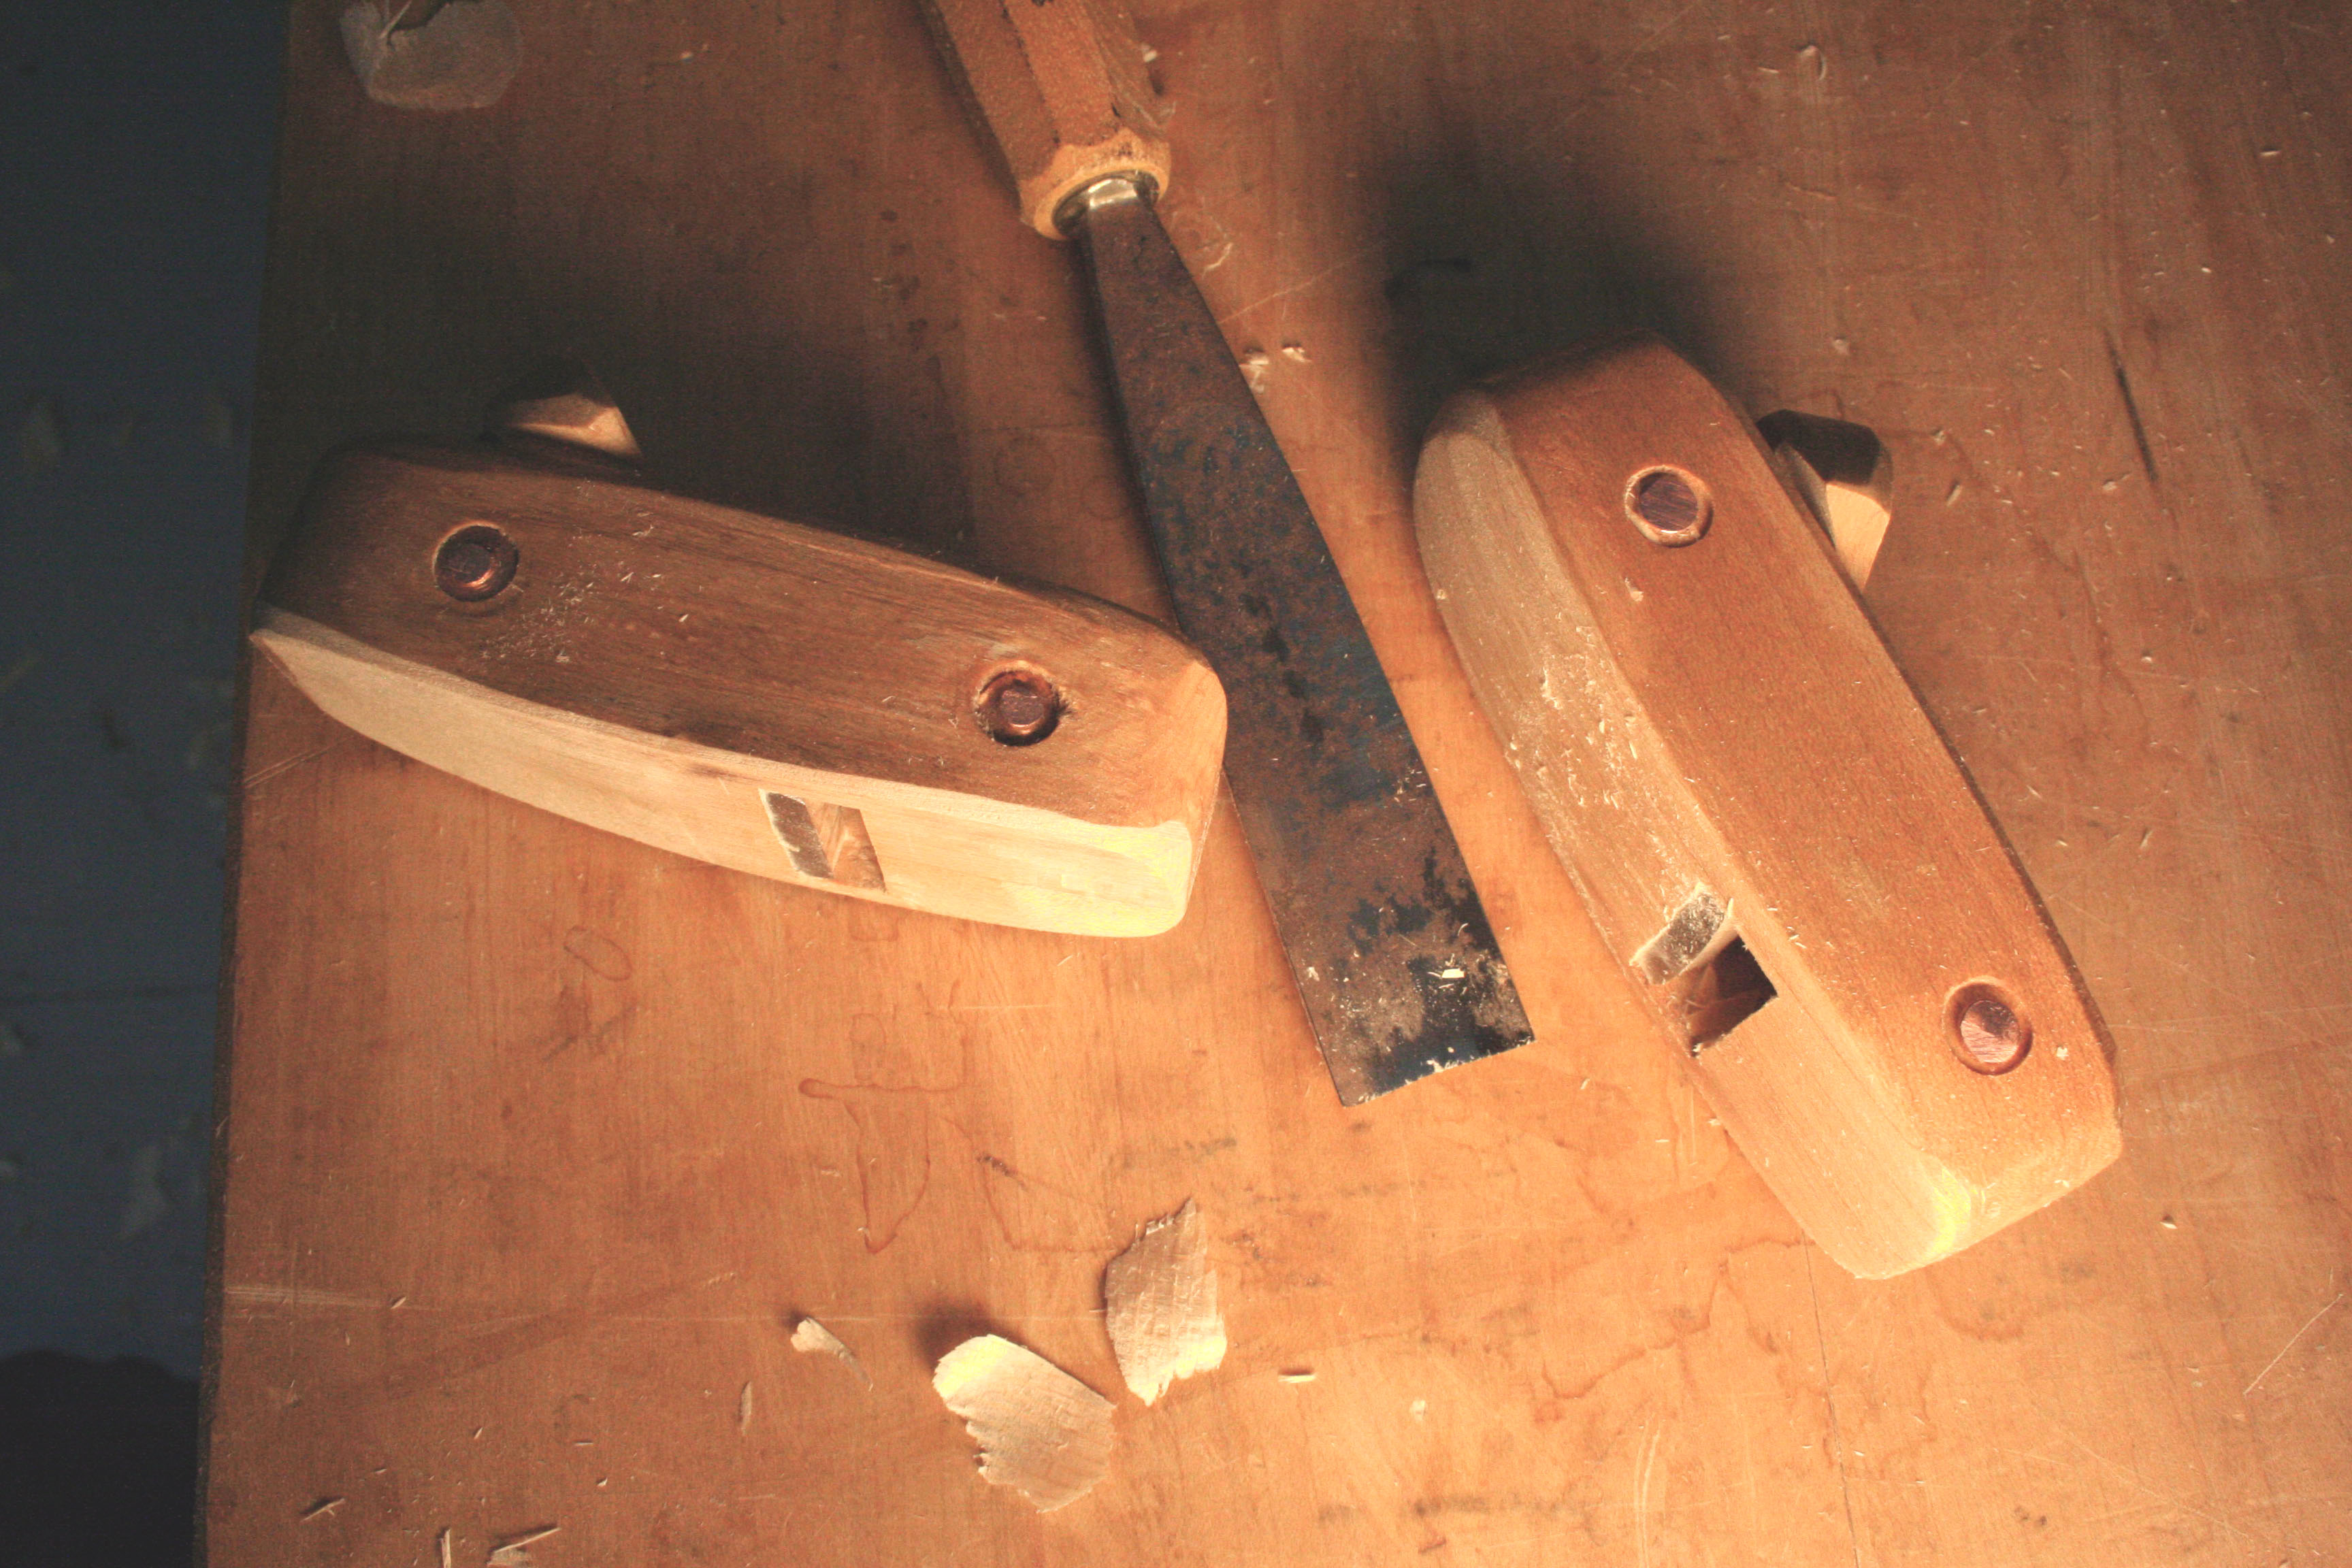 These are the tools I use to carve the plates – a Swiss gouge, and two small wood bodied hand planes made from drawings in Irving Sloane’s book on guitar making. The hand planes have blades of Japanese steel that came from Woodcraft. One plane is arched both ways, the other is only arched in the long dimension. The two halves of the plane bodies are glued and riveted with copper rivets. When the outsides of the plates present pleasing curves –
  they are used to establish the rough shape of the inside by taking them to the drill press which has been set up with a 1/2″ bit that stops 1/4″ above the table – this leaves a series of holes that gauge the rough-out depth of the inside. It is a matter of work to bring the inside down to the level of the gauge-holes –
 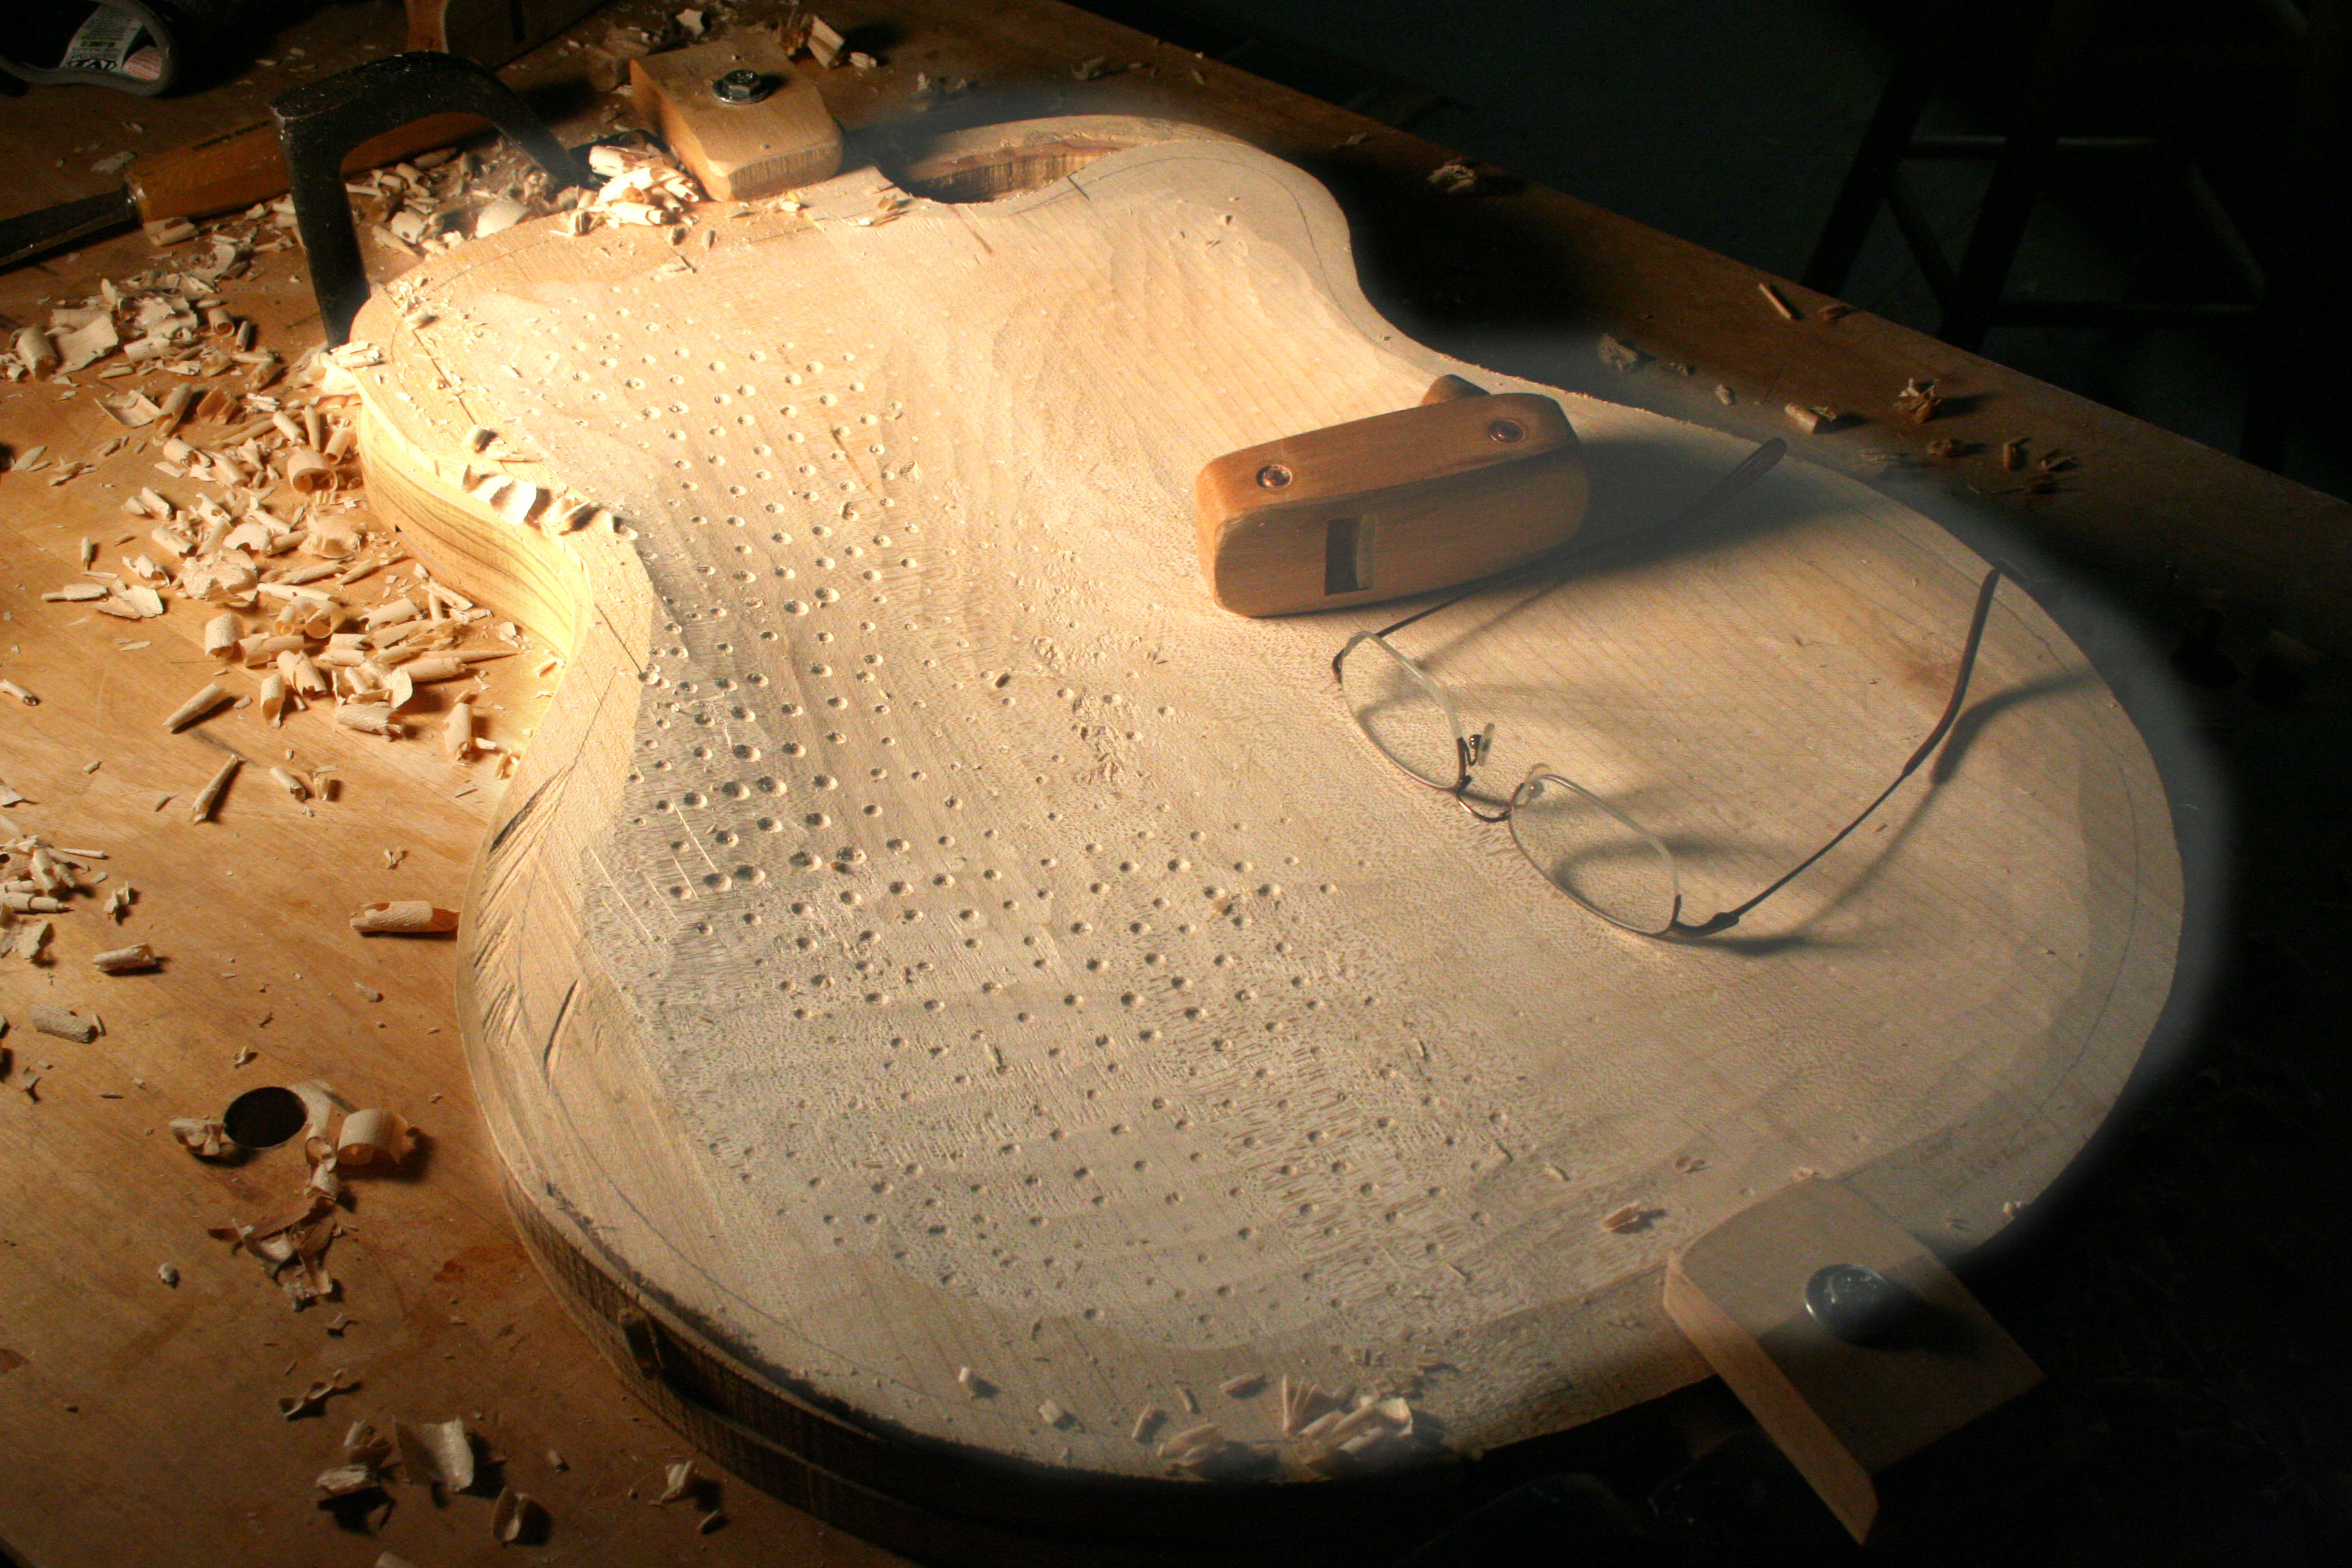 From there, the plates are thinned to their approximate final thickness using the planes and a thickness caliper – the back is taken to a uniform 3/16″ and the top varies from just shy of 1/4″ down the center to 1/8″ around the edges. I did not use binding on the f-holes and felt that this particular piece of spruce needed some reinforcement that would normally have been provided by the f-hole binding. So – a very thin red cedar veneer was added on the inside, with the grain of the veneer running across the grain of the top. I chose to use an X-brace on this top to help distribute the vibrations to the outside of the plate, and gave the whole inside of the body a light coat of shellac to help retard moisture transfer in-and-out. The back was glued to the sides before gluing on the top. The top – ready to assemble –
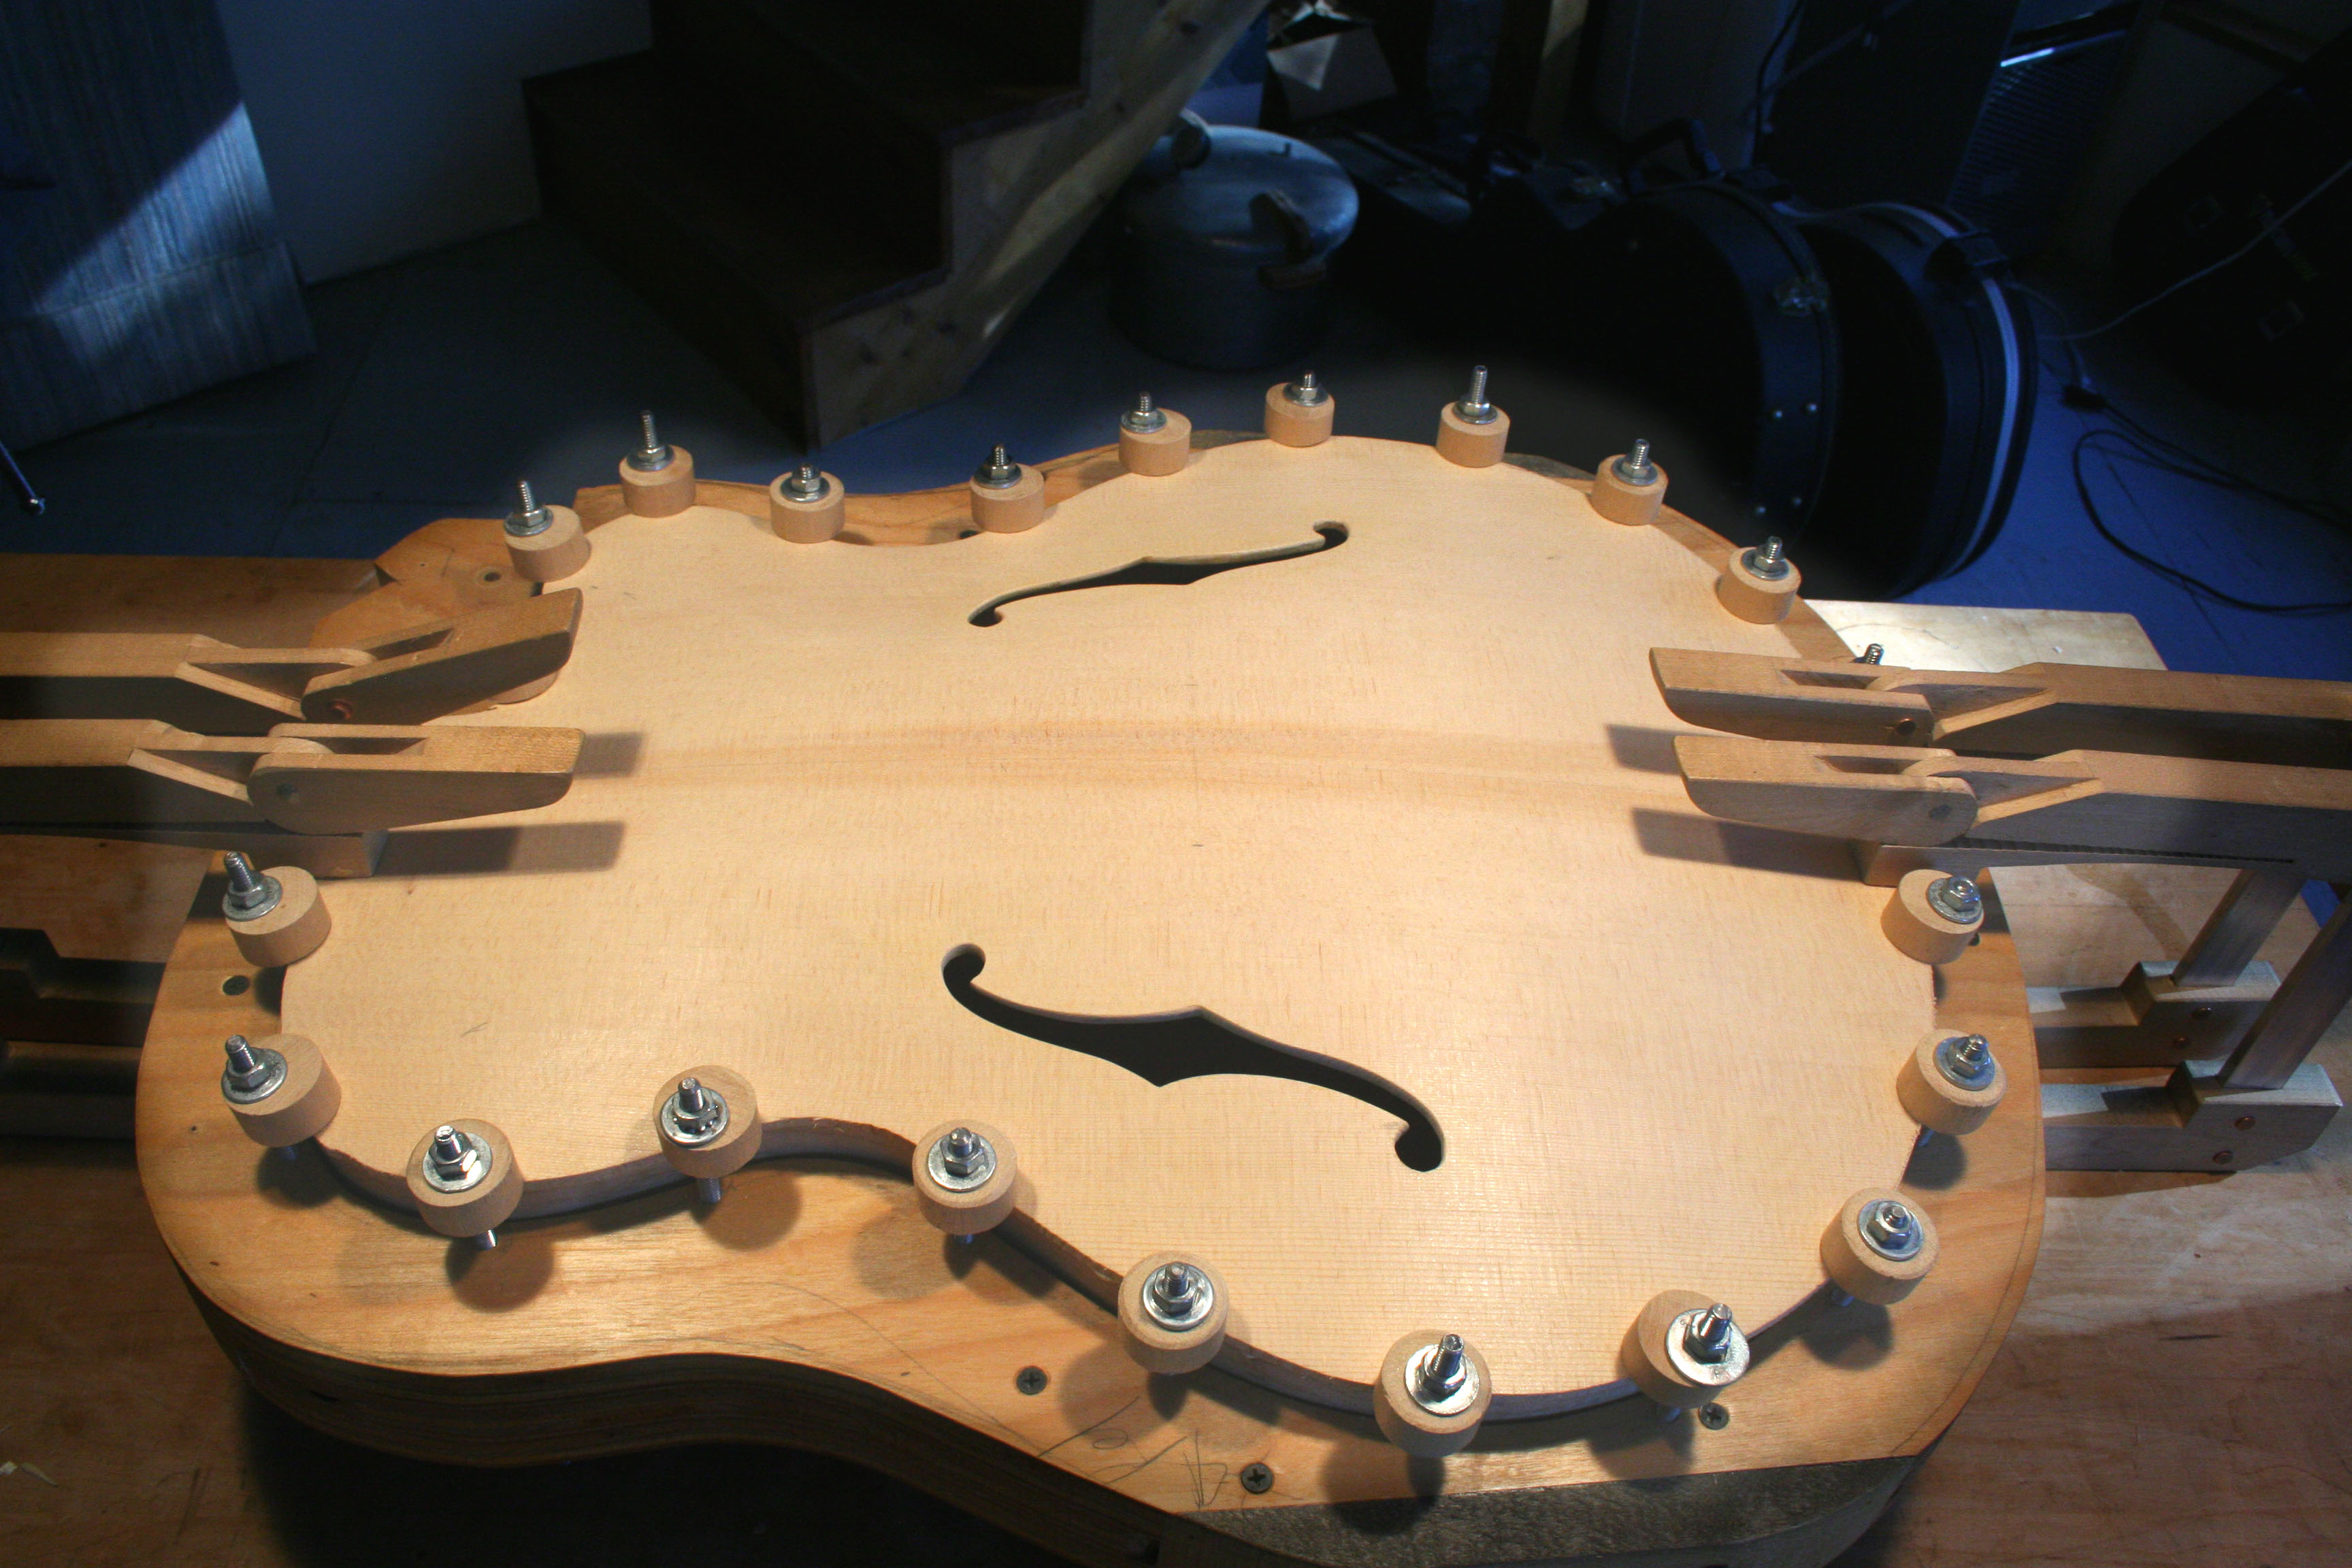
 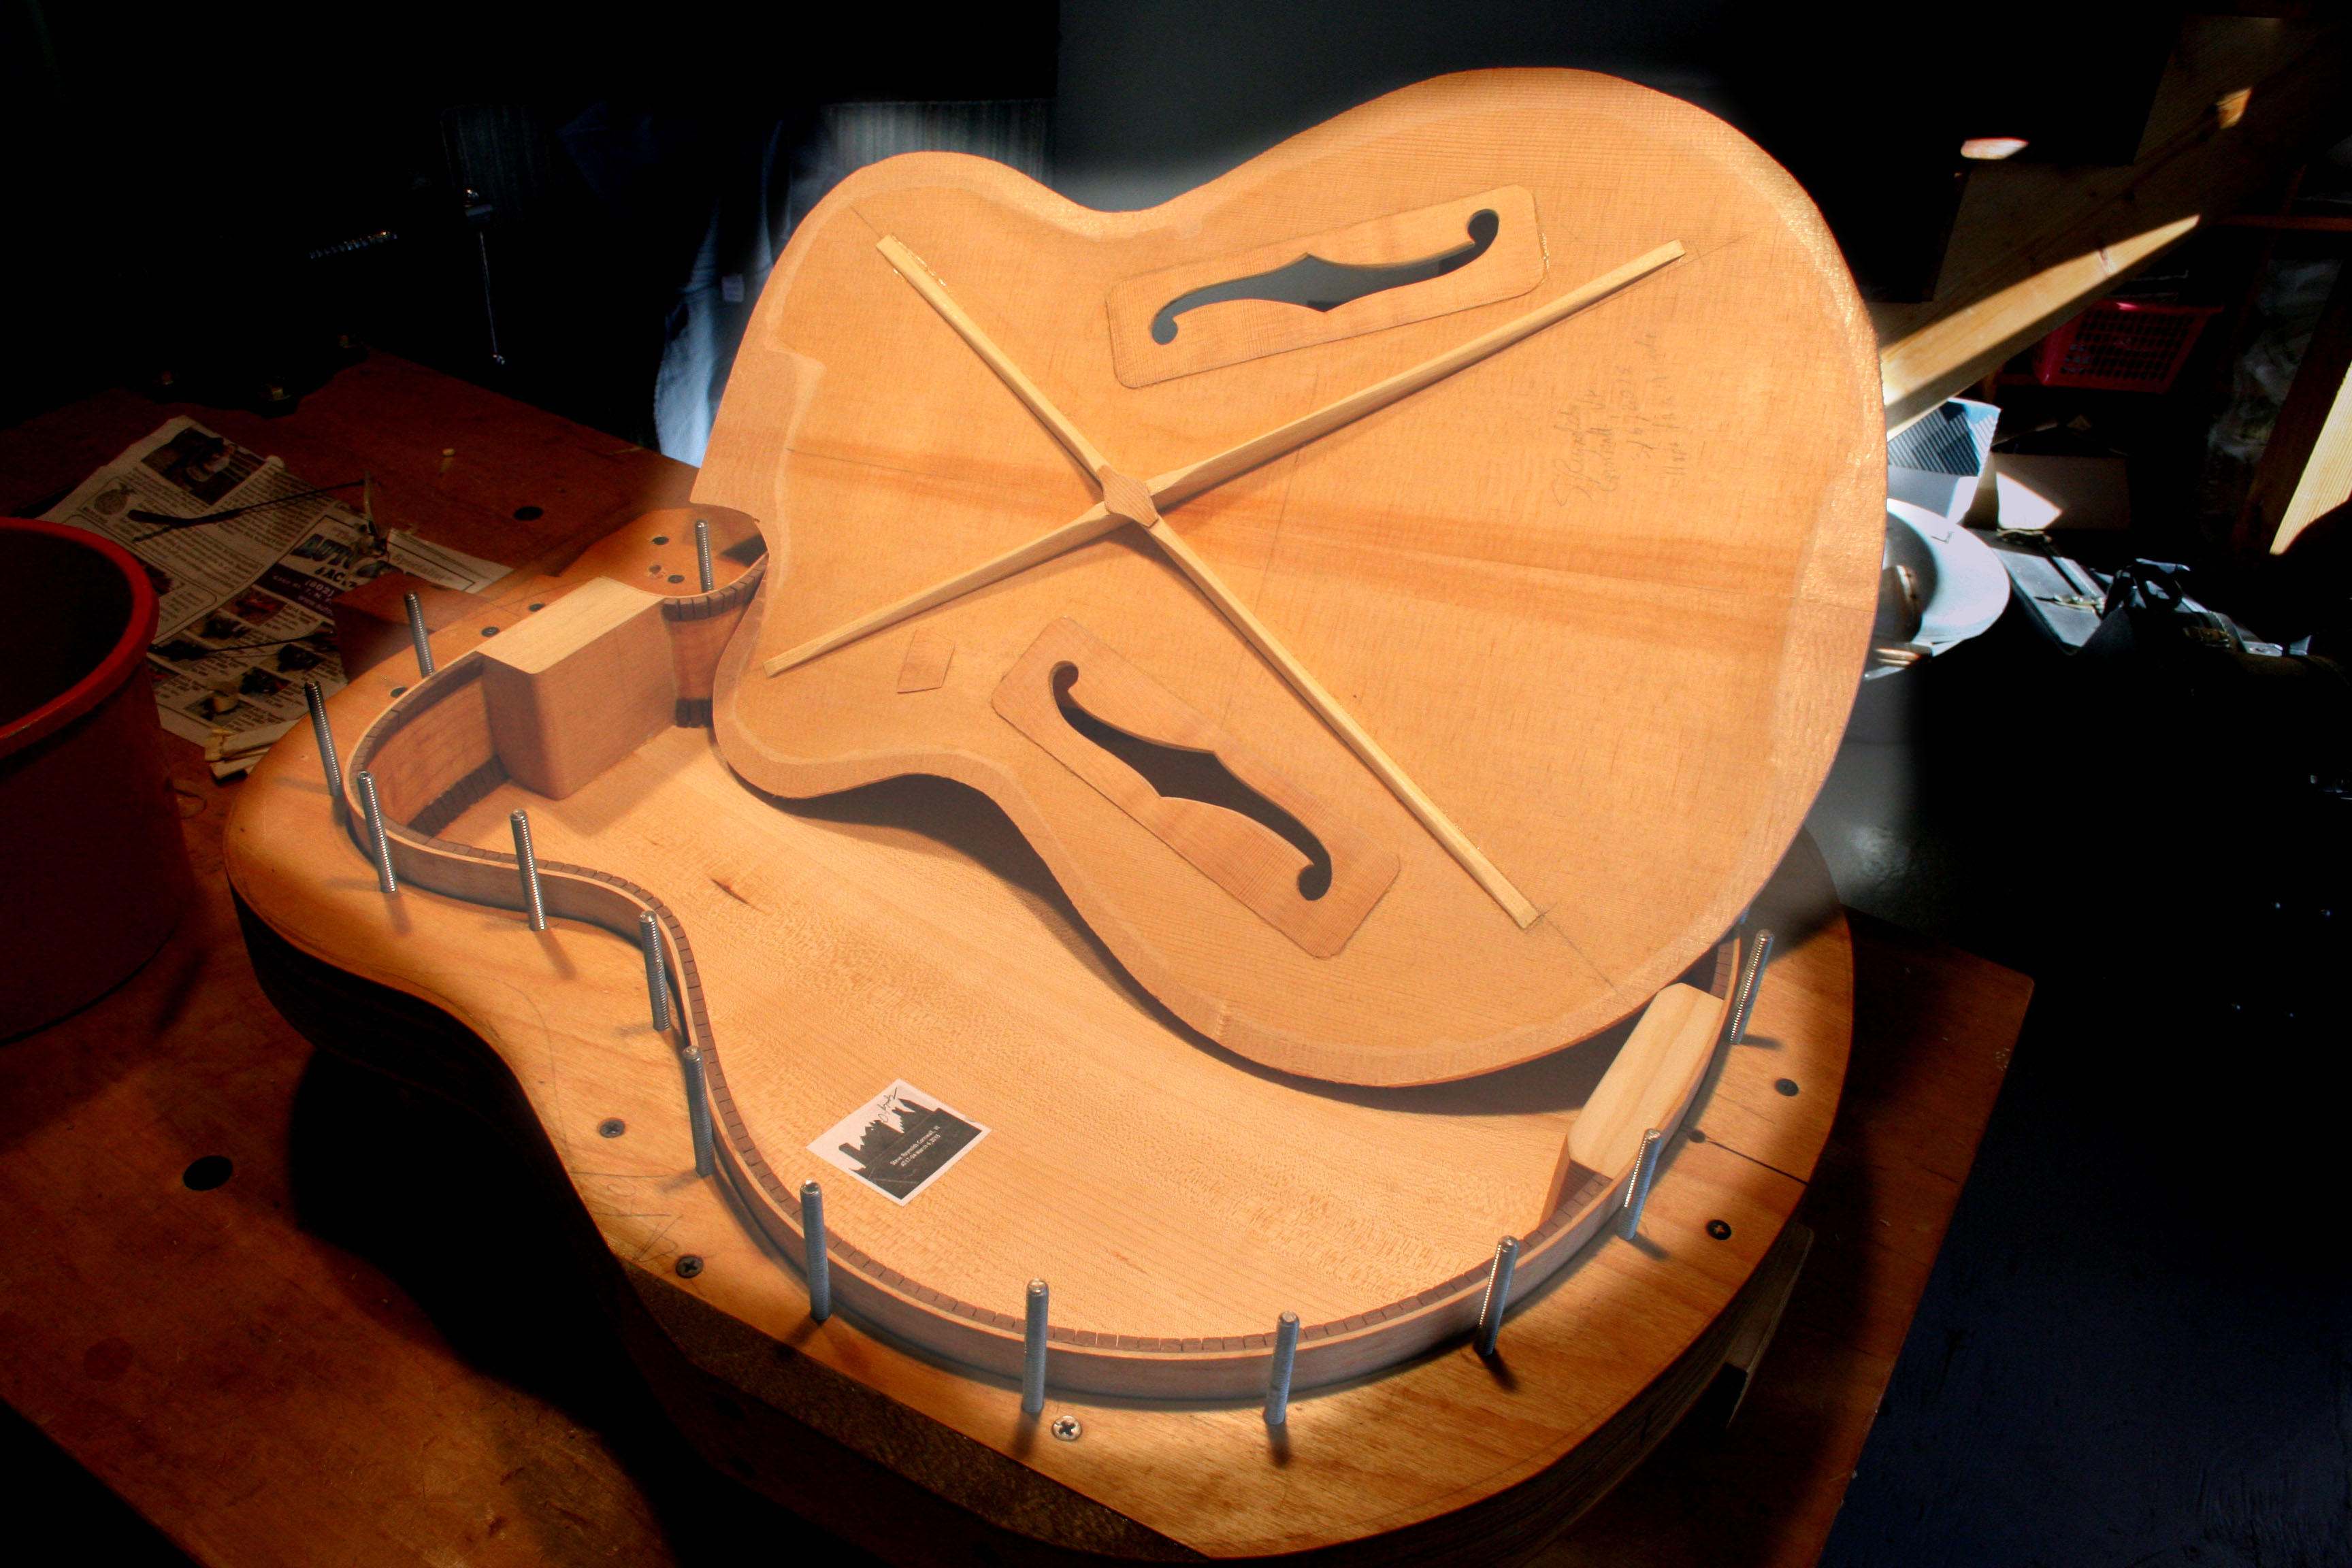 and, in the gluing form with the spool clamps tightened up – more to come.